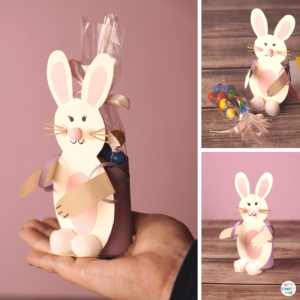


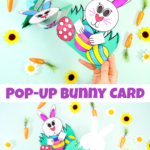
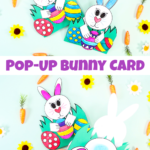
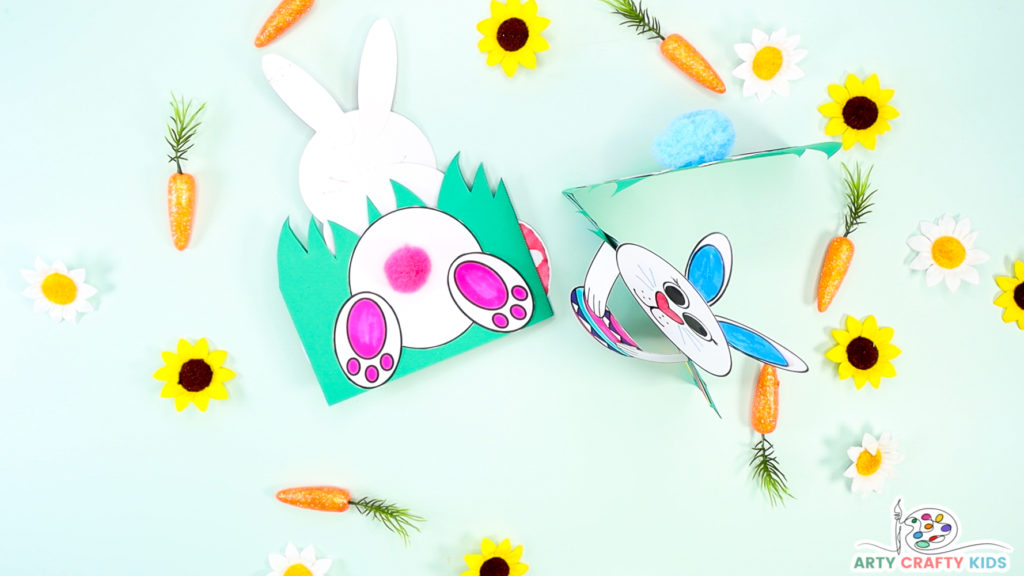
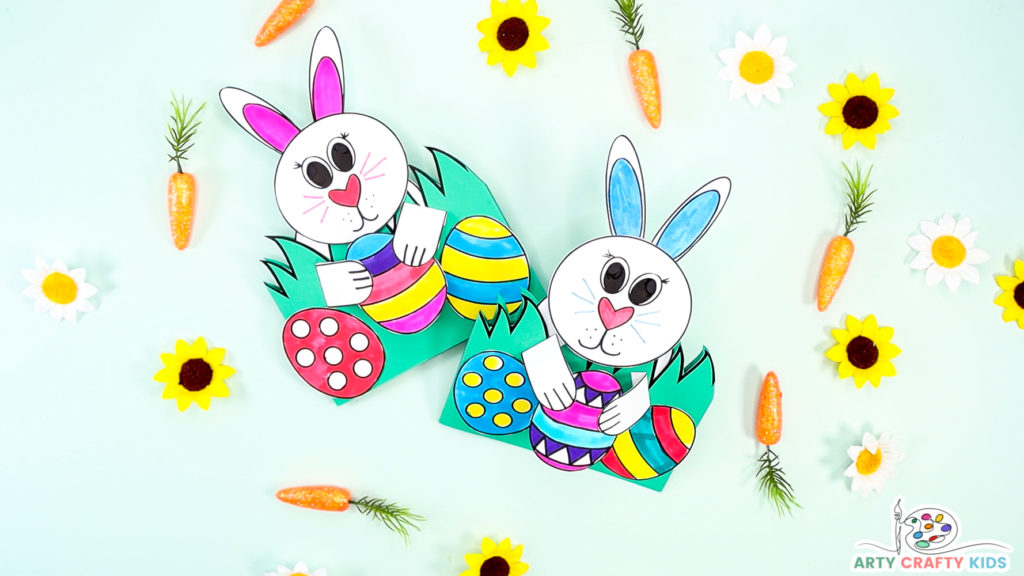
Hop into card making with the kids and try this playful 3D Pop-up Bunny Card for Easter! Our Easter card design features a bunny hiding Easter eggs in the grass; turn the card over and you will find a cute fluffy tail and a pair of big bunny feet!
This bunny Easter card has it all – it’s super fun and easy to make, great for kids of all ages to make, it’s completely original in design, it plays with 3D pop-up effects and it’s just out of this world cute.
Whoever is lucky enough to receive this card, it will be sure to leave a smile on their face.

Pop-up cards have become a firm favorite here at Arty Crafty Kids and we’re so happy to add an Easter addition to our growing collection, as they just so fun to make!
Related:
How to Make a Pop-Up Bunny Card for Easter
This adorable Easter Bunny Pop-up Card can be made with just a few basic materials that you’re likely to already have at home or within the classroom!
Materials:
- Green and White Card Stock or Paper
- A Coloring Medium – Crayons, Pencils or Marker Pens
- A Black and Colored Marker Pen
- Scissors
- Glue Stick
Download the 3D Pop-Up Bunny Printable Easter Card
The Printable Pop-up Easter Bunny Template is available to members of the
Arty Crafty Kids club.
Members will need to log in to access the templates: https://www.artycraftykids.com/product/pop-up-bunny-easter-card-template/
Not a Member?

Watch the how-to video to see how we’ve made the Pop-Up Bunny Card:
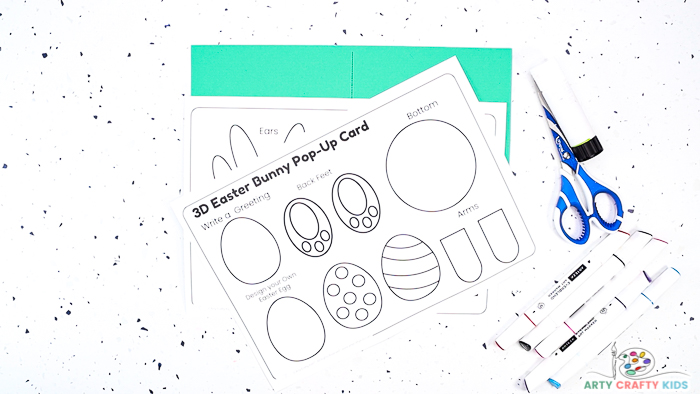
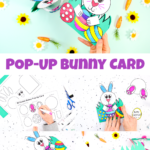
Step 1: Print the Pop-up Bunny Card Templates onto Green and White Card Stock or Paper
Print the grassy card onto green card stock and the remaining two templates featuring the Easter Bunny and Easter eggs onto white card stock.
Before printing, change the settings to accept heavy weight paper and tick ‘fit to page’.
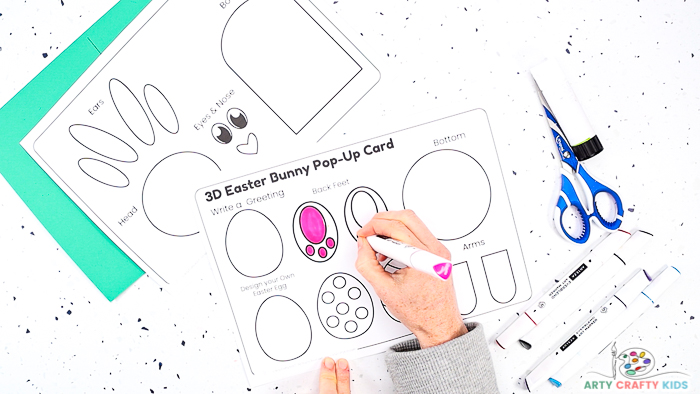
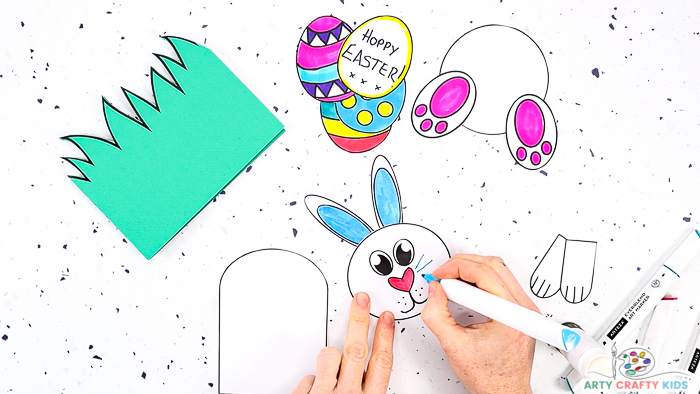
Step 2: Color in the Bunny Template
Use a favorite medium ( crayon, pencils or marker pens) to color in the bunny elements ( hind feet, bunny ears and nose) and bunny ( they don’t have to leave it white!).
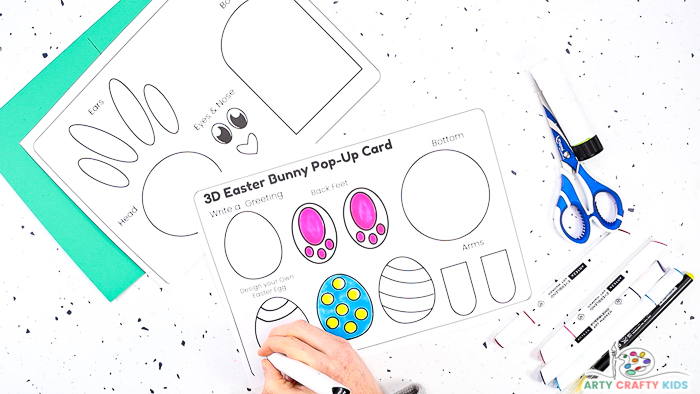
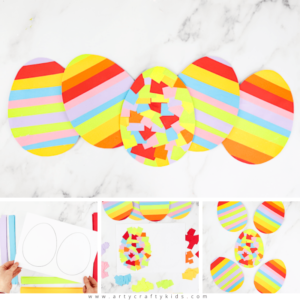
Step 3: Design an Easter egg and Write an Easter Message
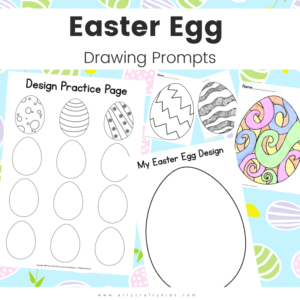
Color in the Easter eggs and use one of the empty eggs to draw a unique design. If your Arty Crafty Kids would like to practice designing their eggs first, you can also download our Easter egg Drawing prompts.
Use the remaining empty Easter egg to write a special Easter message.
Suggested Bunny Puns for the Message:
There’s nothing better than receiving a little hand-written message from your little ones. For inspiration take a look at these fun pun filled greetings!
- Have a very Hoppy Easter!
- Hopping by to Wish you a very Happy Easter!
- Some bunny loves you!
- Somebody is egg-cited to see you!
- Have an egg-tastic Easter!
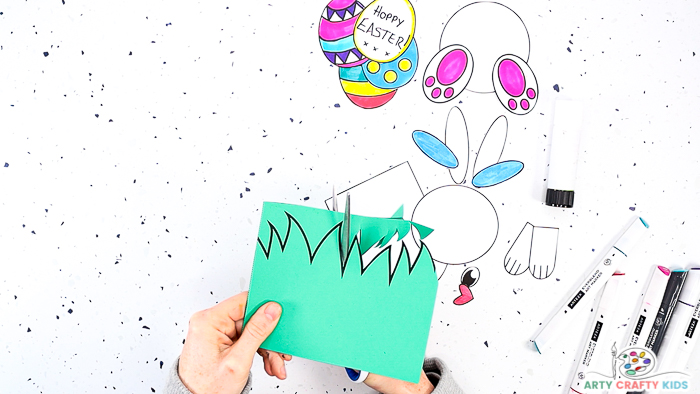
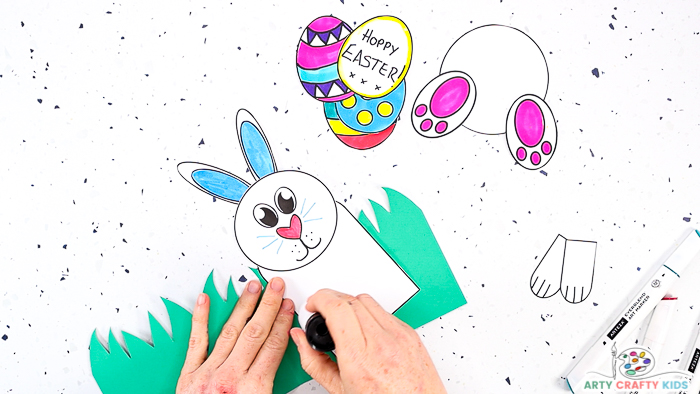
Step 4: Fold the Easter Card in Half and Cut Along the Grass Line
Fold the green Easter card in half and carefully cut along the grassy edge to form the base of the Easter card.
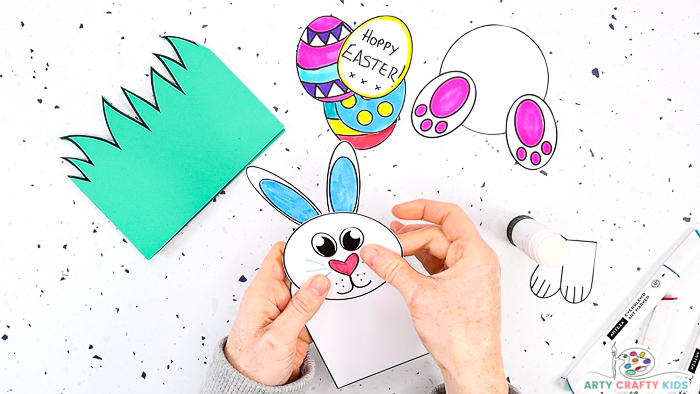
Step 5: Assemble the Bunny’s Head and Draw a Smile and Whiskers
Glue a pair of eyes and a nose to the oval shape to form the bunny’s head.
Next, glue the inner ears to the outer and affix them to the bunny’s head.
Complete the bunny’s face by using a marker pen to draw a smile and whiskers.
Step 6: Affix the Bunny’s Head to the Body Element
Apply a spread of glue to the top of the bunny’s body and affix the center of the head onto the glue.
Step 7: Apply a Generous Spread of Glue to the Bunny’s Body
Next, add a spread of glue along the bottom area of the of the bunny and then turn it over and affix it inside the card facing away from you.
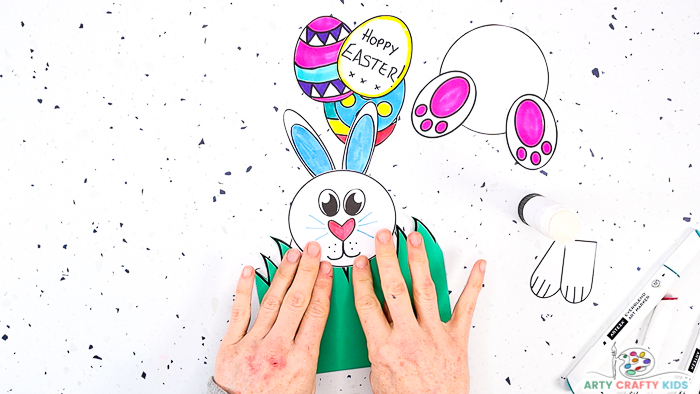
Step 8: Affix the Bunny to the Inside the Easter Card and Lift the Bunny’s Head Over the Grassy Edge
Gently lift the bunny’s head to rest on top of the grassy edge.
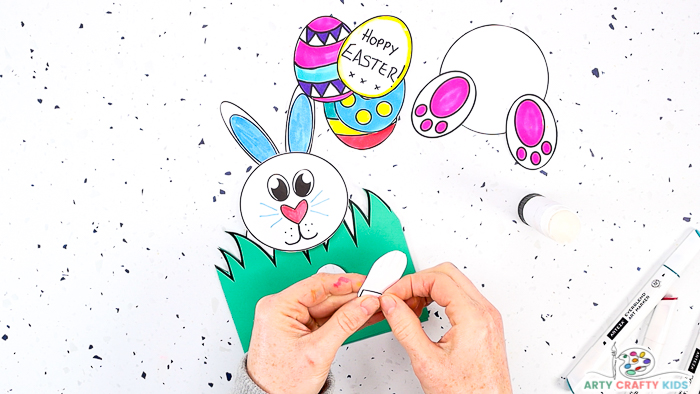
Step 9: Fold the Flat Edges of the Bunny’s Arms to Create a Flap
Fold the ends of both of the bunny’s arms to create a flap – they should be no more than 1cm wide.
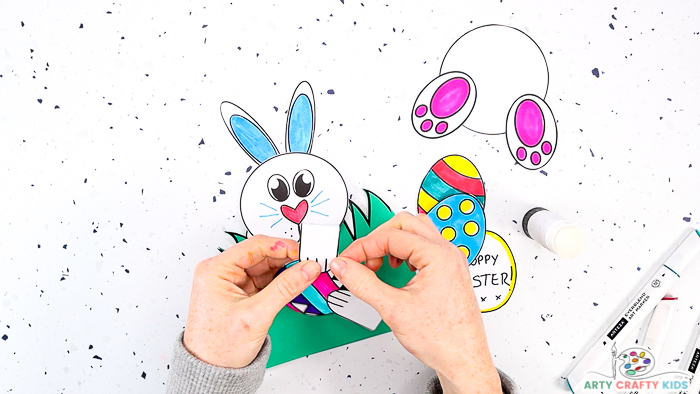
Step 10: Choose an Easter egg and Affix a Pair of Paws
Select one of the decorated Easter eggs and glue a bunny paw on either side of the egg.
Step 11: Apply Glue to each Flap and Affix to the Front of the Easter Card
Next, apply a spread of glue to each flap and glue the arms to the front of the Easter card.
They should be positioned just under the bunny’s head.
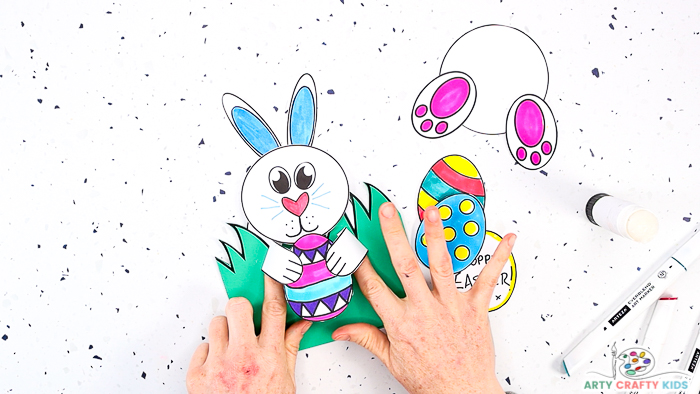
Push the arms in a little and the Easter egg will pop from the card!
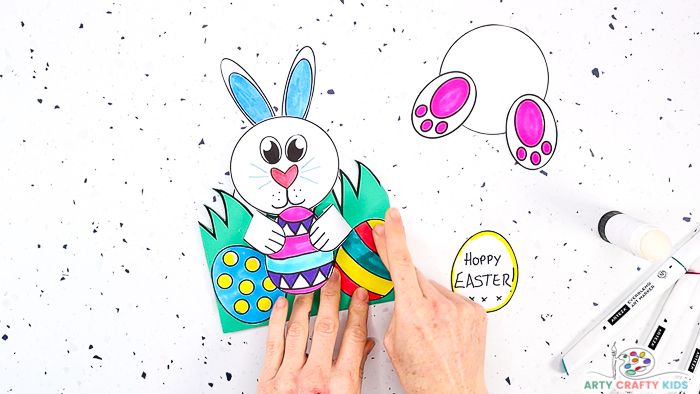
Step 12: Glue the Remaining Two Easter eggs to the Front of the Easter Card
Glue an Easter egg either side of the pop-up Easter egg, this will help to enhance the 3D effect.
Step 13: Open the Card and Glue the Bunny’s Bottom, Hind Paws and Fluffy Tail onto the Back of the Easter Card
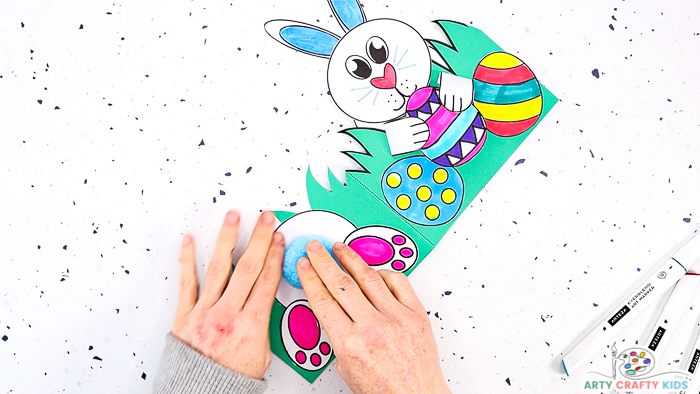
Open up the card and glue the round bottom onto the back of the card.
Next, glue the hind feet and the large colored pom-pom for the bunny’s fluffy tail.
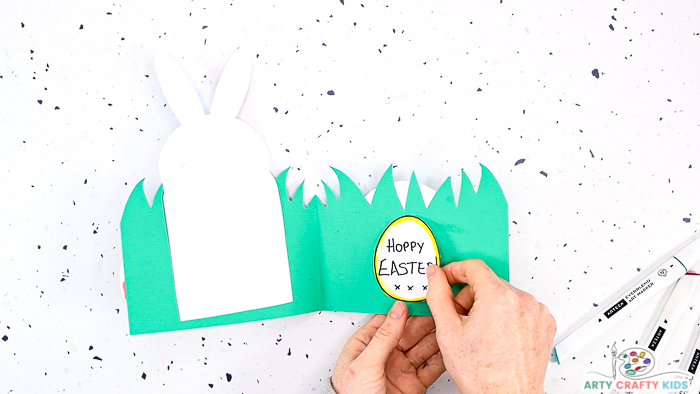
Step 14: Open the Bunny Card and Glue the hand-written Easter egg Message
The adorable Easter Bunny card is now complete and ready to gift to someone special.
For more fun with 3D effects and Easter crafting, why not take a look at these related ideas and make an entire day out of making bunnies, eggs, chicks and more!
3D Printable Rabbit Craft
How to Draw a Bunny
Rocking Bunny Card for Easter
Rocking Chick Card for Easter
Moving Eyes Chick Craft
Bunny and Easter egg Paper Toys
As always, we love to see Arty Crafty Kids’ creativity in action and if you happen to share their completed makes on social media, please do give us a tag or/and use the #artycraftykids – happy crafting!
More from the Easter Arts and Crafts from the Arty Crafty Kids Members Area:
-
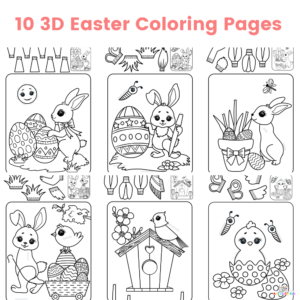
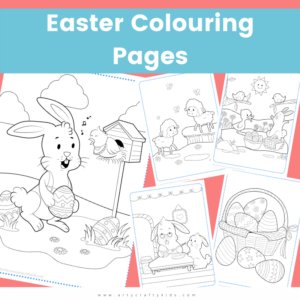
 10 3D Easter Coloring Pages
 -
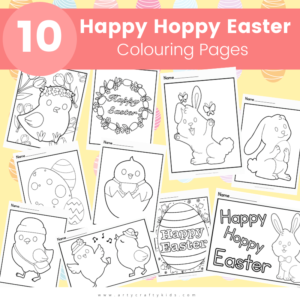
10 Happy Hoppy Easter Colouring Pages
-
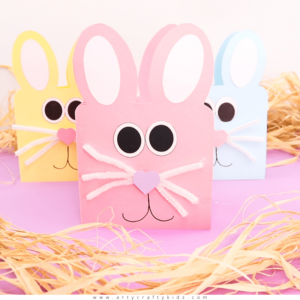
Easy Easter Bunny Cards
-
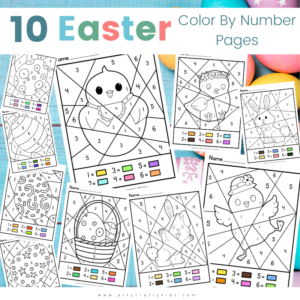
10 Easter Color By Number Pages
-
Easter Egg Drawing Prompts
-
Easter Bunny Treat Craft
-
Rainbow Easter Egg
-
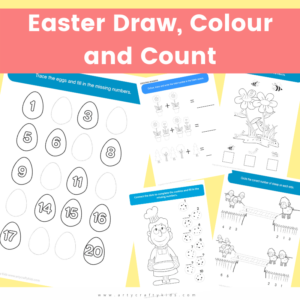
Easter – Draw, Colour and Count
-
Easter Colouring Pages
-
Easter – Draw, Colour and Count
-
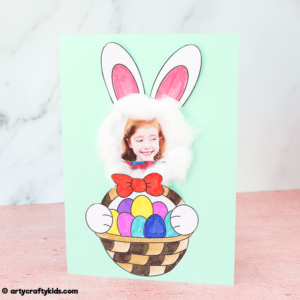
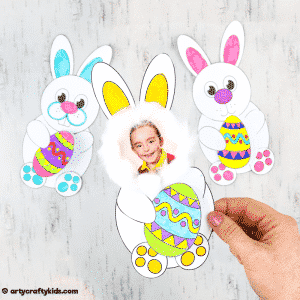
Easter Bunny Photo Card
-
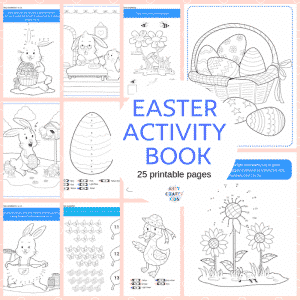
Easter Activity Book
-
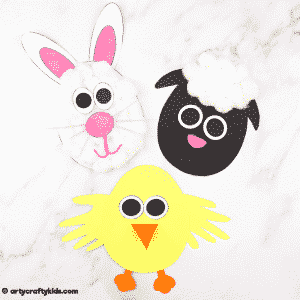
Easter Egg Animals
-
Easter Bunny Cards
-
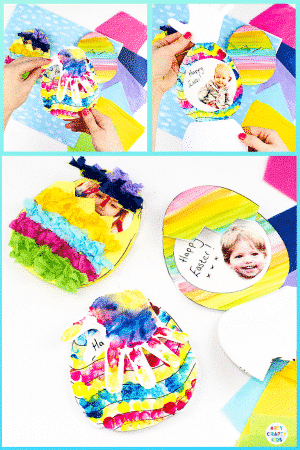
 Photo Surprise Easter Egg Card
 -
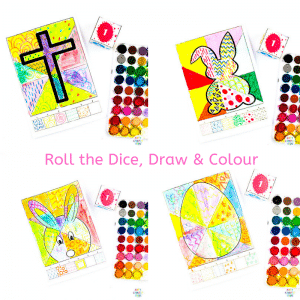
Roll the Dice, Draw and Colour Easter Pack
-
Bobble Nose Easter Bunny
-
Easter Egg Outline