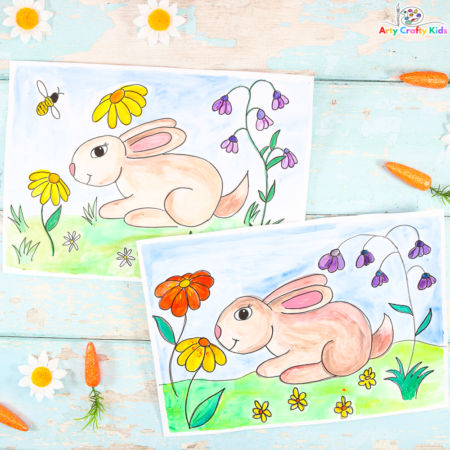
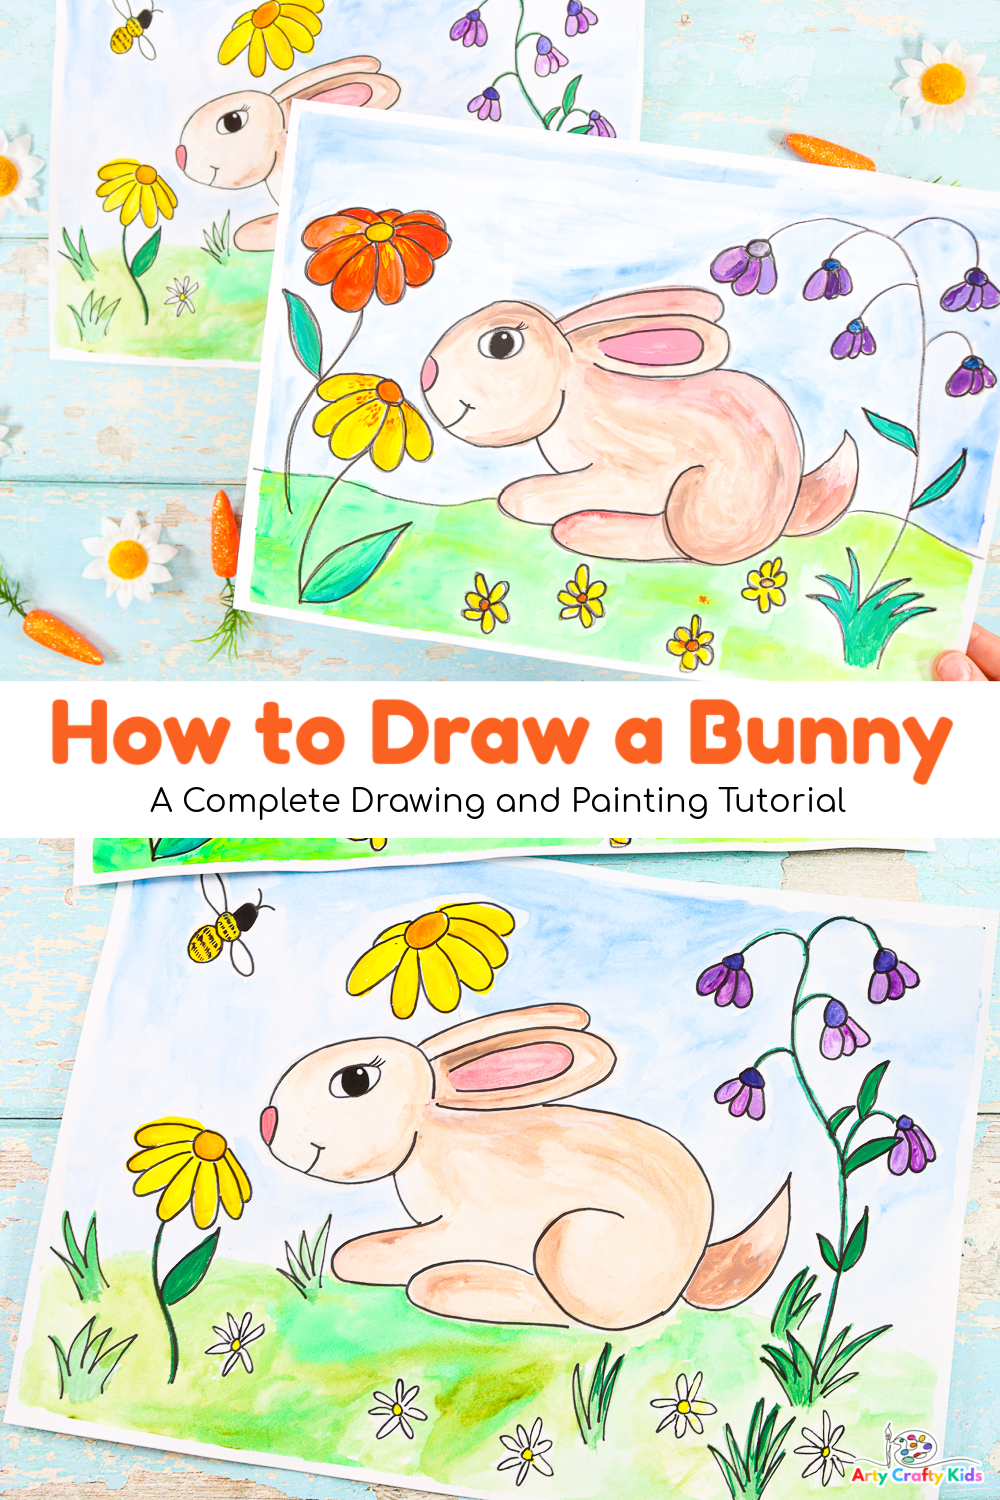
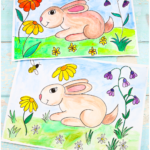
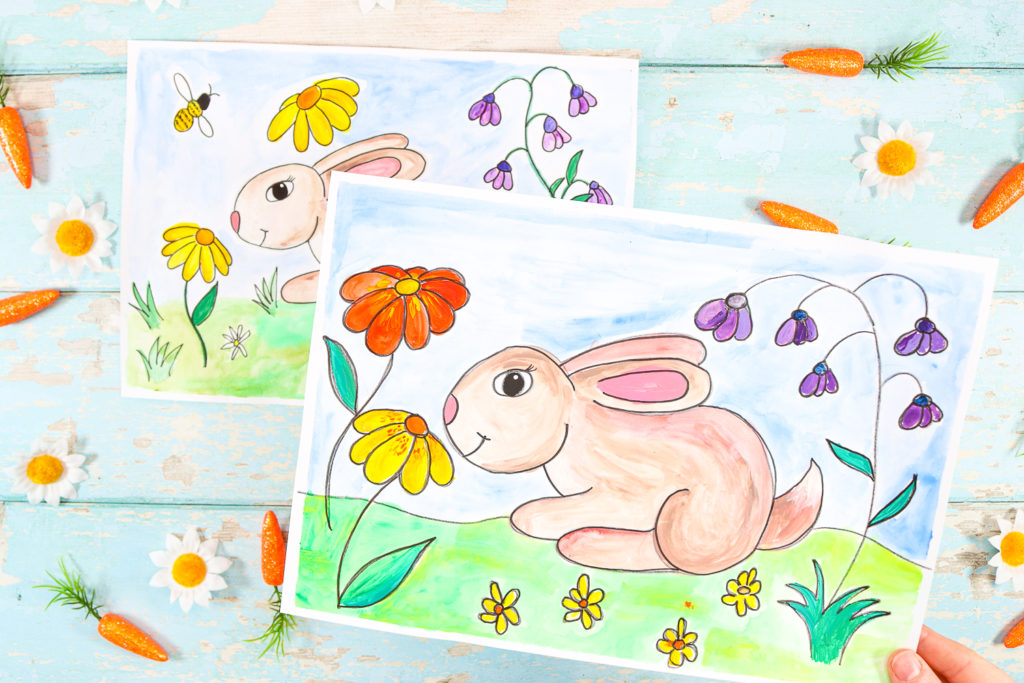
Draw a cute bunny rabbit that stands out from the crowd by following our step-by-step How to Draw a Bunny and Painting Tutorial!
Whether your children are taking inspiration from popular bunny characters such as Peter Rabbit, Bugs Bunny or depictions of the Easter bunny…
Our simple drawing tutorial will teach your kids how to form the basic shape of a really cute bunny.
Once they’ve mastered the curves and lines to form their pictures, our tutorial invites your Arty Crafty Kids to have fun with the drawing. They can use their creativity to personalize their rabbits, creating smooth coated or fluffy furry bunnies, big or small, realistic or cartoon in style.
- How to Draw a Bunny – Draw the Cute Bunny Shape in just 7 Steps!
- Not a Member?
- Watch the How to Draw a Bunny Tutorial
- Let’s Draw a Super Cute Bunny in 7 Steps!
- Step 1: Draw the Bunny’s Head
- Step 2: Draw the Bunny’s Ears
- Step 3: Draw the Bunny Rabbit’s Back and Hind Leg
- Step 4: Draw the Bunny’s Large Hind Leg
- Step 5: Draw a Second Shorter Leg above the First
- Step 6: Join the Head and Top Foot with a Short Rounded Line
- Step 7: Draw the Bunny Rabbit’s Nose, Eye and Tail
- Let’s Draw a Super Cute Bunny in 7 Steps!
- Add a Spring Time feel to the Bunny Rabbit Drawing
- How to Paint the Bunny Rabbit Drawing with Watercolors
- What is Flow Drawing?
- More Drawing Tutorials for Beginners and Kids
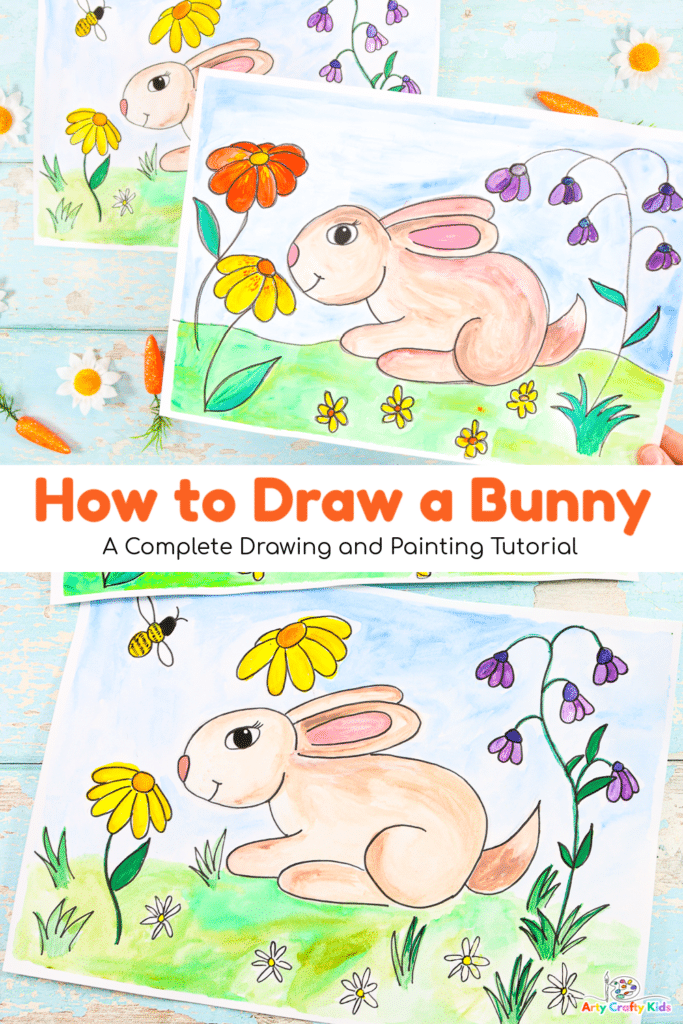
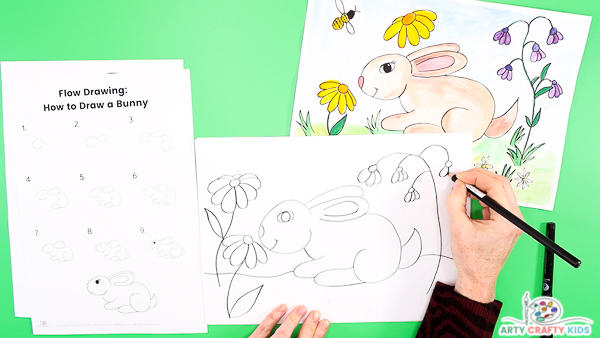
How to Draw a Bunny – Draw the Cute Bunny Shape in just 7 Steps!
Complete with a printable step-by-step illustrative instructions ( along side a written description), a video tutorial AND and a bunny coloring page, all you need to do is gather some paper, pencils, paint, and brushes, and hop into this bunny drawing and painting adventure!
Who is this Easy Bunny Drawing Tutorial for?
This step-by-step is designed for beginners and children from the age of 5 and beyond, which can be drawn in as little as 7 simple steps.
Materials:
- White Card Stock or Mixed Media Paper
- Pencil or Black Crayon
- Watercolor Paints
- A Variety of Paint Brushes
- Artist Tape
- Black Marker Pen
- Bunny Drawing Templates: Members will need to log in to access the templates:
Not a Member?

Watch the How to Draw a Bunny Tutorial
Let’s Draw a Super Cute Bunny in 7 Steps!
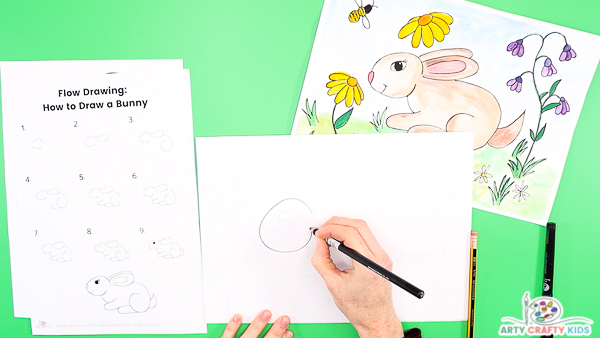
Step 1: Draw the Bunny’s Head
Using a pencil or crayon, start in the middle of the paper sheet and draw a simple round shape to form the rabbit’s head.
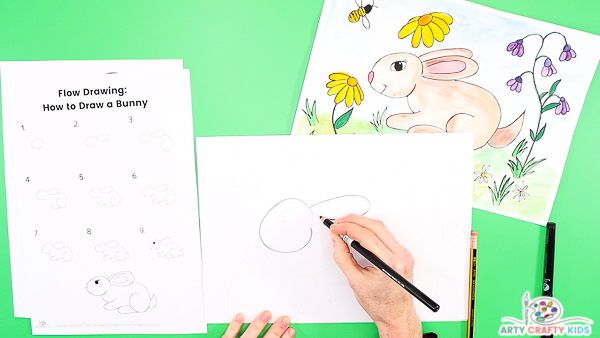
Step 2: Draw the Bunny’s Ears
From the top of the rabbit’s head, draw a long oval shape that stems away from its head. This will form the first of the bunny’s big floppy ears.
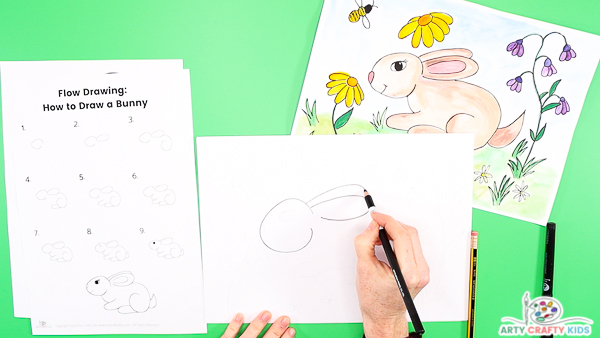
Draw a second ear to rest on top of the first.
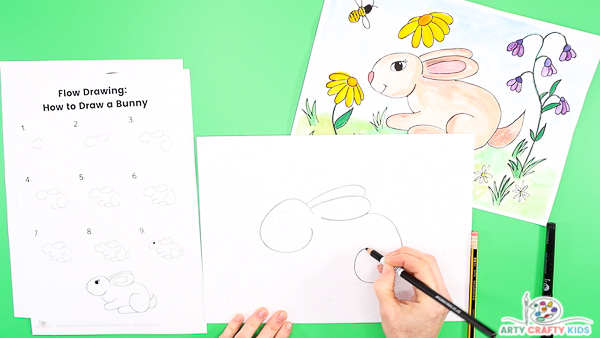
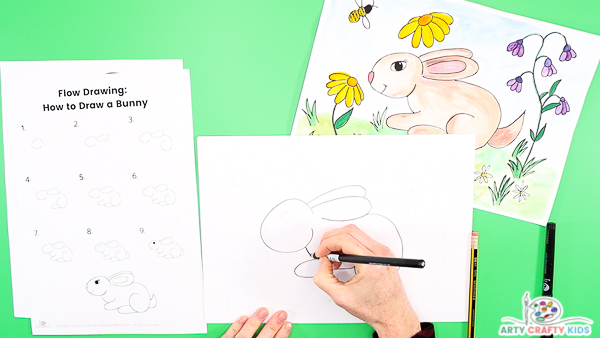
Step 3: Draw the Bunny Rabbit’s Back and Hind Leg
Connected to end of the rabbit’s ear, in one motion, draw a large curved line to create its back and the shape of a back leg.
The back of the leg will curl to form an incomplete circle shape.
If necessary, repeat the line over and over until the desired shape emerges.
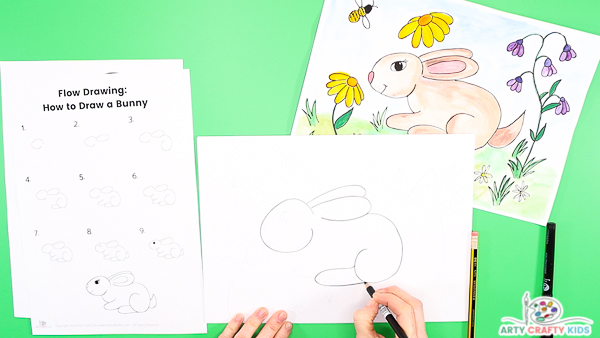
Step 4: Draw the Bunny’s Large Hind Leg
Draw a flattened long oval shape away (but connected) from the rounded shape. This will complete the bunny’s hind leg.
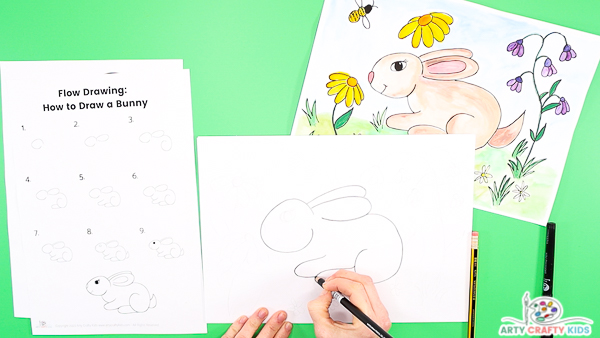
Step 5: Draw a Second Shorter Leg above the First
This leg should be shorter than the hind leg and closer to the bunny rabbit’s body.
Step 6: Join the Head and Top Foot with a Short Rounded Line
The basic bunny shape is complete and is ready for detail!
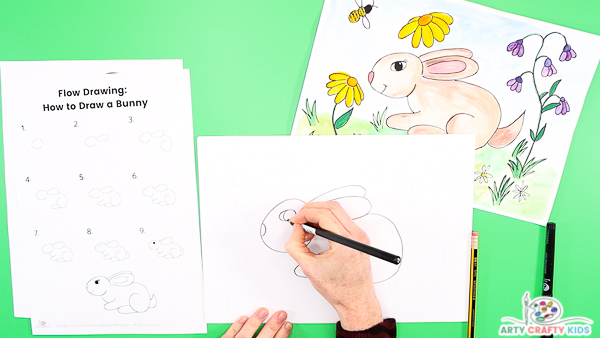
Step 7: Draw the Bunny Rabbit’s Nose, Eye and Tail
In keeping with the bunny’s body, we’ve kept the design of the bunny’s face simple to ensure it appeals and feels achievable for our youngest Arty Crafty Kids.
By drawing the bunny from a side angle with features consisting of circles and half-circles, it will take just a few pencil lines to produce an adorable little face.
To draw the eye, sketch a large oval (in proportion with the bunny’s head) that’s roughly inline with the big floppy ears.
And then draw a large circle in the center of the oval.
Just below the eye, along the curved line of the bunny’s head, draw a small semi-circle. This will form a cute button nose that’s perfect for sniffing the Spring flowers!

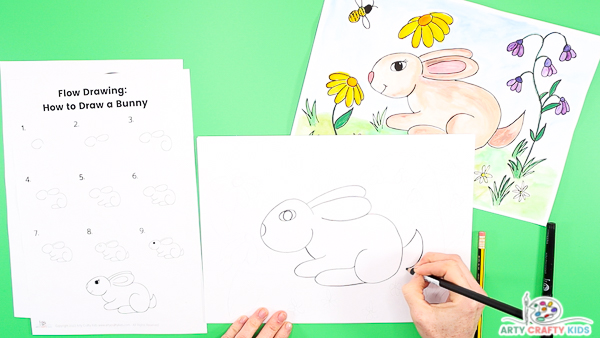
To complete the drawing, draw inner ear detailing and an optional cute smile and eye lashes.
For a more realistic appearance, add whiskers to the bunny’s nose and little dashed lines for fur and implied fluffiness.
Add a Spring Time feel to the Bunny Rabbit Drawing
With the soft and cute looking bunny complete, the remaining white space lends itself to a creative expansion of color and playful free-styled drawing and design.
Working within a Spring and Easter theme, Arty Crafty Kids could surround their bunnies with drawing of flowers, Easter eggs, rainbows or other cute bugs and animals; creating a full and bustling Spring meadow scene.
Useful Resources: To draw flowers – How to Draw Abstract Flowers, Tulips and Roses; To Draw Bugs – Butterflies and Bees.
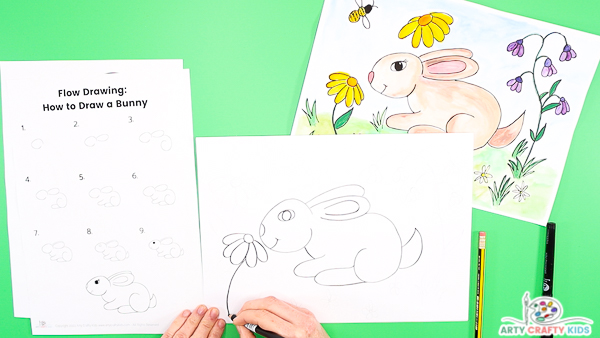
Draw Flowers
To illustrate a simple daisy-type flower, draw a small round circle.
Offset from the circle, draw a series of slightly over-lapping, side-by-side ovals to form petals.
From the blooming flower, draw a simple arched line to create the stem.
In this example, we’ve drawn the flower just below the bunny’s nose to suggest it’s sniffing the flower.
How to Paint the Bunny Rabbit Drawing with Watercolors
Simple Watercolor Techniques for Kids:
Watercolors are fantastic medium for kids to explore; they’re easy to use, versatile and help develop (in an hands-on fashion) an understanding of simple methods of color mixing, highlighting and shading.
With so many painting techniques to explore, kids’ have the opportunity to learn how different effects can be created by simply playing with paint to water ratios. It’s maths, problem-solving and creativity all wrapped up into one art package!
Here’s are a few of the techniques we regularly use within our art projects:
Wet-on-wet technique
Wet your paper with water using a clean brush and then add paint to the wet surface. The paint will spread and blend, creating a soft and diffuse effect.
Wet-on-dry technique
Apply paint to dry paper using a brush. The paint will stay where it is applied, creating a more controlled and defined effect.
Layering
Wait for one layer of paint to dry completely, then add another layer on top. This technique allows for depth and texture in your painting.
Dry brushing
Dip your brush into the paint, then remove most of the water by wiping it on a paper towel. This technique allows for fine lines and details, and can create a dry, textured effect.
Let’s Paint the Bunny!
To begin, prepare the canvas by applying strips of artist tape around the edges to secure it to the table, create a border and prevent wrinkling of paper ( applicable when painting on card stock).

Step 1: Paint the Sky and Grass using the Wet on Wet Technique
Apply a thin layer of water across the sky and grassy areas.
Next, dampen the brush and dip it into a blue or green color and paint the chosen area.
With the water pre-applied to the canvas, the paint should spread easily and be translucent in effect. Adding additional colors and shades will create a beautiful marble effect.
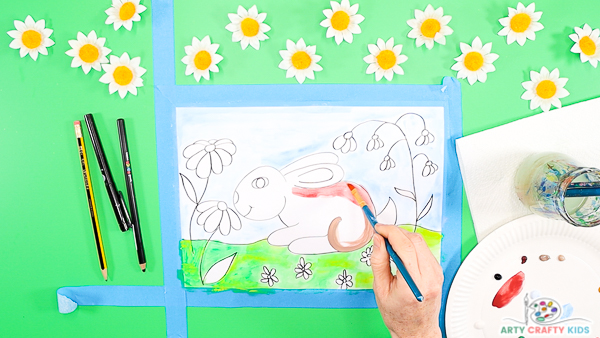
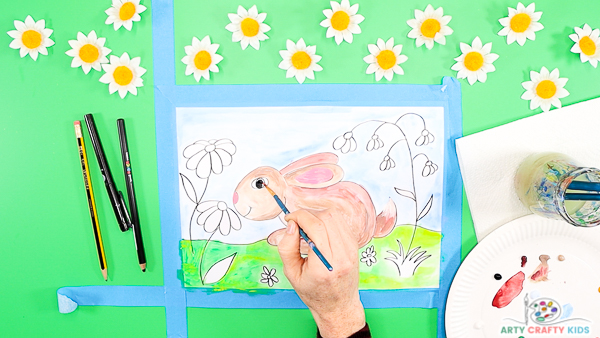
Step 2: Wet the Brush and Begin Painting the Bunny
Unlike the sky and grassy areas, leave the bunny dry.
Wet the brush and mix the water into your chosen colors for the bunny ( our example features 3 mixed shades: red, light brown, dark brown and white).
Use the darkest shade along the back of the bunny and follow the line around the outer curve of the leg.
Add lighter shades/colors along the dark line and blend together. Repeat this process until the bunny is fully painted.
When using the wet-on-dry technique, try experimenting with the ratios of water to paint:
- – Water > Paint = Light and translucent in effect color that’s easy to spread.
- – Water < Paint = Dark colors, thicker in consistency and trickier to spread
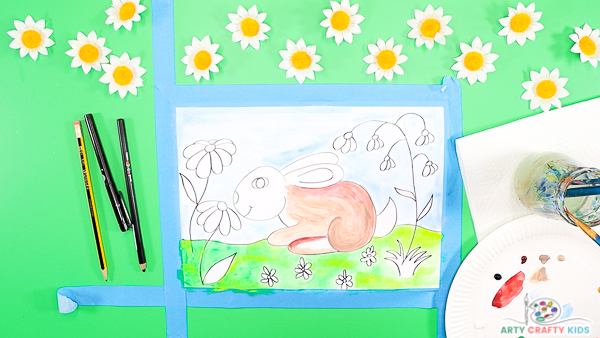
Blend the Colors to Create Highlights and Tone
Experimenting with the water to paint ratios within the bunny will help to create definition to certain features ( i.e. the back legs, foot, back arch etc) and create an overall tonal effect.
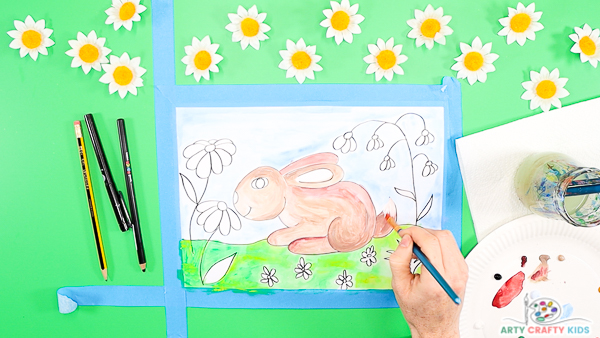
Use the Dry Brush Technique to Paint the Bunny’s Eye
Using a dry brush to paint the bunny’s eye and ears will create bold colors; providing a necessary contrast between its facial features and tonal body – it enables the eye to pop from the page!
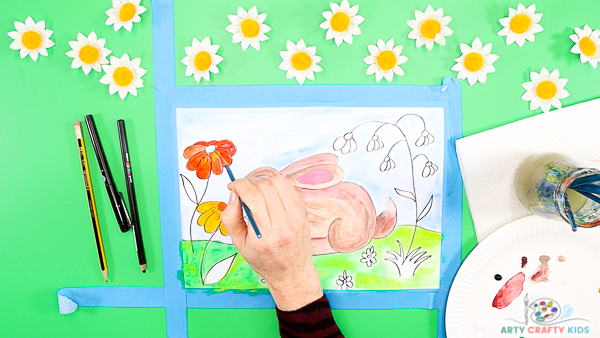
Paint the Flowers
The flowers can be painted with a combination of techniques.
Try using the wet-on-dry technique to the paint the petals of flowers, adding two or three similar shades to create pretty blends.
And once the petals are painted, use a dry brush to add bold specs of color to an area of petal closest to their centers.
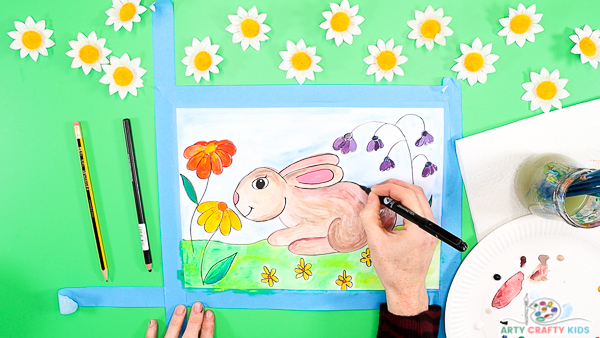
Outline the Bunny Drawing with a Black Marker Pen
Optional: Once the painting is complete, use a black marker to outline the bunny drawing.
What is Flow Drawing?
Flow Drawing is an art technique developed by us to encourage children to understand shapes and create illustrations, in a much ‘freer’ way.
By removing restrictions, flow drawing encourages children to fully engage in the moment and discover their natural flow, making every line count and bringing mindfulness to their creative process.
You can think of the flow drawing technique as a ‘how to draw’ guide with a difference – children won’t just draw a picture, they’ll create a unique work of art, right from their soul.
Flow Drawing Benefits:
Although the process of flowing more naturally in art might seem a little alien to children at first, it’s really worth encouraging them to have a go.
Flow drawing has so many benefits and helps little hands and minds to:
- Explore simple shapes and how they work together to create larger forms
- Discover their natural flow and rhythm through repetitive movements
- Learn how to combine mediums, with a fun and easy approach
- Build confidence in their own creative ability
- Combat ‘perfection-seeking’ in art, providing a much needed alternative to rigid ‘how to draw’ guides
- Bring mindfulness to the creative process and boost mental health
- Foster a love of art and self-expression.
More Drawing Tutorials for Beginners and Kids
At Arty Crafty Kids, we like to keep our drawing tutorials simple, and have a huge variety of easy drawing and painting ideas to explore:
-
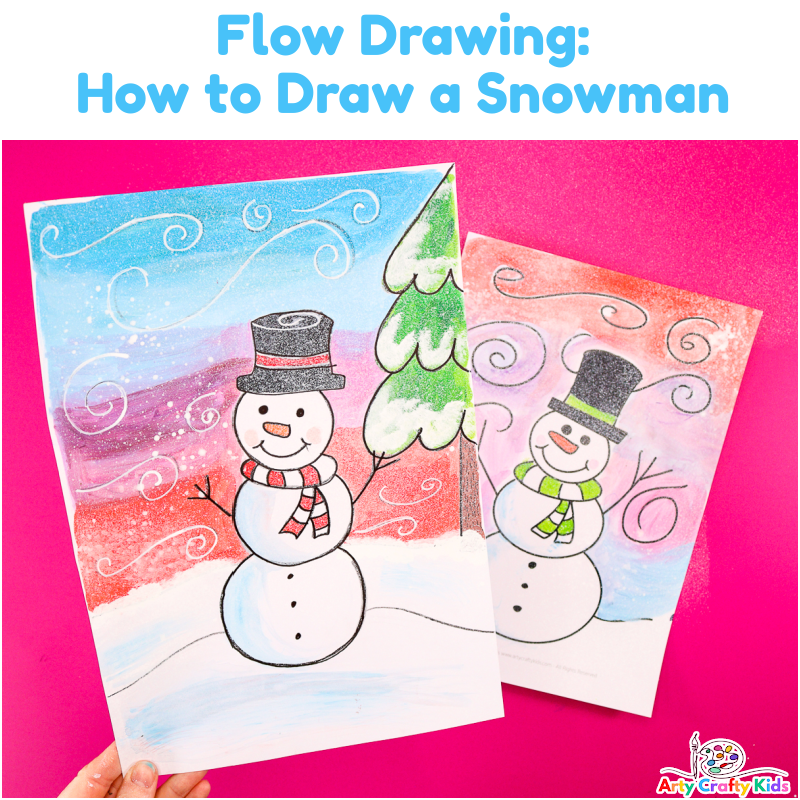
 Flow Drawing:How to Draw a Snowman
 -
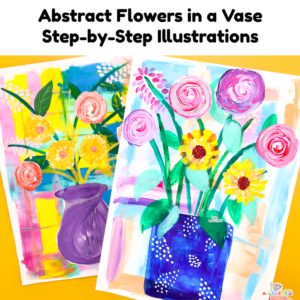
Abstract Flower in a Vase Step-by-Step Illustrations
-
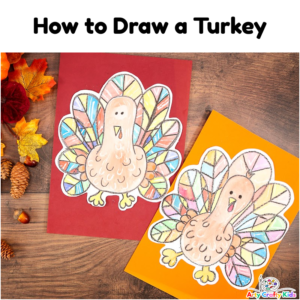
Flow Drawing: Turkey Tutorial
-
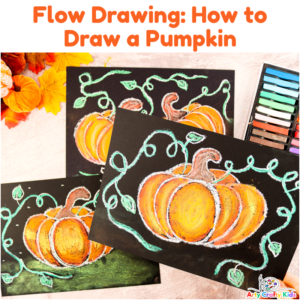
Flow Drawing: Pumpkin Tutorial
-
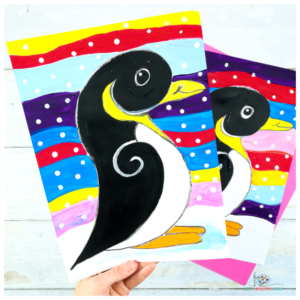
Flow Drawing Penguin Template
-
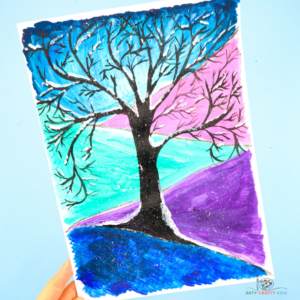
Flow Painting Snowy Winter Tree
-
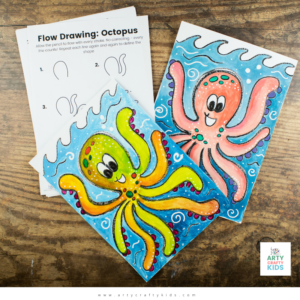
Flow Drawing Octopus Guide
-
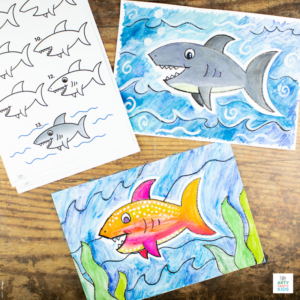
Flow Drawing Shark Tutorial
-
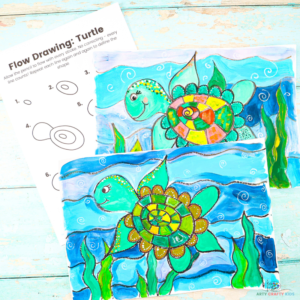
Flow Drawing Turtle Tutorial
-
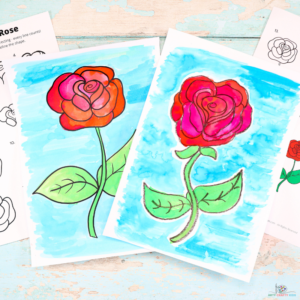
Flow Drawing: A Rose
-
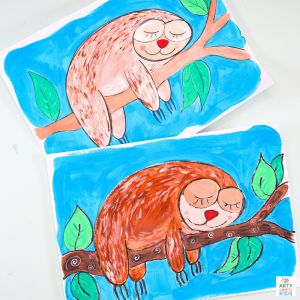
Flow Drawing: Step by Step Sloth
-
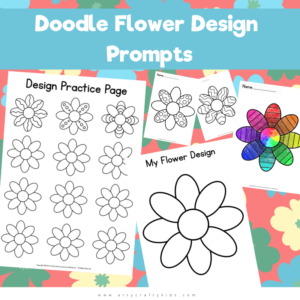
Doodle Flower Design Prompts
-
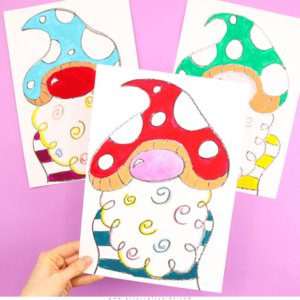
Flow Drawing: Toadstool Gnome
-
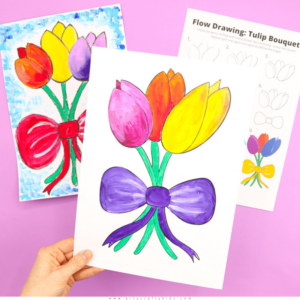
Flow Drawing: Tulip Bouquet
-
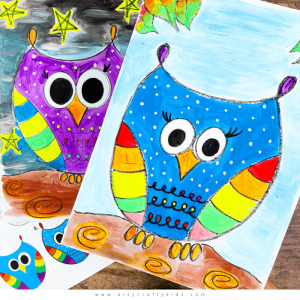
Flow Drawing: How to Draw an Owl
-
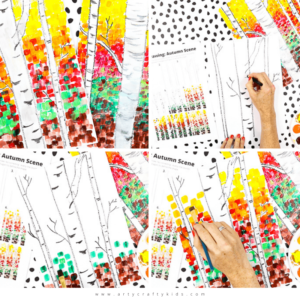
Flow Drawing: How to Paint an Autumn Birch Tree Scene
-
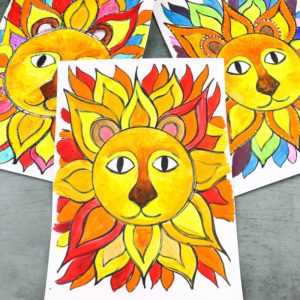
Flow Drawing: Sunshine Lion Art
-
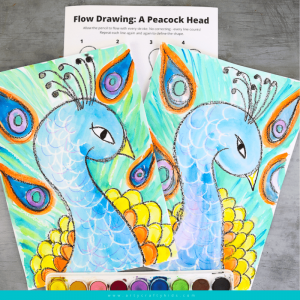
Flow Drawing: How to Draw a Peacocks Head
-
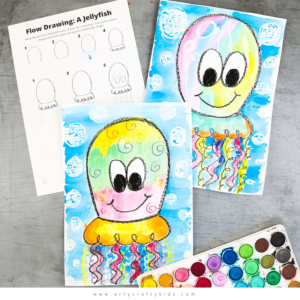
Flow Drawing: How to Draw a Jellyfish
-
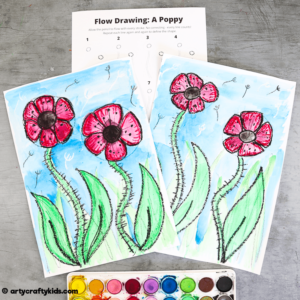
Flow Drawing: How to Draw a Poppy
-
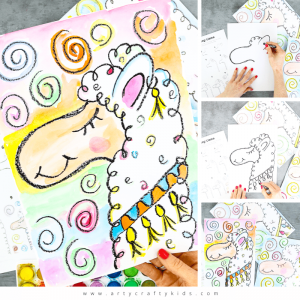
Flow Drawing: How to Draw a Llama
-
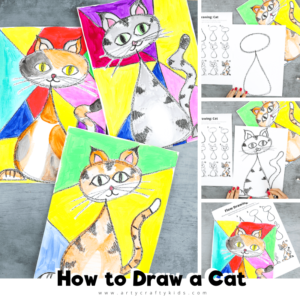
Flow Drawing: How to Draw a Cat
-
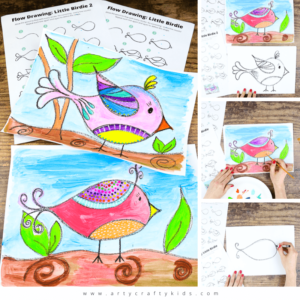
Flow Drawing: How to Draw a Little Bird
-
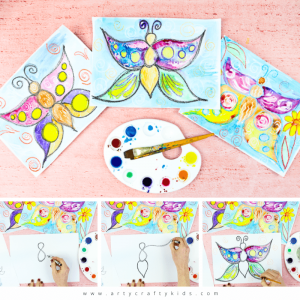
Flow Drawing: How to Draw a Butterfly