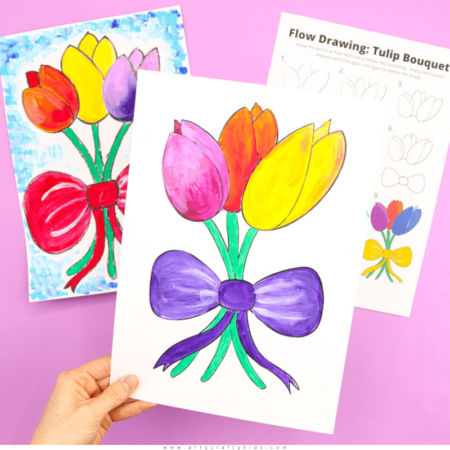
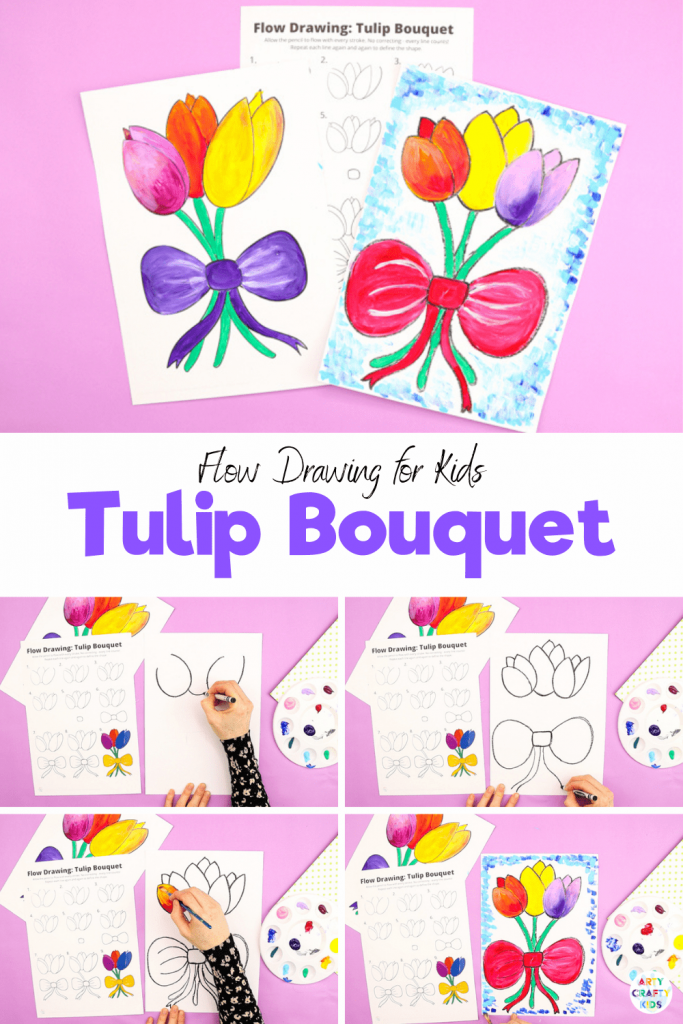
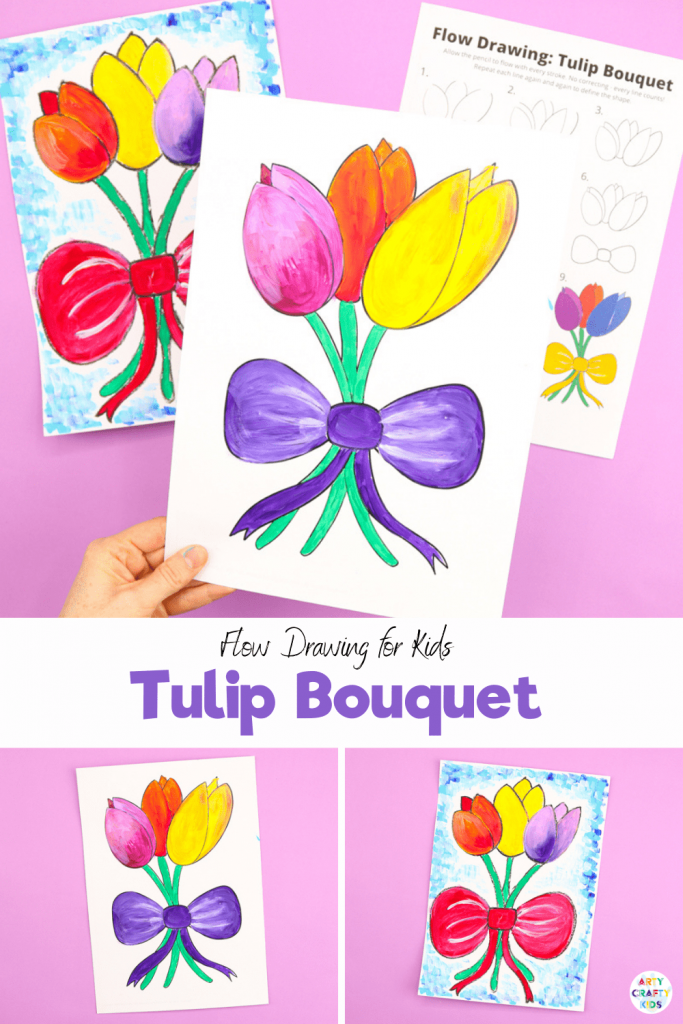
How to Draw a Tulip Bouquet: Learn how to draw a tulip with our easy to follow step-by-step guide. We encourage children to use simple shapes and lines to build their flower, often repeating lines for greater definition. Our tulip drawing guide uses a flow drawing technique that aims to engage children in natural and rhythmical strokes, making this easy step-by-step a great starting place for learning to how to draw flowers.
This pretty spring flower has the ideal shape for children to explore; it includes both curves and points, as well as layers of unfurling petals, for children to study perspective and depth. And since tulips naturally come in a range of bright and cheerful colors, they’re perfect to encourage children’s creativity as well.
The project is also a great way for children to explore color mixing. Literally using their artwork as the paint pallet, younger children can discover the basics of making colors and get a lovely tactile introduction to shading, whilst older children can explore light and shade, the intracies of tone and texture, and using color to create depth.
Our flow drawing guide to tulips makes a fun spring art project for kids of all ages; it’s a lovely creative way to support seasonal learning at school, or the perfect ‘no screen-time’ activity for rainy spring weekend days. And with Mother’s Day fast approaching, why not use this technique to create a card or special piece of art that Mom will treasure forever.
What is Flow Drawing?
Flow Drawing is an art technique developed by us to encourage children to understand shapes and create illustrations, in a much ‘freer’ way. By removing restrictions, flow drawing encourages children to fully engage in the moment and discover their natural flow, making every line count and bringing mindfulness to their creative process.
You can think of the flow drawing technique as a ‘how to draw’ guide with a difference – children won’t just draw a picture, they’ll create a unique work of art, right from their soul.
Flow Drawing Benefits:
Although the process of flowing more naturally in art might seem a little alien to children at first, it’s really worth encouraging them to have a go. Flow drawing has so many benefits and helps little hands and minds to:
- Explore simple shapes and how they work together to create larger forms
- Discover their natural flow and rhythm through repetitive movements
- Learn how to combine mediums, with a fun and easy approach
- Build confidence in their own creative ability
- Combat ‘perfection-seeking’ in art, providing a much needed alternative to rigid ‘how to draw’ guides
- Bring mindfulness to the creative process and boost mental health
- Foster a love of art and self-expression.
Flow Drawing: How to Draw a Tulip Bouquet
Materials
White Card Stock
Black Crayon or Oil Pastel
Acrylic or Watercolor Paint
How to Download the Flow Drawing Resources
The templates are available to members of the Arty Crafty Kids club.
Members will need to log in to access the templates:
https://www.artycraftykids.com/product/flow-drawing-tulip-bouquet/
Not A Member?

Watch the How to Draw a Tulip Step-by-Step Video
Let’s Draw a Tulip Bouquet and learn ‘How to Draw a Flower’!
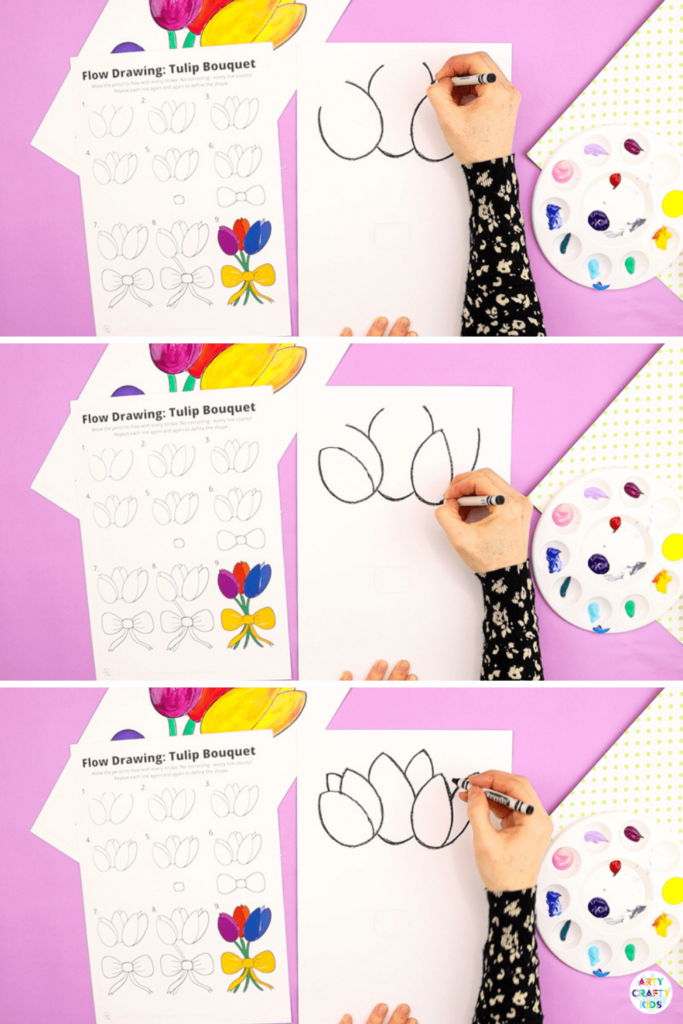
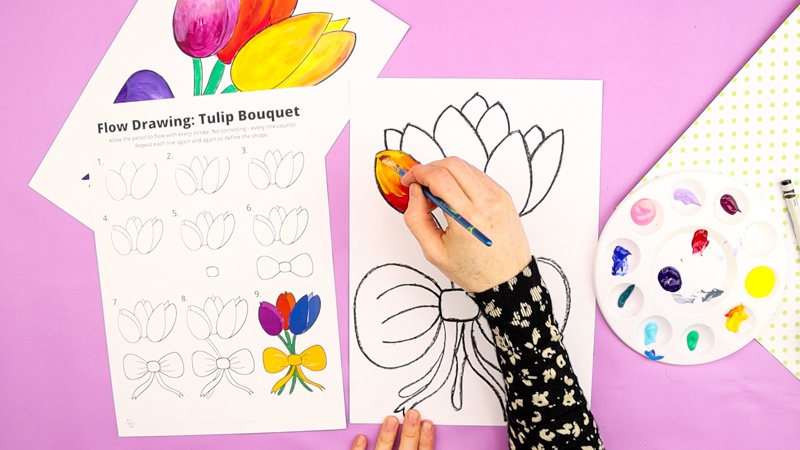
The Tulip Heads
We’re going to start with the most important part – the heads of the tulips – and we want them to fill most of the top third of your page. Beginning with the tulip on the left, draw down, around and up again like you’re drawing a large egg – but don’t finish it. Leave the top open, like a horseshoe; we’ll come back to the middle in a minute. Then draw the tulip head on the right in the exact same way. And create the final head by drawing between the first two, as if the tulips on the left and right are in front and overlapping the middle flower.
Once you have your three tulips in place, it’s time to complete the heads. From the top left of the horsehoes, draw a curved line down to the bottom of the head. Then a second, curved down from the right side. And finally, fill the gaps between the two by drawing a little ‘hat’ on top – it should create a diamond shape between the petals.
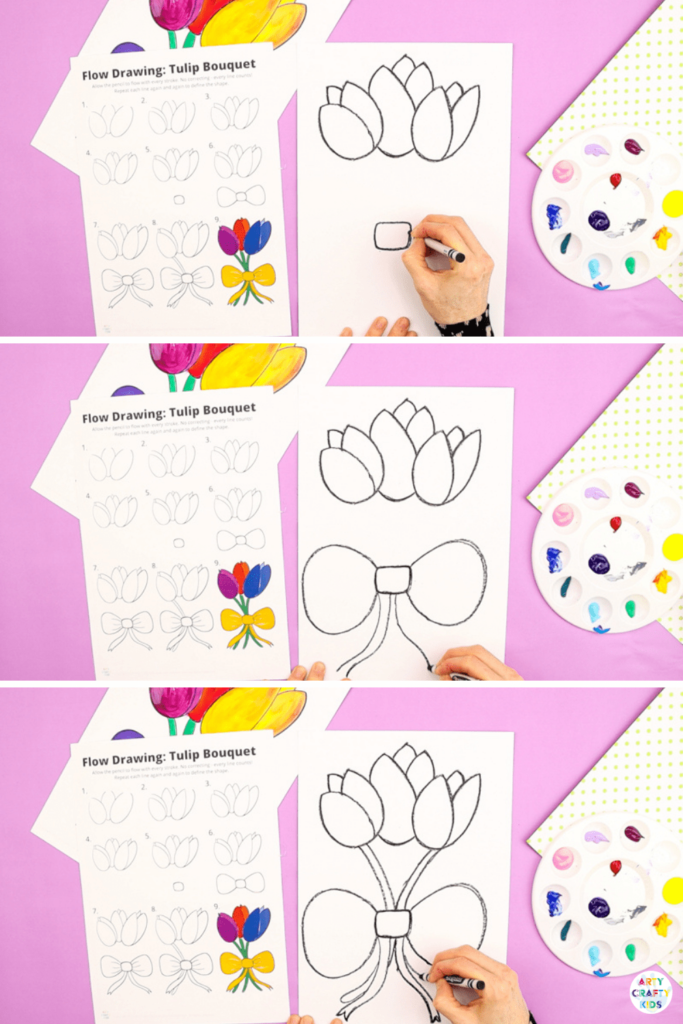
Add a Ribbon
To begin the bouquet, draw a square roughly in the center of your page. Now let’s add the big bows. On each side of the square, sweep up, out, down and around, back to the square again – it looks like you drew two large Micky Mouse ears! Finish your bow with two wavy ribbons flowing down from the central square.
Then its time to add the stems. First, connect the heads down to the central square of the bow. And then draw the ends of the three stems out from the bottom of the bow – try not to overlap your bow’s ribbons.
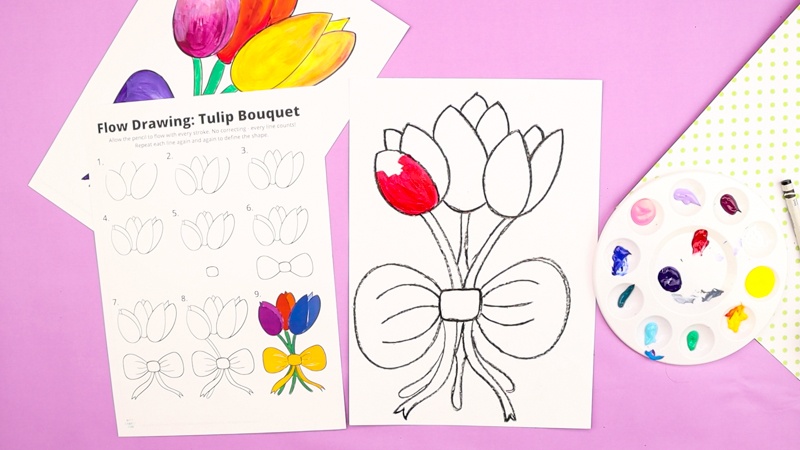
Color Mixing on Art
Now for the really fun part! We’re going to play with paint and create some lovely colors and tones. Have you ever noticed the beautiful blends of color that tulips have on their petals? Perhaps you could find some growing in the yard, or even buy a bouquet at the store, and take a closer look.
Start with a dark color as a base, and use it to create some extra depth around the bottom and the outer edges of the flower heads.
Then start to add a lighter complimentary color or shade on top and blend it in gently, top to bottom. It’s so easy, but what a gorgeous effect!
Just like the flow drawing concept itself, this ‘in the moment’ approach to color and technique really encourages creativity and self-expression and brings freedom to art – there are no mistakes, just discovery. It’s also a really hands-on and visual way to explore color mixing, whilst beautifully capturing the essence of tulips.

Once you’ve finished the tulip heads, it’s time to paint the stems. And whilst you were using complimentary colors on the petals, now why not think about contrast. Notice how the solid green creates a different look and feel to the blended colored heads.
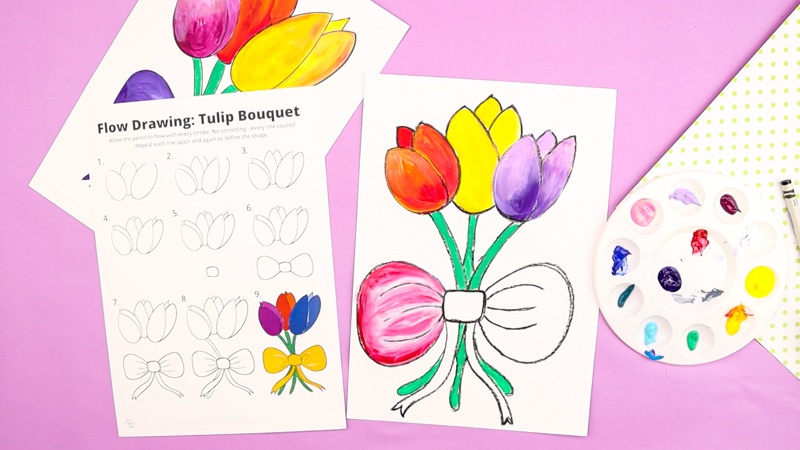
Finally, let’s paint the ribbon. This is another great opportunity to explore color and add tone – if you have a piece of ribbon at home in the craft draw, why not tie a bow yourself and take a closer look at where you see light and shade?
Just like you did with the tulip heads, use a combination of dark and light color to create depth in your bow. We painted the middle section white and blended red into it from the outer edges, but you can experiment with blending any way you like. And you don’t have to use just one color either!
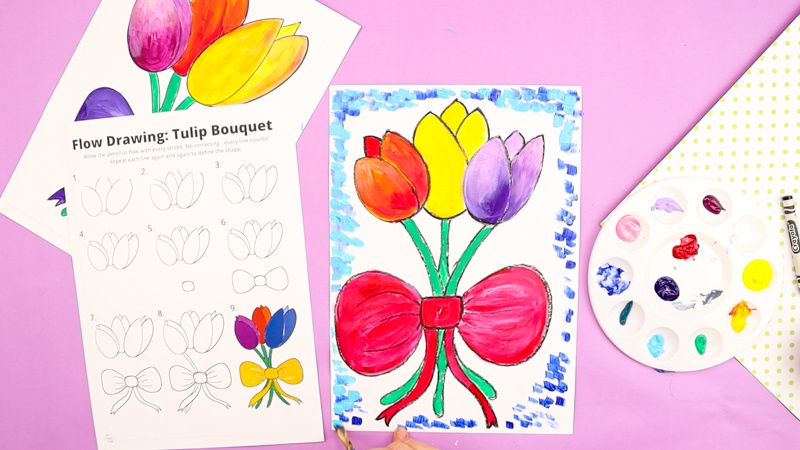
Add a Border
If you want to really show off your tulips, why not add a border or background? Layering up paint strokes adds another dimension and different texture to your finished artwork – and it helps the tulips to really pop! You could add blue like us, for a cloudless spring sky, or you could choose an abstract pattern of zig zags or polka dots. Or, if you’re creating a Mother’s Day piece, why not add some pretty love hearts?
And now your gorgeous artwork is complete! Whether you give it to your Mom, or hang it on the wall, we’d love for you to share and tag us on social media, and let us know if you’ve enjoyed exploring tulips with our latest flow drawing guide – how to draw a tulip. Maybe there’s another ‘how to draw a flower’ you’d like to tackle next?
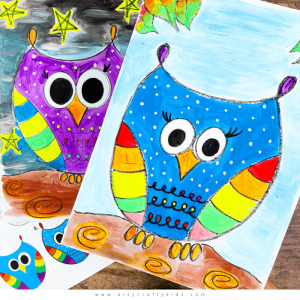
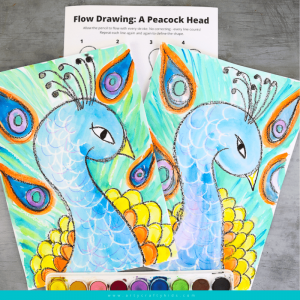
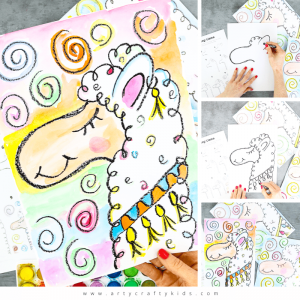
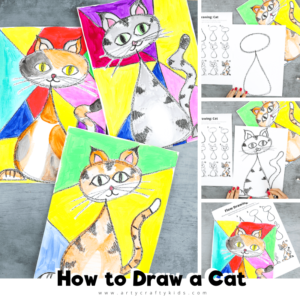
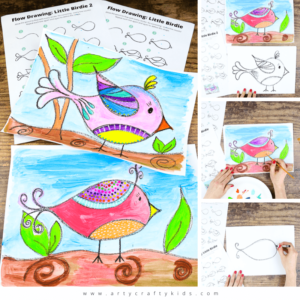
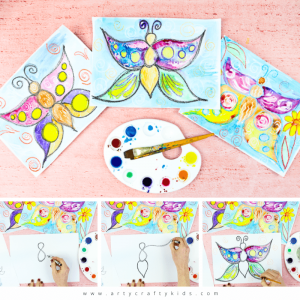
More Flow Drawing Guides for Kids:
If you have enjoyed our tulip tutorial, the first of our ‘How to Draw a Flower’ series, take a look at these animal how to draw guides from the flow drawing archives.