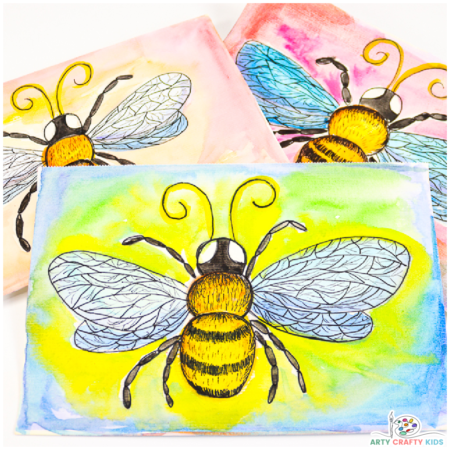
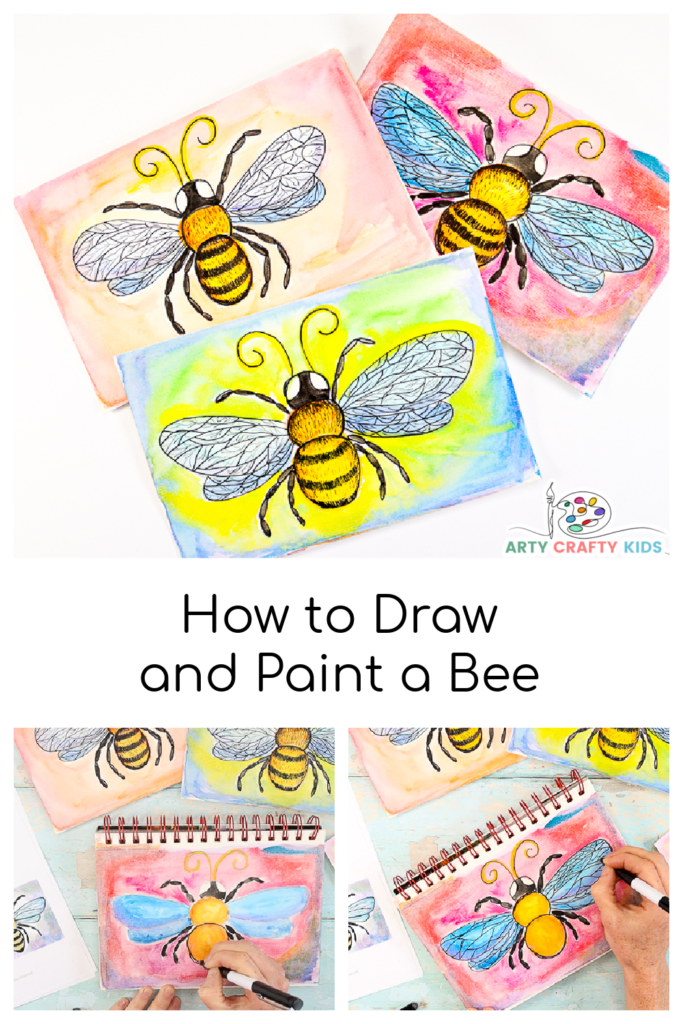
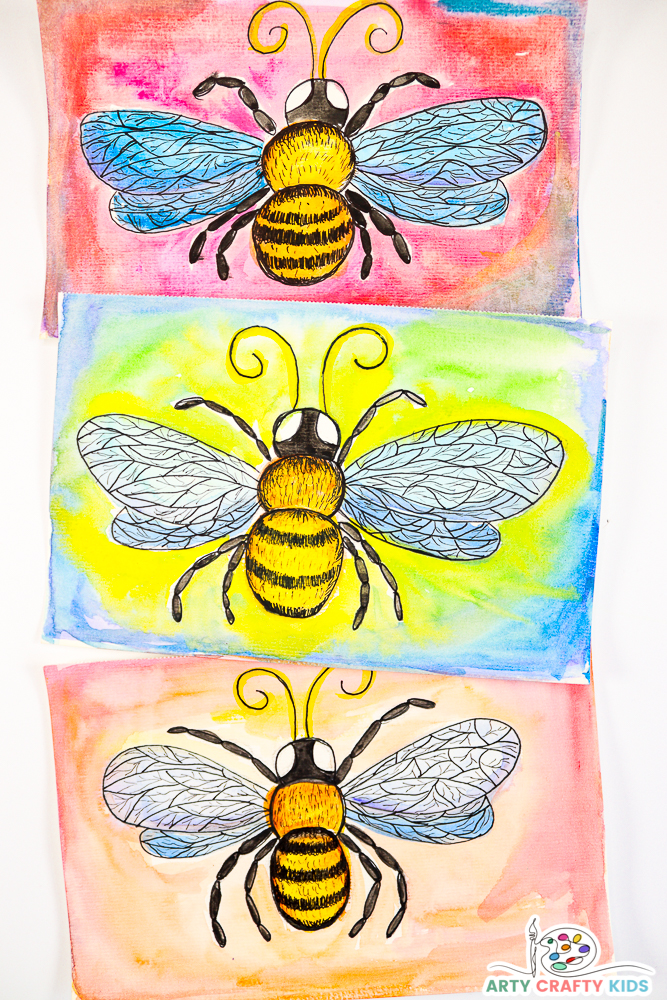
Learn how to draw a bee with our complete drawing and painting tutorial for kids and beginners! Our comprehensive tutorial will teach you how to draw a beautiful bee, framed by an explosion of color, in just a few easy to follow steps!
This buzzy bee has been designed with children and beginners in mind, and is drawn using a series of round shapes.
Combined with a simple and incredibly effective watercolor background, this attractive drawing and painting art project is super achievable for all!
And if you’re feeling particularly adventurous, why not also draw a rose to accompany the bee!
- Watercolor Painting with Kids:
- How to Draw a Bee | A Complete Drawing and Painting Tutorial for Kids
- Watch the Step-by-Step Bee How to Draw and Paint Tutorial:
- Learn More about the Flow Drawing Technique:
- More How to Draw and Paintings Ideas for Kids:
Watercolor Painting with Kids:
Watercolor paint is a fantastic medium for children who are learning to paint. They’re so much fun to use and are a great way for children to explore and fully experience colors.
Playing with water to paint ratios and mixing colors will create lots of interesting results and textures, which adds an immersive and experimental element to the process.
Watercolor Dots
Before delving into this buzzy bee art project, Arty Crafty Kids should spend a few minutes getting familiar with the watercolor paint…
Take a sheet of card stock or watercolor paper and experiment with water ratios.
Start with one color and apply a tiny amount of water to the brush and paint a dot. With such little water, the color will be bold and difficult to spread. The edges of the dot may also be rough and jagged in appearance.
Next, apply more water to the brush and spread the paint onto the inside of the mixing tin or mixing palette.
Paint a second dot. With just a little extra water, the dot should retain the bold pigment of the paint, but will be noticeably easier to spread and the outline of the dot will be smooth.
Little by little, continue adding water to the paint on the mixing palette. Create a new dot with each water addition and observe how the color dilutes with each application.
Challenge – How many new shades can Arty Crafty Kids create of each color on their watercolor palette?
How to Draw a Bee | A Complete Drawing and Painting Tutorial for Kids
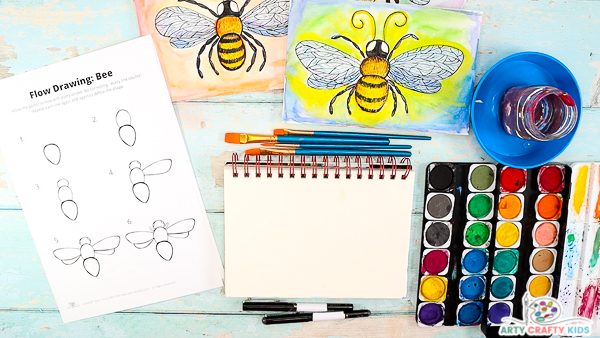
Materials:
- Watercolor Palette
- Watercolor Paper/Pad
- Flat and Round Tipped Paint Brushes
- Black Fine Tipped Pen (0.7+)
- Pencil
- Bee Templates ( Members will not to login for access)
Not A Member?

Watch the Step-by-Step Bee How to Draw and Paint Tutorial:
Draw a Rough Sketch of the Bee
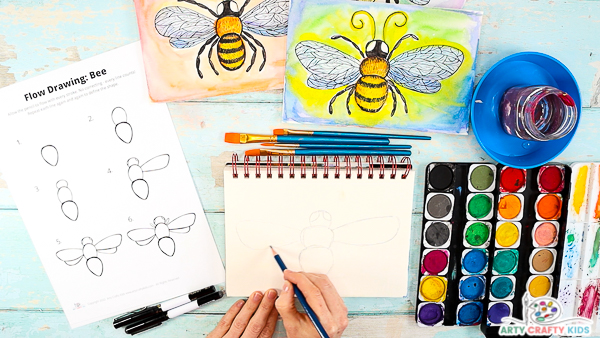
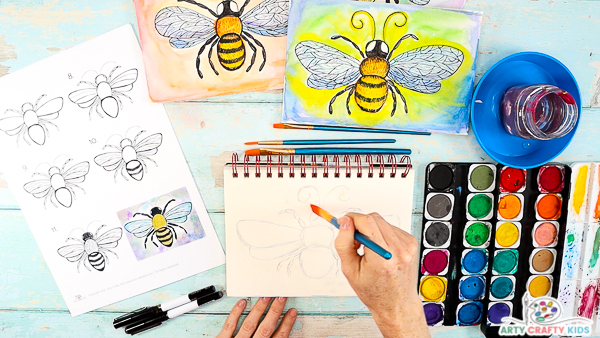
To begin, use the step-by-step ‘how to draw a bee’ guide to draw a rough outline of the bee in pencil ( for more detail, watch the video or skip to the “draw with ink” section).
If your Arty Crafty Kids intend to color the bee with watercolor paint, draw the bee directly onto watercolor paper.
Alternatively, use mixed media paper or card stock.
Introducing Watercolor Paint to the Bee Drawing
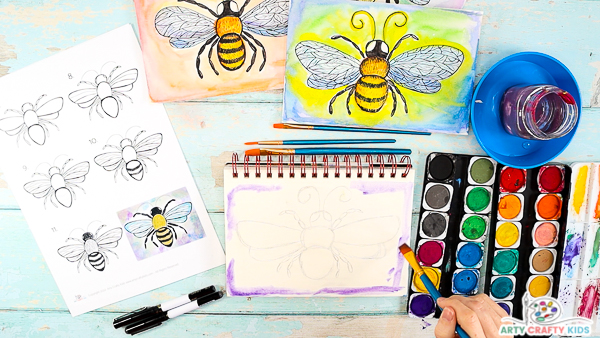
Wash the Paper with Water
Using a flat tipped brush, spread a layer of water around the edges of paper and up to the bee outline.
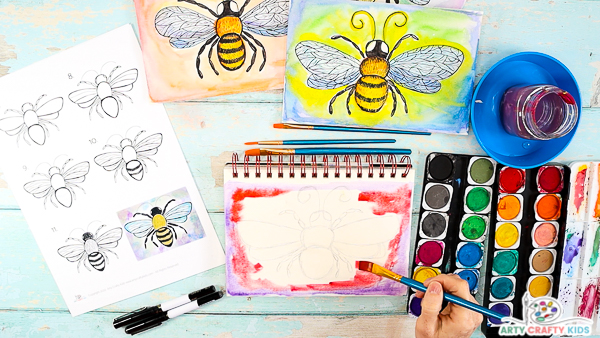
Dilute the Watercolor Paint
Next, select a color from the watercolor palette and apply it to a mixing palette.
Add water to chosen color on the palette, mix and dab it around the the edges of the watercolor paper.
With water already applied, the paint will spread quite easily. Encourage its spread with a paint brush and if necessary, add more water.
Add A Second Color and Begin Framing the Bee
As before, mix the second color with lots of water before applying it to the paper.
Again, dab the color onto the paper and add more water to encourage the two colors to blend.
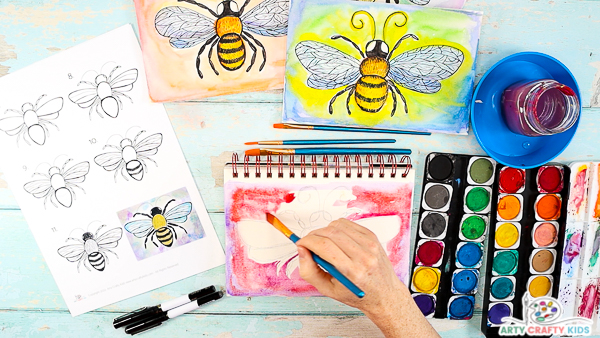
Continue the process of adding water and paint to the surrounding area of the bee.
Choose two, three or more colors, and simply mix on the paper, adding more water as you go.
Arty Crafty Kids will notice the water gives the paint a sense of natural movement, which can be manipulated and directed by a brush to create a beautiful textured and abstract background.
This part of the process is all about play and experimentation. It’s a fantastic opportunity to explore color contrast and mixing.
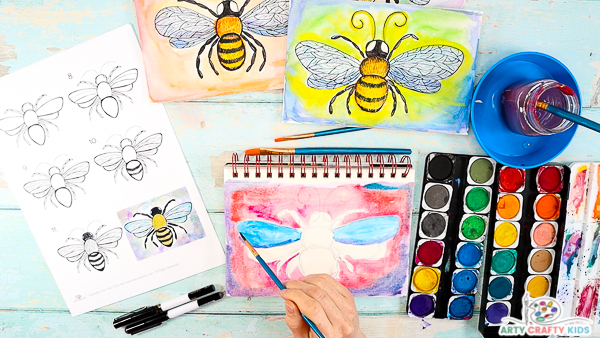
How to Color the Bee’s Wings
Select a round tipped brush and lightly dampen it before dipping it into the paint.
Color the bee’s wings a light shade of blue.
Next, add a slight outline of purple along the bottom of the bee’s first wing.
Paint the bottom wings a darker shade of blue.
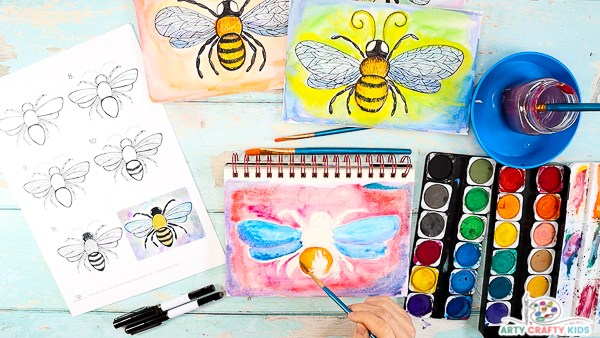
How to Color the Bee’s Body
Select an orange color and brush it around the bottom segment of the bee’s body.
Leave the middle area white.
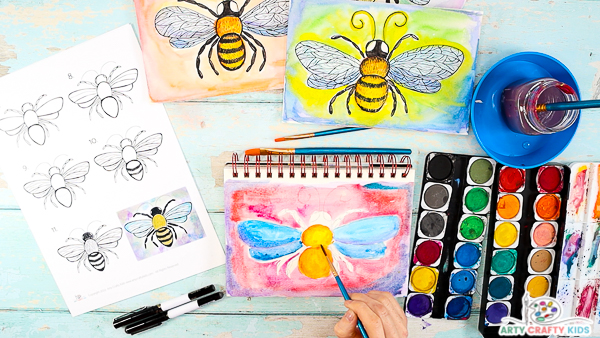
Blend with Yellow and Water
Add a shade of yellow to the middle area of the segment and blend into the surrounding orange.
To help the colors blend, add water.
The mix of these two colors will create a lovely texture and will help to add a sense of the dimension to the bee’s body.
Paint the second segment.

Paint the Bee’s Legs and Head Black
Next, fill the bee’s head and legs with black paint.
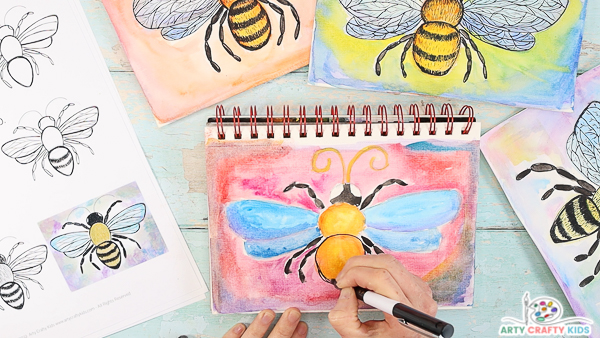
Let’s Apply the “Flow Drawing” technique to the Draw the Bee in Black Ink
If your Arty Crafty Kids were to grab a pencil and just draw a continuous circle, going over and over and over the same lines, a bold and defined shape will eventually occur.
In this instance, children are less focussed about drawing a “perfect circle” and simply draw in a flow that’s natural to them.
The outcome is the same, just without the pressure of perfection from the first stroke.
It is this ethos that we like children to tap into when they explore our tutorials and are starting out in learning to how to draw.
Every segment of the bee is round in nature; starting from the bulbous bottom segment of the bee’s body to the last oval segments of the bee’s top legs.
Each shape is built upon the other and as individual shapes, are easy to draw.
Arty Crafty Kids may simply repeat the lines until they form ( or not if they’re happy with the first attempt!) and while some elements of bee may not be same shape as others – it does not matter. It will all come together beautifully!
Draw the First Segment of the Bee
The bee is divided into three distinct segments; each built upon the over in a straight line and gradually reduce in size.
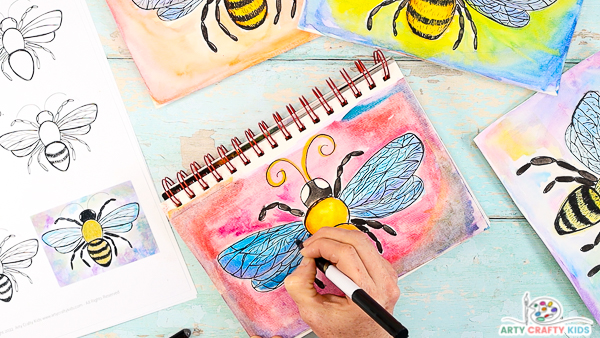
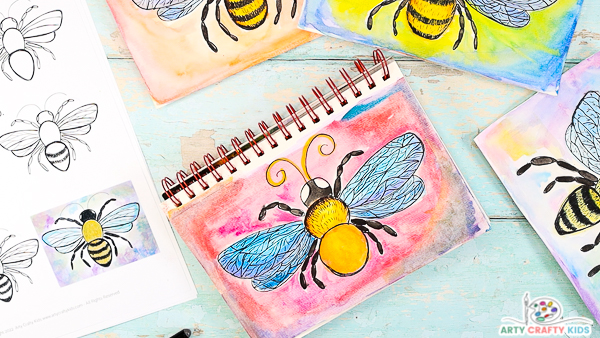
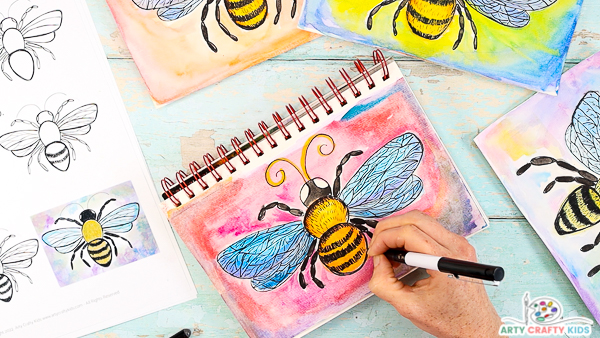
Once the watercolor has thoroughly dried, use a black fine tipped pen to draw around the bottom segment of the bee.
Draw the 2nd Segment and the Bee’s Head
Next, draw around the middle segment and the adjoining head.
Apply ink to the outline of the two white semi-circles within the bee’s head.
Draw the Bee’s Legs
The bee’s legs are made up of small, long and adjoining oval shapes.
Outline each oval with ink, repeating each shape for definition.
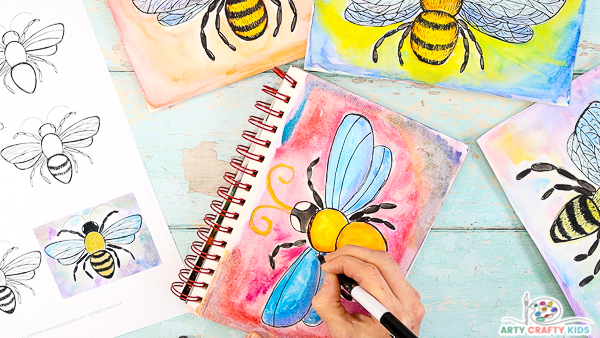
Outline the Bee’s Wings and Segment
Draw around both the outer and inner wings.
Next, draw two curved lines within the wings, stretching from the body to the opposite side of the wing.
Add a single curved line to each of the inner wings.
Create a “Stained Glass” Effect
Draw a series of smaller lines of various shapes within the wing dividers.
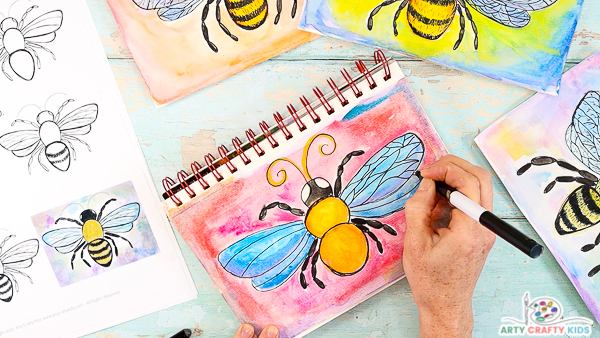
Enhance the Bee’s Wings
Next, go smaller again!
To create that “winged effect” draw additional lined detail within the wing segments… Imagine drawing lots of small tree branches with twigs off-shooting in different directions.
Draw the Bee’s Fuzzy Fur
Sketch a series of tiny black lines (same spaced and some over lapping) to create a fuzzy effect.
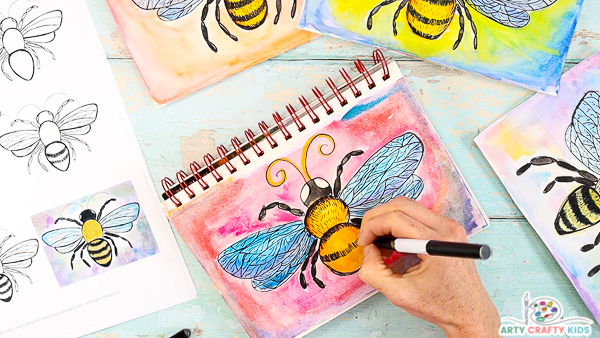
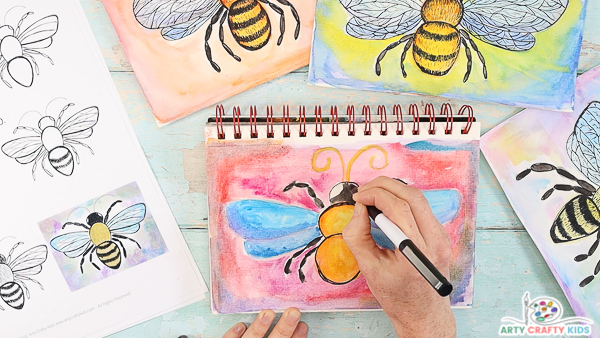
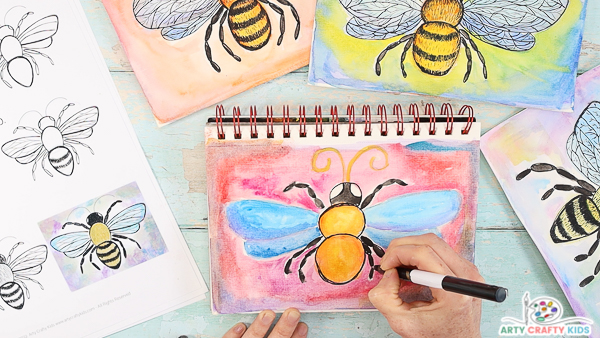
Draw Black Stripes Across the Bee’s Body
Next, draw the distinctive black stripes across the bee’s bulbous segment.
Thicken the stripes by overlapping the little black lines.
Once the stripes are drawn, the bee is complete!
The How to Draw a Bee Tutorial is Complete!
I hope your Arty Crafty Kids enjoy our bee tutorial!
For more spring themed drawing tutorials, take a look at our Four Seasons Tree Painting Idea, How to Dra a Bouquet of Tulips and How to Draw a Butterfly…
As always, we love to see your children’s completed works of art and if you happen to share, please do tag us on social media with your Arty Crafty Kids masterpieces!

Learn More about the Flow Drawing Technique:
What is Flow Drawing?
Flow Drawing is an art technique developed by us to encourage children to understand shapes and create illustrations, in a much ‘freer’ way.
By removing restrictions, flow drawing encourages children to fully engage in the moment and discover their natural flow, making every line count and bringing mindfulness to their creative process.
You can think of the flow drawing technique as a ‘how to draw’ guide with a difference – children won’t just draw a picture, they’ll create a unique work of art, right from their soul.
Flow Drawing Benefits:
Although the process of flowing more naturally in art might seem a little alien to children at first, it’s really worth encouraging them to have a go. Flow drawing has so many benefits and helps little hands and minds to:
- Explore simple shapes and how they work together to create larger forms
- Discover their natural flow and rhythm through repetitive movements
- Learn how to combine mediums, with a fun and easy approach
- Build confidence in their own creative ability
- Combat ‘perfection-seeking’ in art, providing a much needed alternative to rigid ‘how to draw’ guides
- Bring mindfulness to the creative process and boost mental health
- Foster a love of art and self-expression.
More How to Draw and Paintings Ideas for Kids:
If you are looking for more fun, easy and engaging how to draw and painting ideas for kids, take a look at these popular ideas!
-
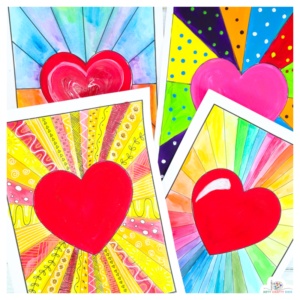
 Heart Art Sunburst Templates
 -
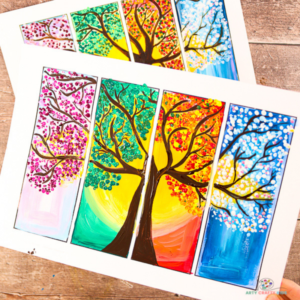
Four Seasons Tree Painting Templates
-
Blow Painting Mix and Match Monster Templates
-
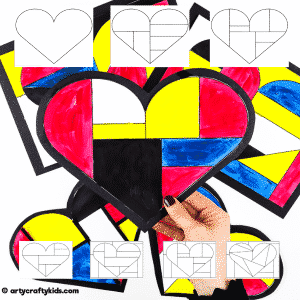
Mondrian Heart Art Bundle
-
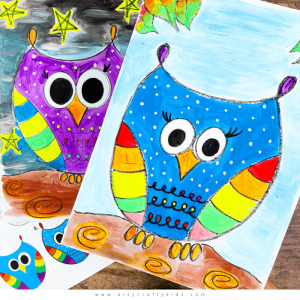
Flow Drawing: How to Draw an Owl
-
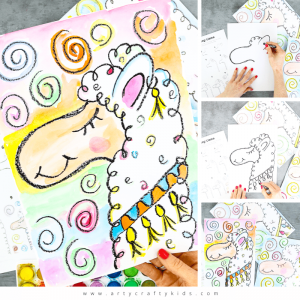
Flow Drawing: How to Draw a Llama
-
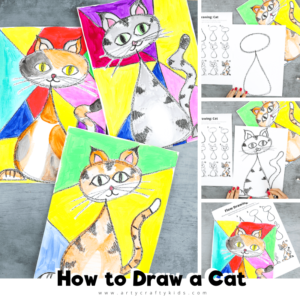
Flow Drawing: How to Draw a Cat
-
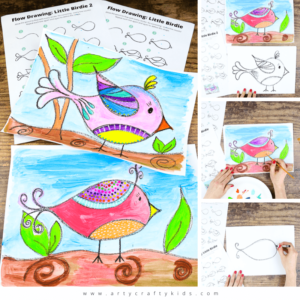
Flow Drawing: How to Draw a Little Bird
-
Pablo Picasso Faces Bundle