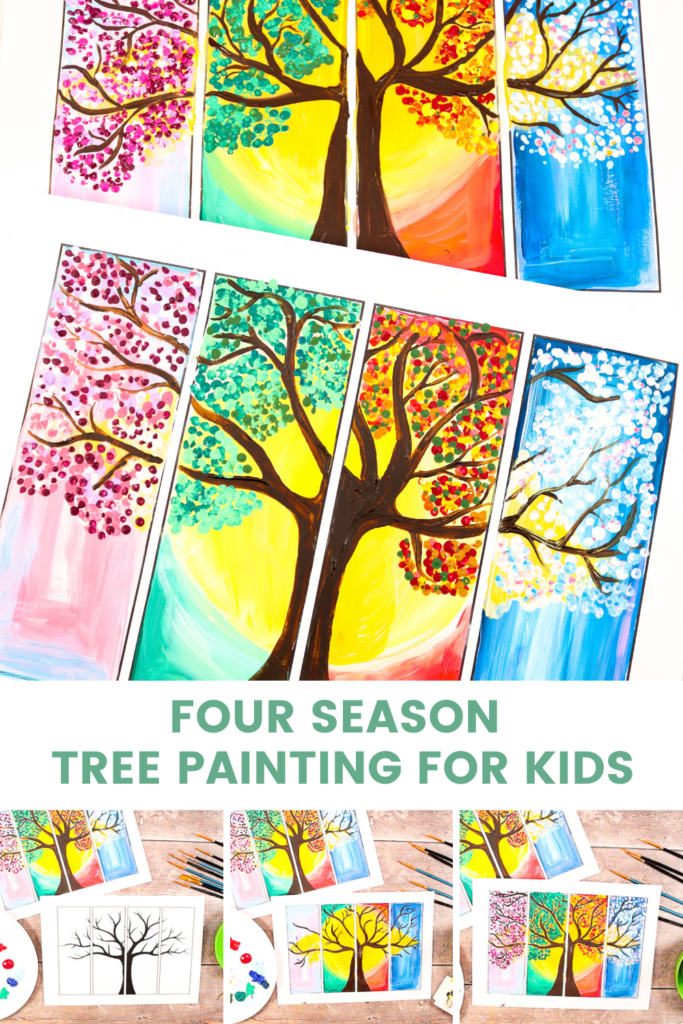
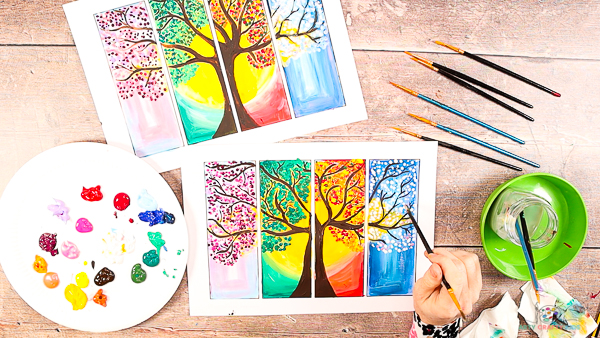
Looking for an easy art project for kids? Children and beginners can create their own beautiful four seasons tree painting with our easy to follow step-by-step tutorial.
Complete with a choice of two printable tree templates, the tree art project can be simplified or developed to suit children of all ages up to adulthood. Designed with an open-ended approach, this art project is accessible and achievable by all. Most of all, it’s an incredibly fun and engaging art project, that will leave artists with a sense of satisfaction.
How to Create a Four Seasons Tree Painting with the Kids:
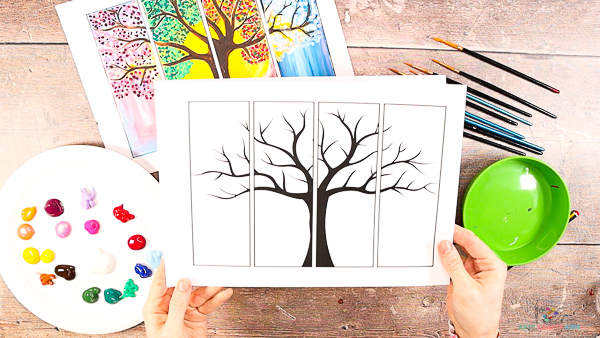
Materials:
- White Card Stock for Printing
- Acrylic Paint
- Fine Tipped and Flat Paintbrushes
- A Round Bowl or Object
- Pencil
- Optional – an Eco-friendly Q-Tip
What makes this tree painting an easy art project for Kids?
The Printable Tree Templates:
This has been designed as an easy project for kids of all ages, with two templates available to accommodate different levels of ability, artistic techniques and learning outcomes.
The template with the pre-drawn tree is perfect for young children who are beginning to explore paint and color. They can color in the backgrounds and use different artistic and printing techniques to complete the blossoms, leaves and snow. For example, preschool children may prefer (and find it easier) to complete their four season trees with fingerprints, bubble wrap or q-tips.
The second template is blank to promote an open-ended approach. Children and beginners may complete the template as inspired, using the four frames as a starting point.
How to Download the Four Seasons Tree Templates:
The printable download includes two printable templates:
one blank with rectangular frames and another complete with a tree.
The templates are available to members of the Arty Crafty Kids club.
Members will need to log in to access the template:
https://www.artycraftykids.com/product/four-seasons-tree-painting-templates/
Not a Member?

Watch the Step-by-Step paint along video to create a four seasons tree painting:
How to Paint a Four Seasons Tree with the Open Rectangle Template:
The movement of the sun drives seasonal change and its presentation within our four seasons painting aims to take the viewer and young artist on a journey.
From Spring, the days become brighter and longer until reaching a peak through Summer and Autumn, by which time the days gradually become cooler and shorter through to Winter.
Our tree is painted upon a backdrop of the Sun, with a shimmer of sun included within the Spring and Winter segments; the aim of this shimmer is to suggest a transition through the seasons.
This simplified presentation within the art project is perfect for opening up a discussion about seasonal change with Arty Crafty Kids and how it can be represented through color and symbolism within art.
Let’s start with the Sun:
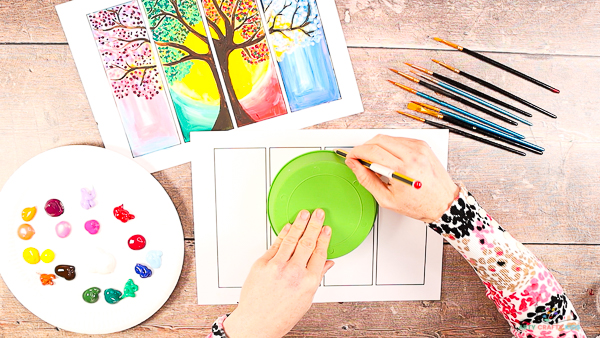
Draw Around a Bowl/Circular Object to Outline the Sun
Position a small bowl across two central segments and trace the outline with a pencil.
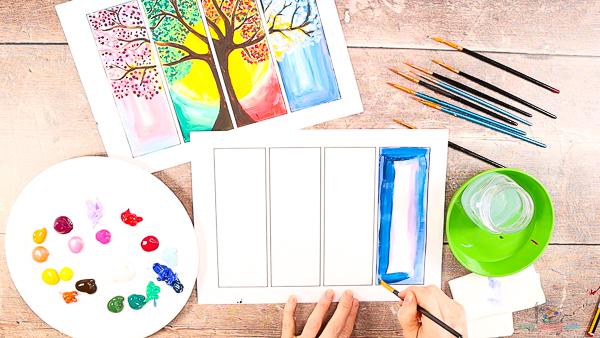
Choose a Season and Paint a Rectangle in an Associated Color
Before painting commences, Arty Crafty Kids should decide how the seasons should be ordered. Our four seasons art begins right to left – Spring, Summer, Autumn and Winter.
Secondly, Arty Crafty Kids need to take a moment to think about how they will use color to represent each season.
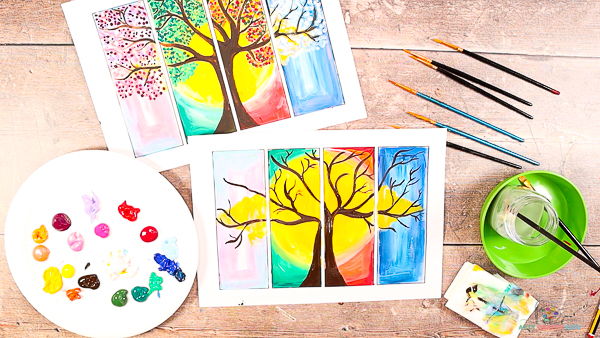
Our example uses light pink and blue to portray Spring; Green for Summer; Red and Orange for Autumn and finally Blue and Lilac colors for Winter.
With colors chosen and an order in place, begin filing each rectangle with its seasonal colors.
How to Paint Each Seasonal Rectangle:
Use a flat brush paintbrush to paint broad straight lines within the rectangle.
Start with a slightly damp brush and load it with a dark shade (our example features dark blue). Follow the lines of the rectangle creating broad lines within the frame.
Continue painting in rectangles and begin blending with white (and/or a secondary color) paint until the center is reached.
Arty Crafty Kids may experiment with their chosen color(s) and white to create dark and light constrasts within the frame.

Frame the Sun in a Seasonal Color
Paint with seasonal colors around the circular outline, again working from dark to light.

Apply White Paint Along the Sun Outline and Blend
Apply a layer of white paint along the circular outline and blend into the surrounding paint.

Paint the Center of the Sun
Next, using a slightly damp brush, apply a thick layer of bright yellow paint into the center of the sun as shown above.

Apply White Paint to Complete, Add Tone and Blend the Sun
Load the brush with white paint and blend the yellow into the outline of the sun using round brush strokes that follow the shape of the sun. Continue blending until the all the white space is covered.

Mirror the Previous Steps to Complete the Sun
Repeat the process of the previous two steps to complete the adjacent season and sun area.

Complete the Seasons and Add a Shimmer of White Paint Either Side of the Sun
Fill the remaining segment with the final seasonal colors.
Next, load the paintbrush with white paint and create a “shimmer” ether side of the sun – this is essentially a loose horizontal triangular shape that offshoots from the rounded sun.

Layer Yellow Paint on Top of the Shimmer and Blend
Add a layer of yellow paint to the white shimmers.
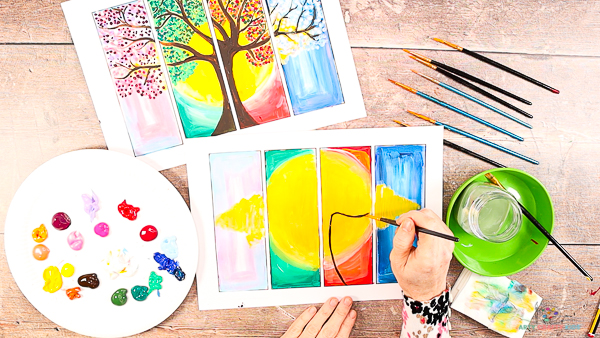
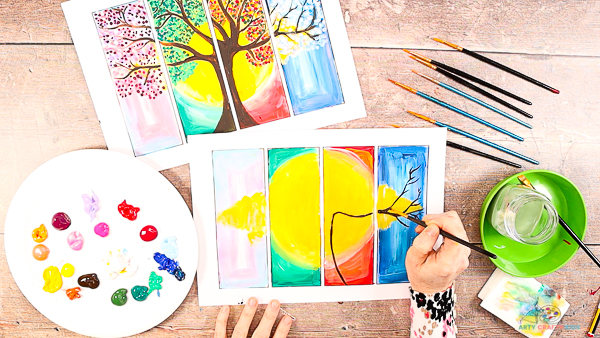
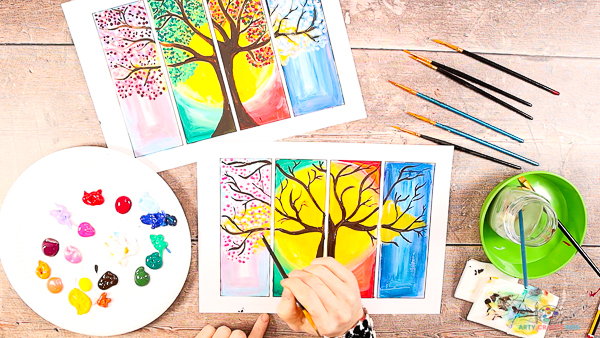
Painting the Tree: Draw the Tree Trunk and First Branch
With the seasonal backdrop complete, let’s swap the flat brush with a fine tipped paintbrush.
Dampen the brush and remove the excess liquid. Load the brush with dark brown or black paint and draw the tree trunk and branch within one of the middle segments.
Start from the bottom of the segment up to around half way and then extend the line away from the trunk across the segment and into the next.
Don’t worry if the hands wobble and create wavy lines – embrace the wobbles! Trees have the most incredible, irregular shapes with lots of wonkiness and crookedness. The wobbles will add to the creation of a beautiful and realistic looking tree.
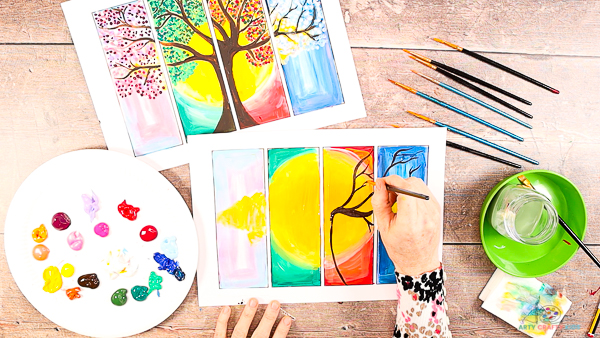
Extend the Branch to the Neighboring Season
Once the first branch is complete, extend by adding a series of further wobbly lines working up into the empty space above.
With each new line, create several off shooting lines that vary is thickness, length and direction.
Try not to think about it too much and simply go with the flow.
Develop the Tree Branches
Each and every tree has a unique structure. To reflect this in their art project, Arty Crafty Kids should consider the thickness of their lines.
Trees are made up of a trunk and a series of core branch that support the smaller offshoots and twigs.
To capture this feature, Arty Crafty Kids can thicken their core branches by simply adding a second or third layer of paint to their original line. Subsequent branches can be thinner and thinner again until becoming vague wispy lines.
This practice is great for hand control and learning how to use a paintbrush to create different strokes and depths.
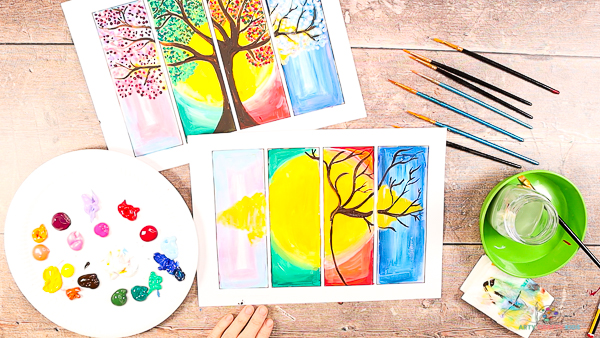
Continue filling the space above the trunk with core branches and off shoots that extend into the adjacent segments.
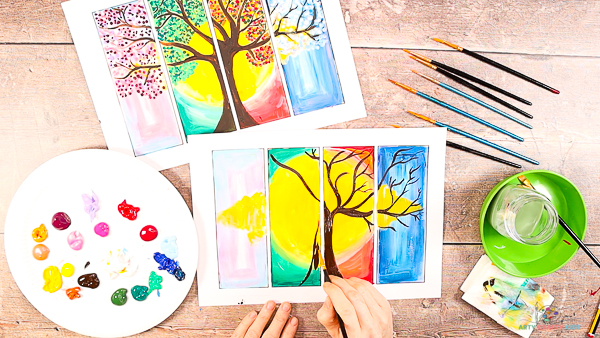
Fill the Trunk of the Tree and Thicken the Branches
With the two first segments complete, fill the trunk with paint and thicken some branches.

Continue Extending the Tree Branches Across all the Seasons
Continue expanding the tree until branches are spread across all four seasons.
Draw Smaller Branches and Twigs
Develop the tree as desired with smaller branches and twigs until the space feels full.
Use Pointillism to Paint Blossoms, Leaves and Snow
Our Four Seasons Tree Painting has so far concentrated on brush strokes; using flat and fine tipped brushes to create different effects and blends.
The second half of the painting introduces pointillism to create blossom, leaf and snow effects.
What is Pointillism?
“Pointillism involved the application of paint in carefully placed dots of pure, unmixed colour“ – Read more about pointillism.
The aim of pointillism is to encourage the minds eye to blend the hundreds of pure colored dots to interpret/see an image.
In the context of our tree art project, the small dots are used to convey a sense of depth to the blossom and leaves that fill the tree. From a distance, we do not see the individual leaves that make up a tree, we just take in the overall effect, which makes pointillism the perfect technique for creating our seasonal tree. It’s also a really easy technique for children to grasp and apply!
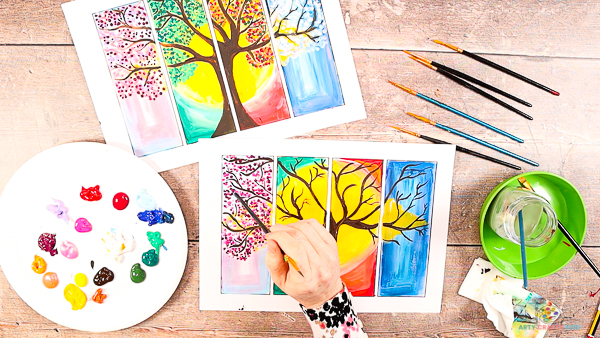
To get started with pointillism, dip the end of a paintbrush or an eco-friendly q-tip into one color.
Print dots in amongst the tree branches, filling the space between the branches.
Next, which the end of the paintbrush clean and add a second, third and fourth color (if desired).
In the example above, we started with white dots and added two shades of pink (dark and light), and magenta (reddish – pink).
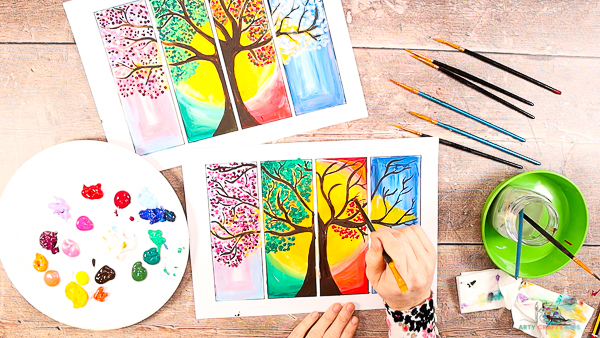
Layer and Vary the Colors within Each Season
Continue filling the segments with seasonally relevant colored dots. This is a fantastic opportunity for children to play with color and explore texture. The background, painted with paint strokes will appear flat and smooth. The dots will be thicker and clumpier in appearance, adding a depth that’s enhanced by the contrast of texture against the background.
Take note of how we’ve left a small gap between the tree branches and dots – this allows the sun to “break through” the tree and illuminate the branches. A very nice and simple effect.
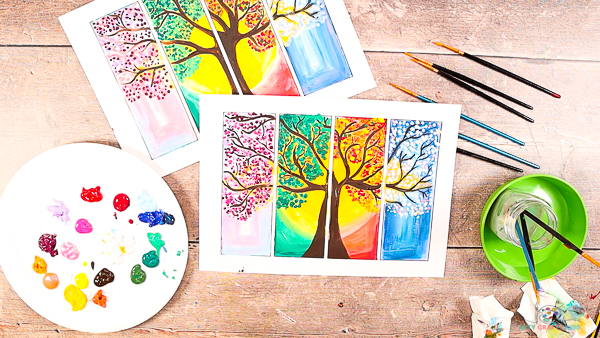
The Four Seasons Tree Painting Tutorial is Complete!
With the final segment full with dots, the four seasons tree painting tutorial is complete.
I hope you and your Arty Crafty Kids enjoy recreating this easy tree art project at home or within the classroom. By the end of the painting, they will have learnt how to achieve different effects and color blends using simple color combinations and paint strokes. They will also learn how to blend different painting techniques to add depth to their tree art painting.
As always, we love to see completed works online and if you happen to share this art project, please do tag us on social media.