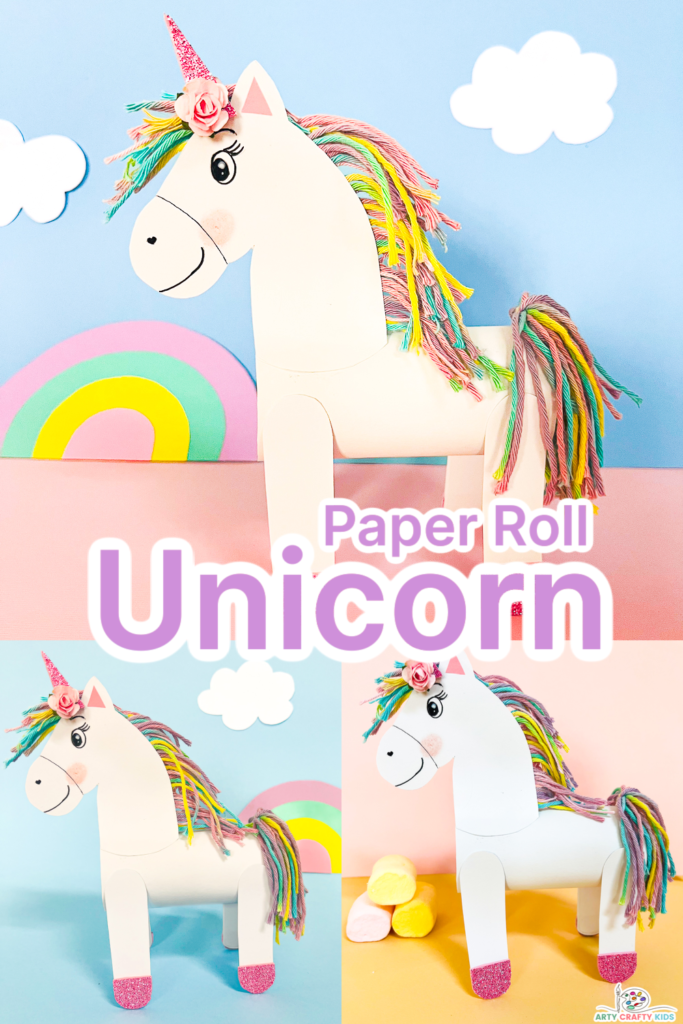
Learn how to make a toilet paper roll unicorn craft, complete with instructions, easy to follow pictures and a video to demonstrate the step-by-step process.
Accompanied by a printable unicorn template, this simple yet magical craft is a perfect fit for children of all ages, including preschoolers!
Who will relish the fine motor challenge of cutting, tracing and sticking to complete their mythical creatures.
If your Arty Crafty Kids have a passion for horses and mythical unicorns, why not extend the crafty time by exploring other creative options?
Try crafting paper roll horses, adorable unicorn in pajamas puppets, or dive into our 40 page unicorn coloring book!
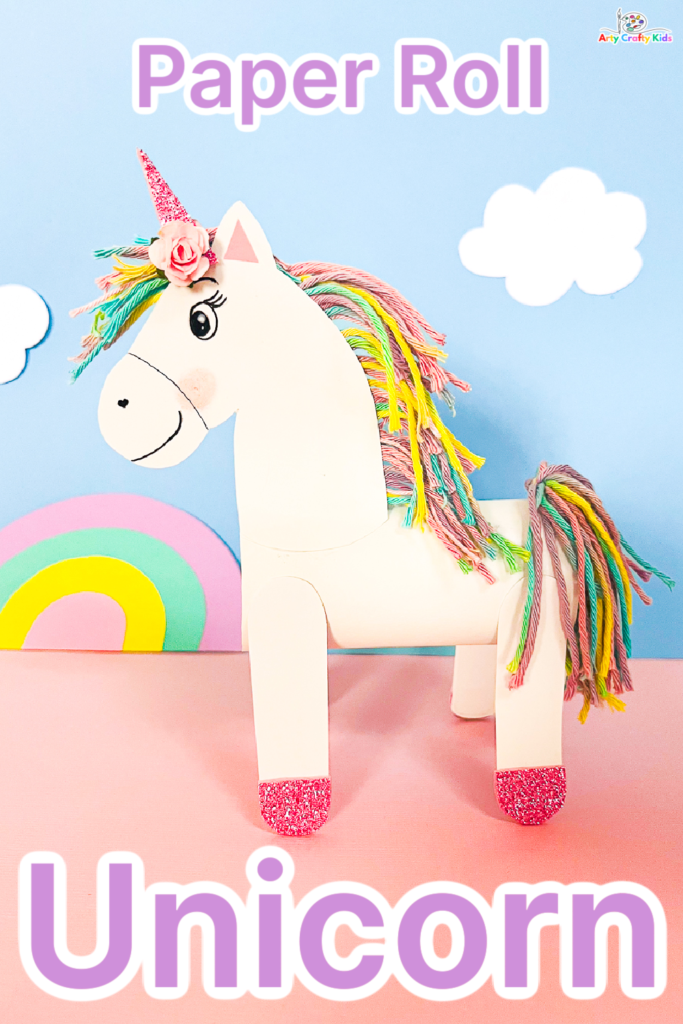
How to Make a Paper Roll Unicorn
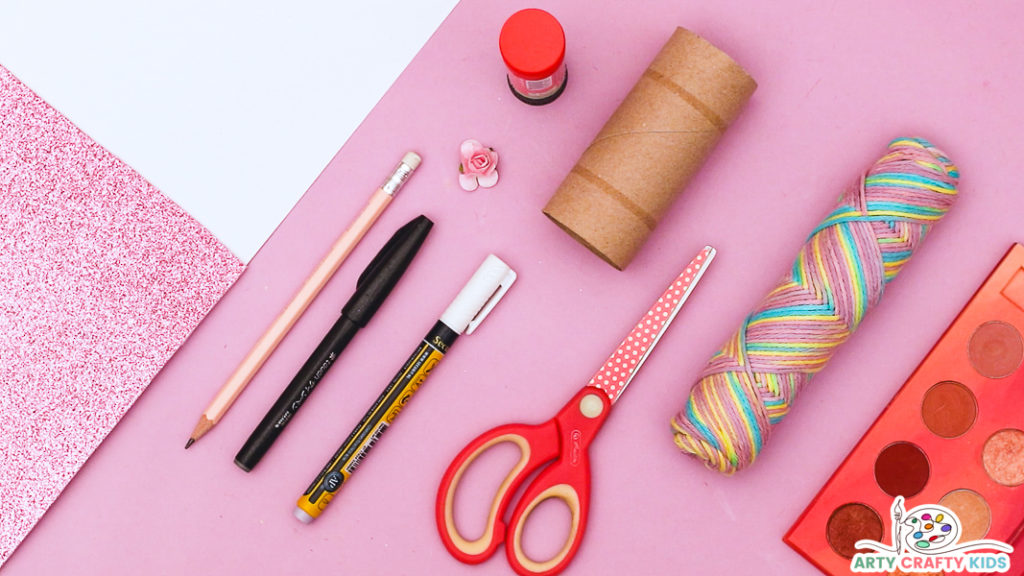
Step 1: Materials
- Paper Roll
- White Paper
- Pink Scrap Paper
- Optional: Glitter Paper
- Colorful Yarn
- Glue Stick
- Scissors
- Black Marker Pen
Download the Unicorn Template:
TIP: Make sure the printer settings are set to ‘fit to page’ and will accept heavy weighted paper. We recommend a low weight card stock for most of our craft printables.
The Unicorn Template is available to members of the
Arty Crafty Kids club.
Members will need to log in to access the templates: https://www.artycraftykids.com/product/paper-roll-unicorn-craft-elements/
Not a Member?

Watch the Step-by-Step How to Make a Unicorn Video:
Let’s Make a Unicorn Toilet Paper Roll!
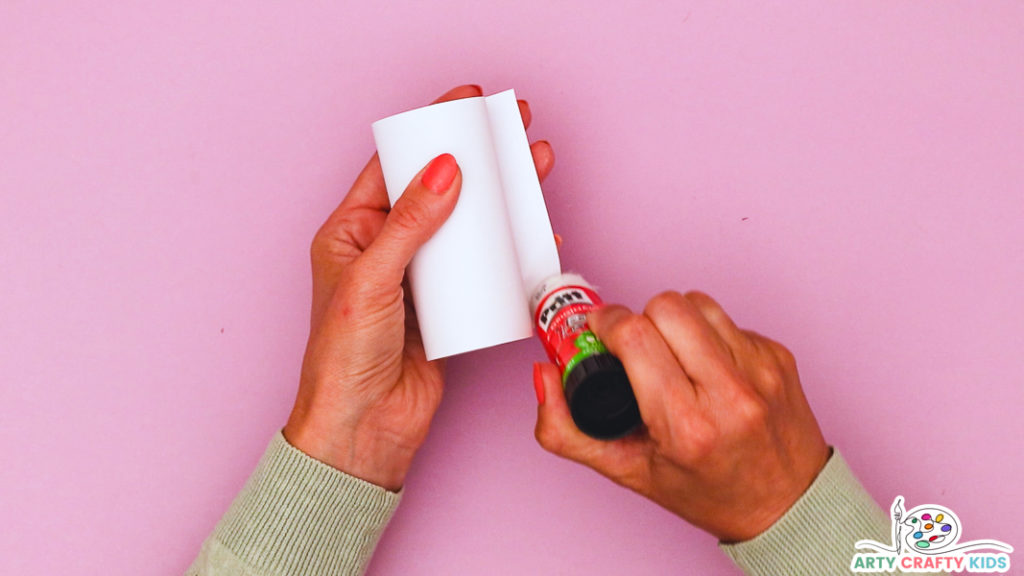
Step 2: Wrap a strip of white paper around the toilet paper roll to create the unicorn’s trunk.
You will need to measure the paper against the paper roll to ensure it’s both long and wide enough to wrap around the whole paper roll.
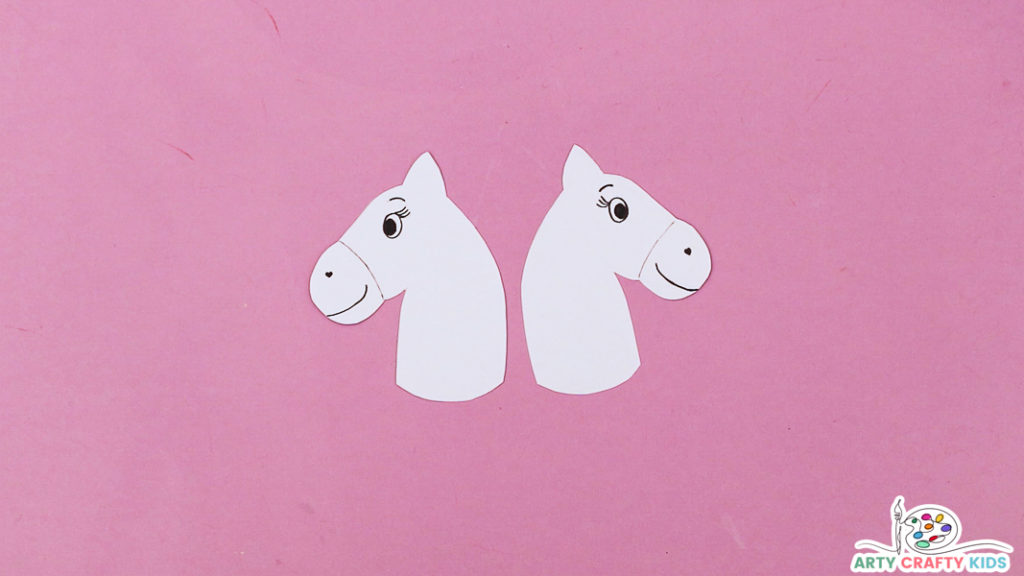
Step 3: Cut out and design the unicorn head.
Cut out the unicorn head pieces from the template and use a marker pen to draw a cute smile, a pair of eyes and additional features.
Our unicorn has a cute heart shaped nostril with a trio of lashes added to the eyes.
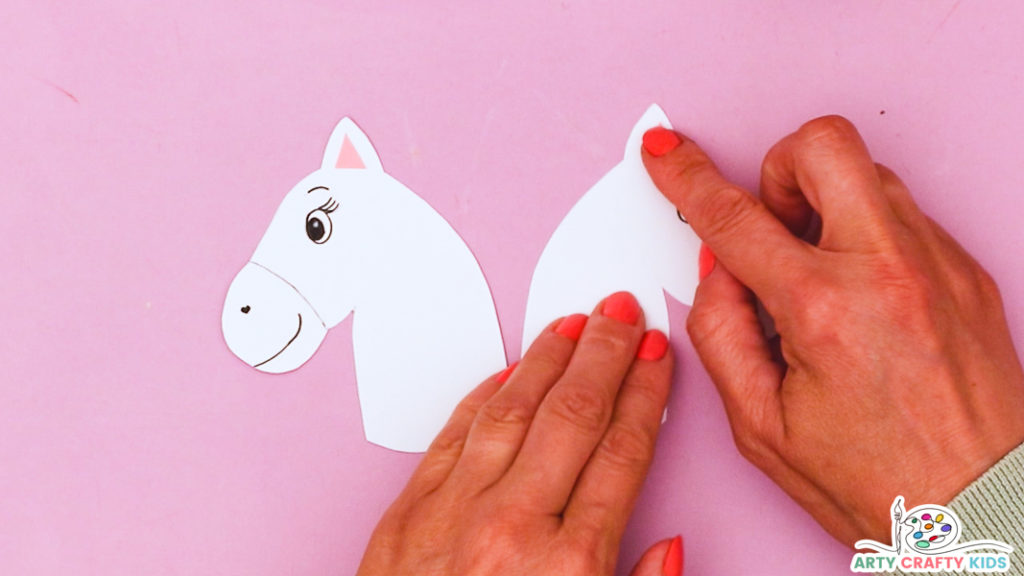
Step 4: Add a pair of pink inner ears
Prepare two small triangular pieces of colored paper that will snugly fit inside bottom of the ears.
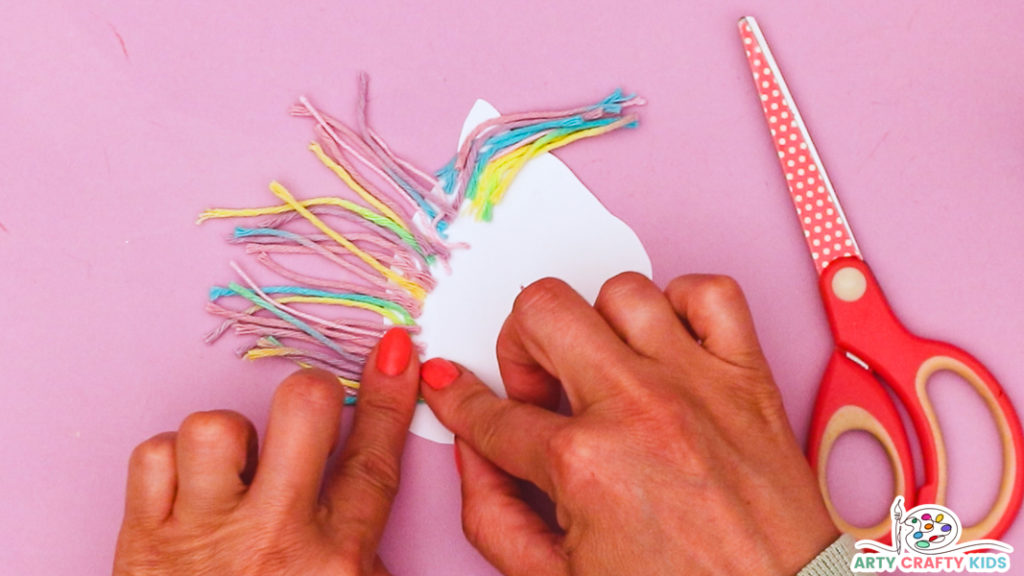
Step 5: Affix some unicorn hair!
Take a thread of yarn and divide it into multiple yarn strips of equal lengths.
Select one of the unicorn’s heads and turn it over (so the nose and inner ear cannot be seen).
Apply a generous amount of glue along the back of the neck and affix the strands of yarn.
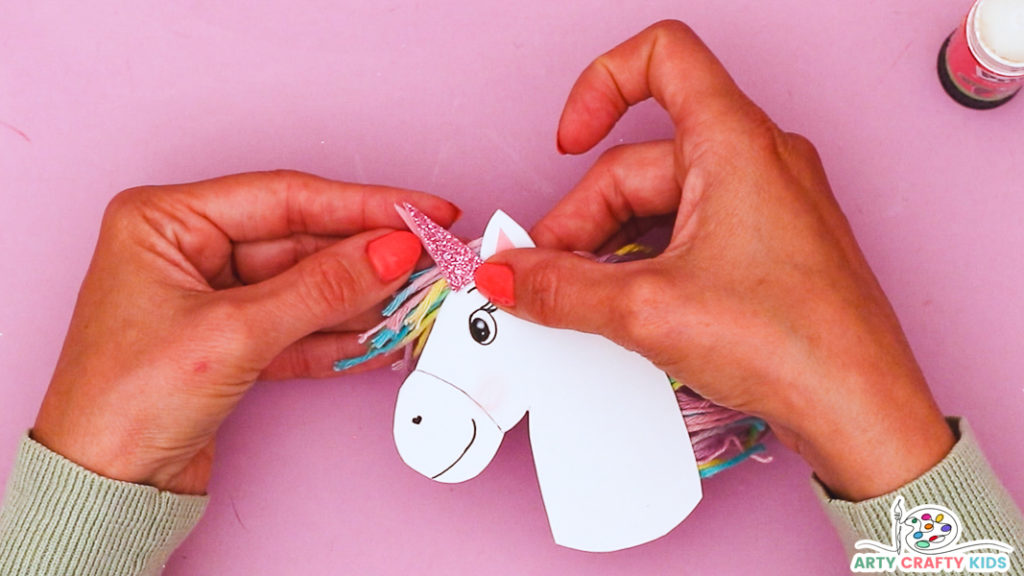
Step 6: Affix the unicorn’s horn on top of the head, near the bottom of the ear.
Adjust the unicorn’s hair so that some is pushed in front of the unicorn’s horn and ear. This will create a full looking mane for the unicorn.
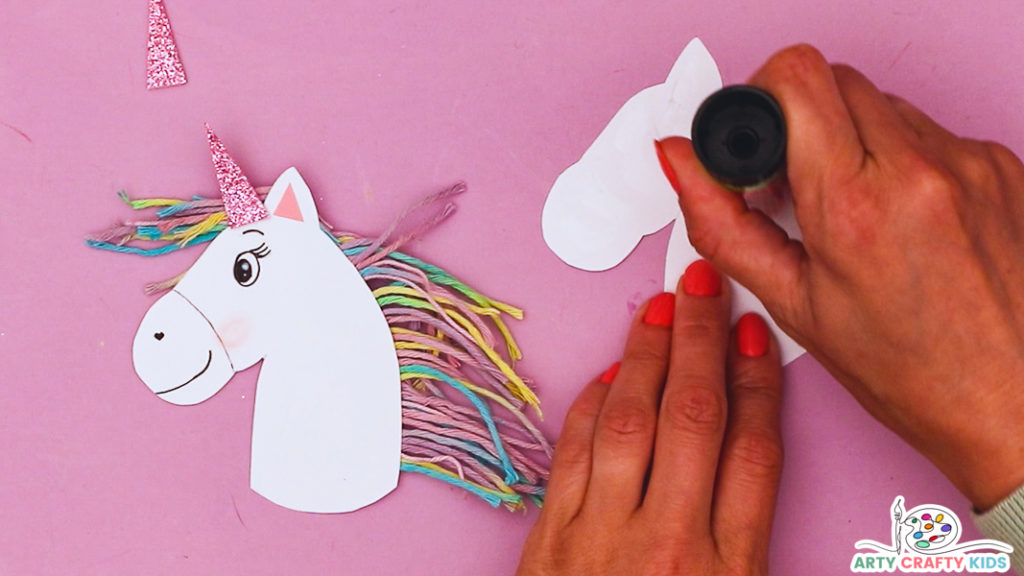
Step 7: Glue the tops of the unicorn’s head pieces together.
Avoid applying glue to the lower area of the unicorn’s neck.
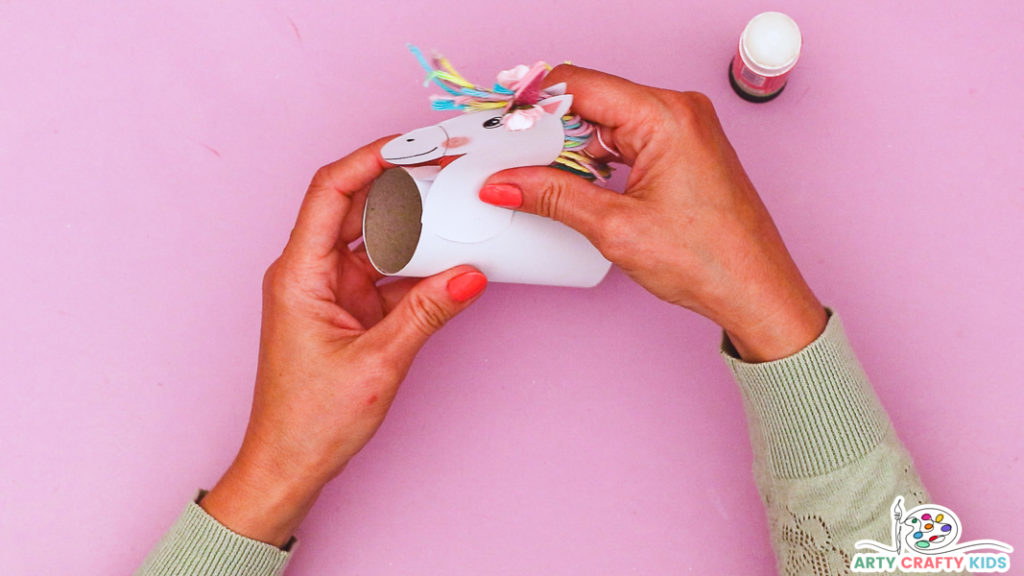
Step 8: Attach the unicorn’s head.
Next, open the neck pieces and secure to the top of the unicorn’s body.
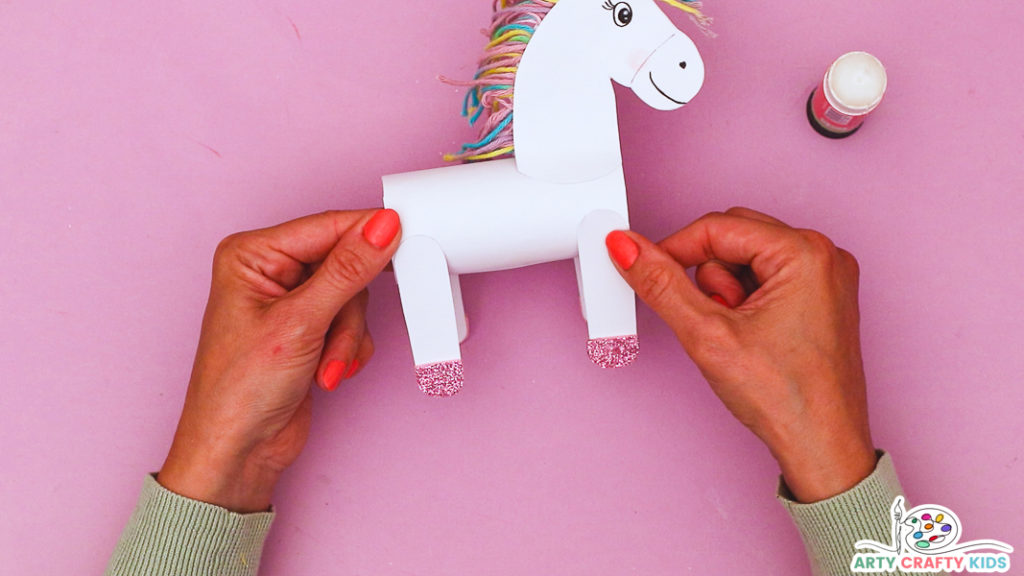
Step 9: Attach the unicorn’s legs to the body.
Trace the unicorn’s legs (four times) onto white card stock (the enable the horse to stand, Arty Crafty Kids will need to use card stock).
Next, carefully cut out the legs and glue a pink paper or glitter foam hoof to each leg.
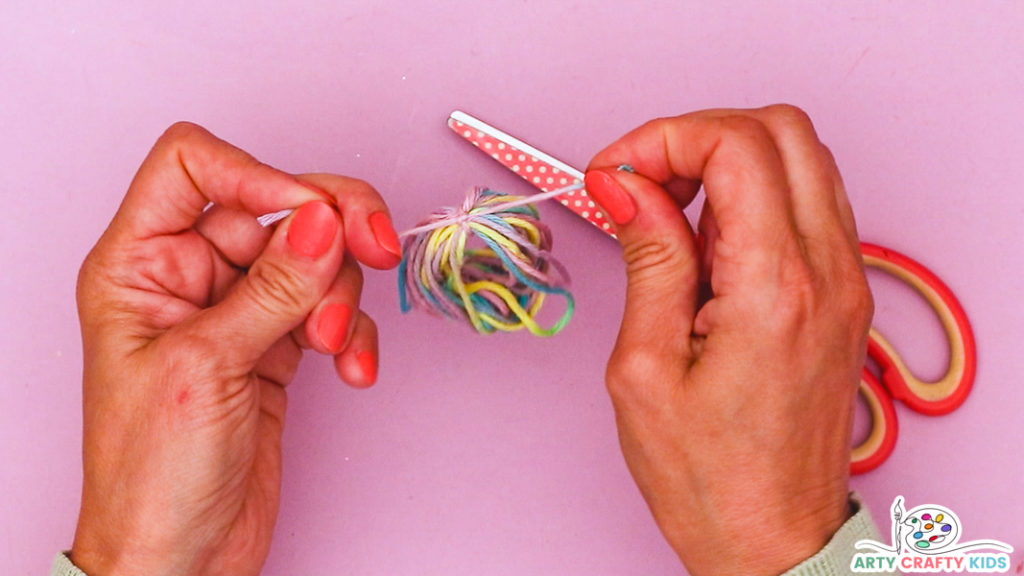
Step 10: Make a Yarn Tail for the Unicorn
Wrap a large chunk of yarn around your fingers to create a circle, then tie a small piece of yarn around one end of the bundle.
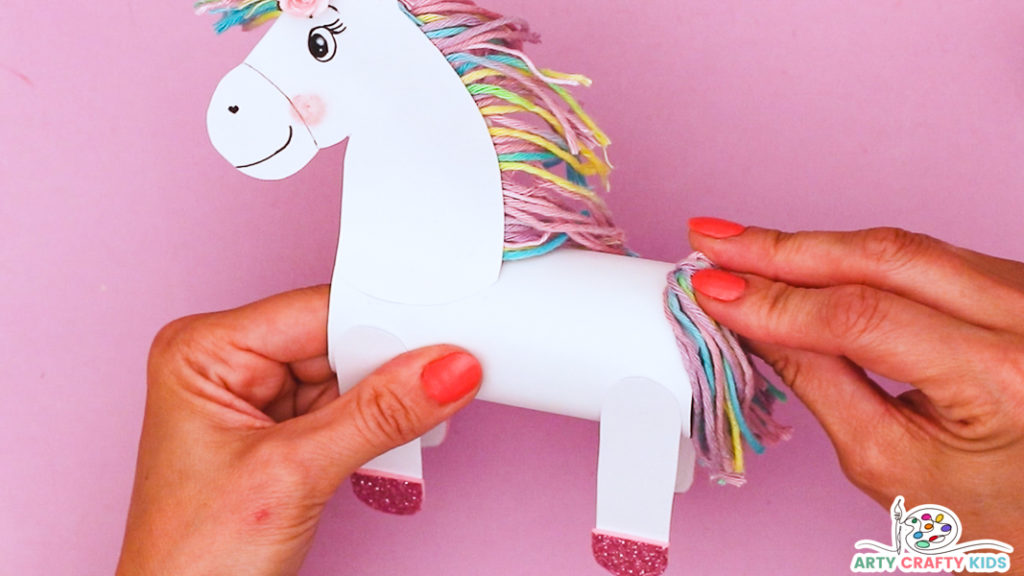
Cut the bundle of yarn in half at the other end to make the tail and glue it to the top, back end of unicorn’s body.

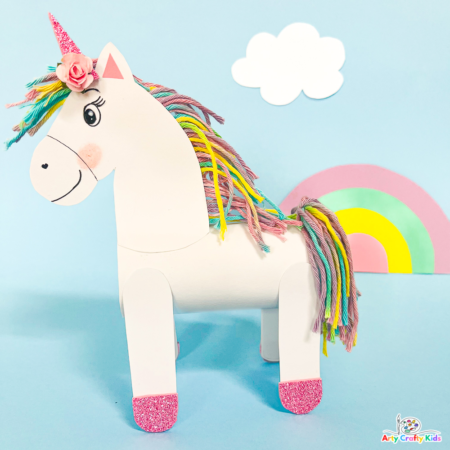
The unicorn toilet paper roll craft is complete!
Paper rolls is one recyclable craft material we have in abundance. So once your Arty Crafty kids have finished their mythical creatures, why not have a go at one of our other animal toilet paper roll crafts!
Choose from an adorable koala, monkey, owl or one of our many toilet paper roll bug crafts!