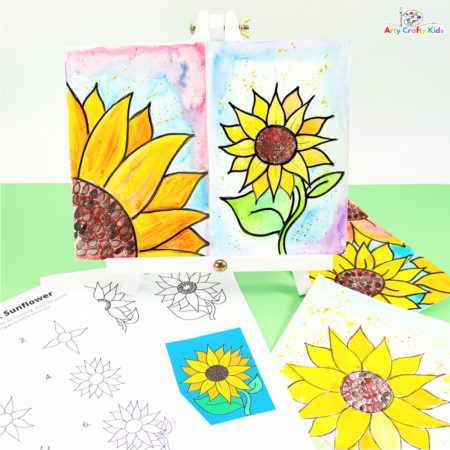
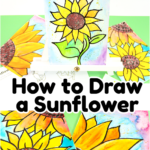
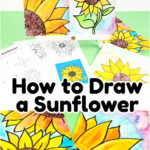
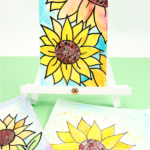
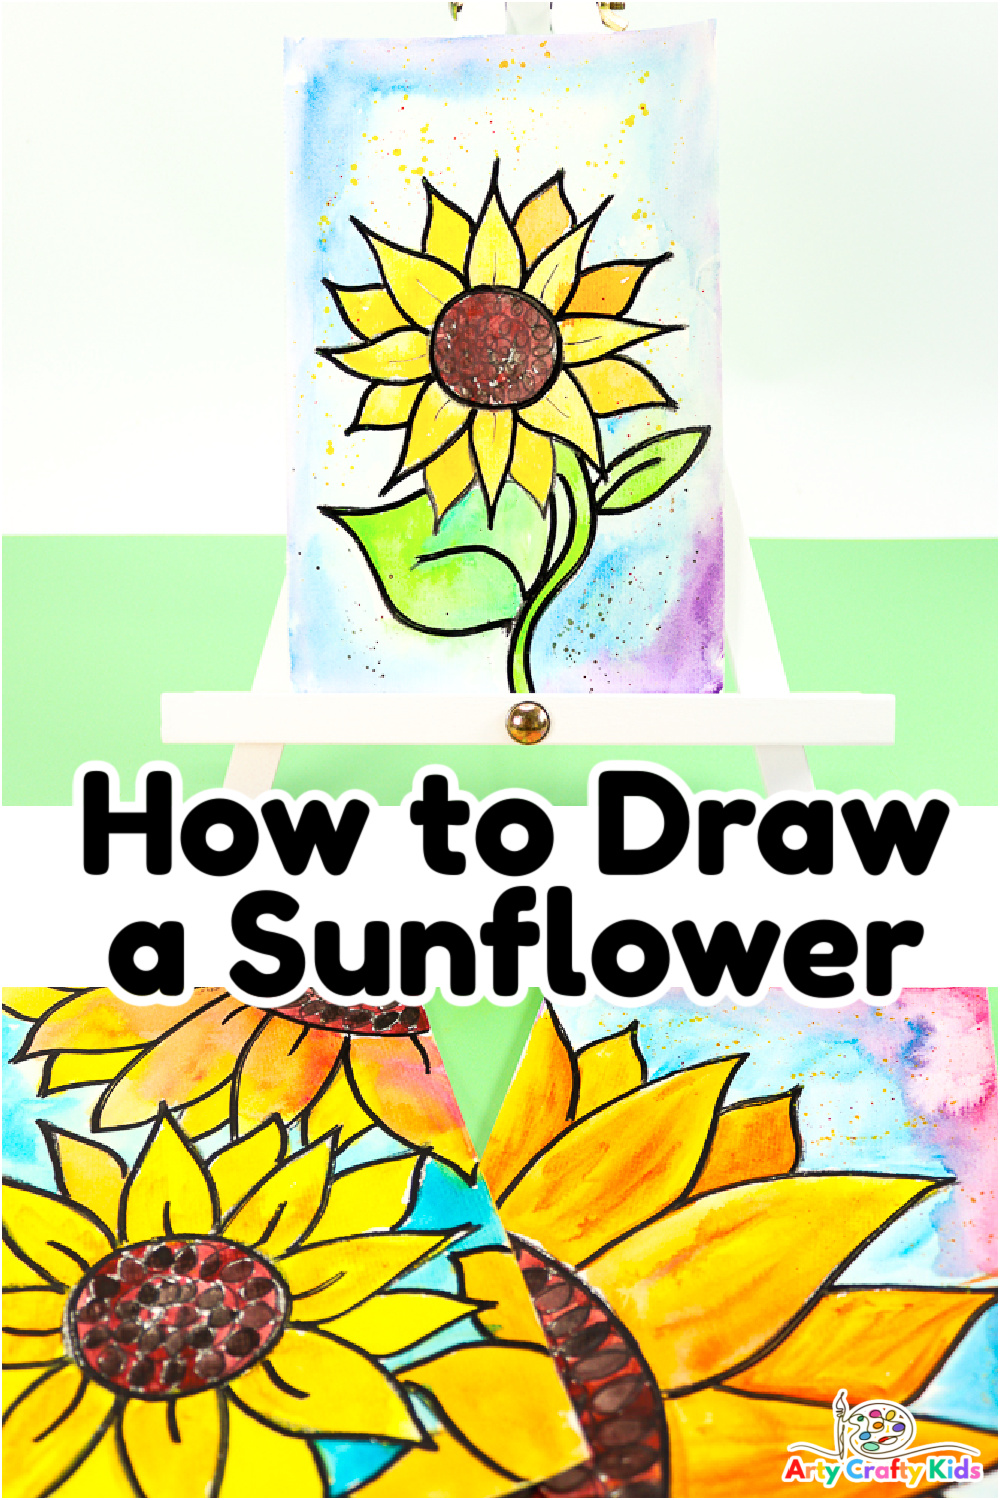
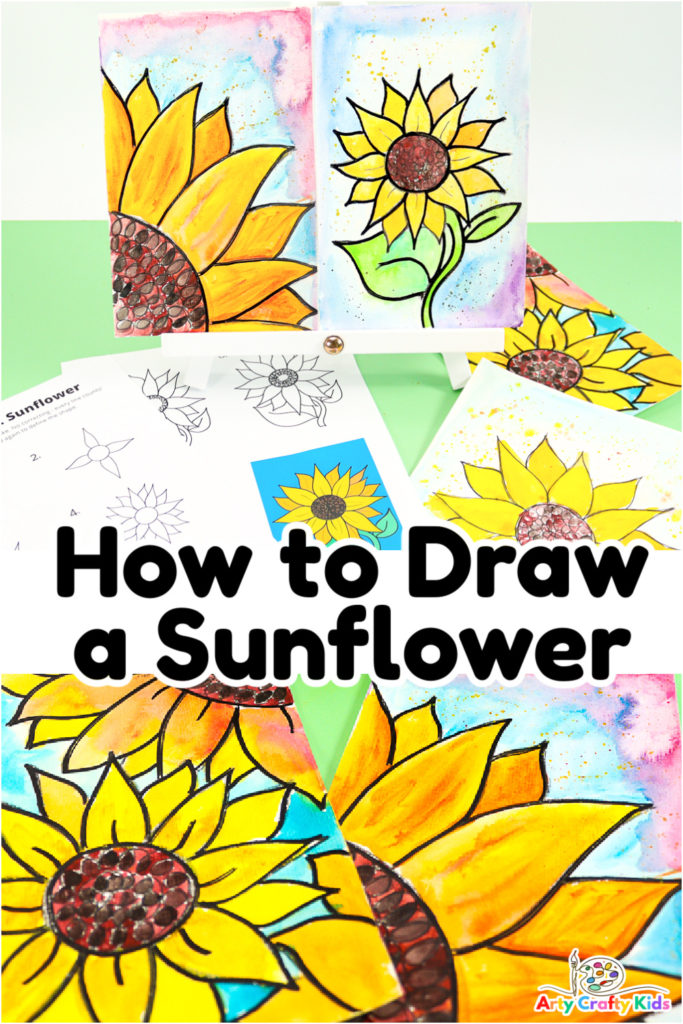
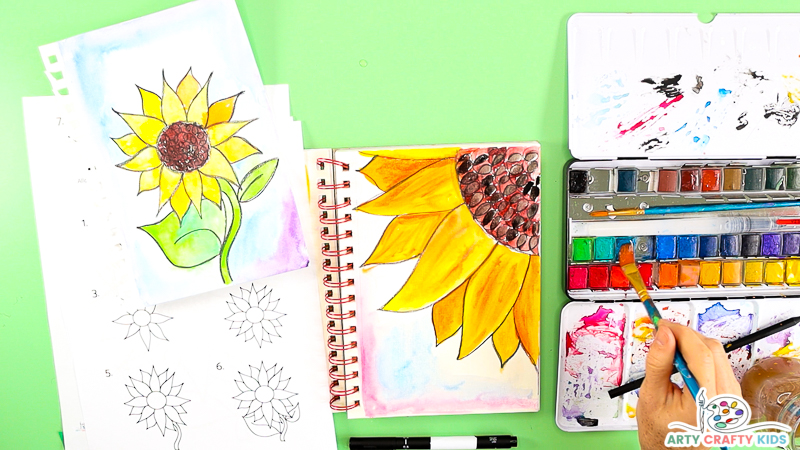
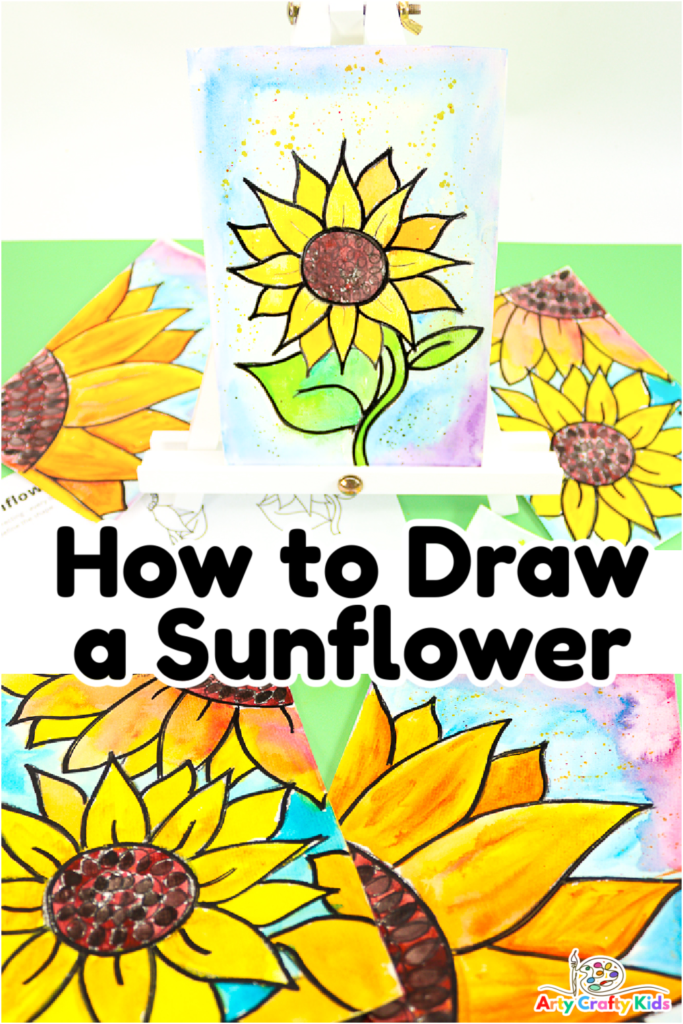
Learn How to Draw a Sunflower in just a few easy steps!
With their bright colors and tall proud presence, who doesn’t love the sunflower? these bright and cheerful flowers have been drawn and painted by Van Gogh, Matisse, Georgia O’ Keefe and Monet – and now with our easy to follow guide, your Arty Crafty Kids will be able to draw and paint their very own sunflower!
Using the Flow Drawing Technique, we encourage children and beginners to engage in their natural rhythms and draw using simple shapes, and within just a few easy steps, a beautiful sunflower drawing will emerge.
Once the sunflower is drawn our tutorial explodes into a complete art project; demonstrating how children can paint their sunflowers using both acrylic and watercolor paints.
We present the sunflower in three different and simple compositions to inspire children’s creativity and to encourage Arty Crafty Kids to make the drawing their own.
Related Topics:
Step-by-Step How to Draw a Sunflower
Materials:
- Mixed Media/ Watercolor Paper OR White Card Stock
- Black Pencil or Crayon
- Optional: Black Marker Pen or/and Fine Tipped Pen
- Watercolor Paint/ Acrylic Paint or Crayons
Download the Printable step by step guide to learn How to Draw the Sunflower
The printable download includes a step-by-step tutorial and a full sized completed sunflower for children to color or trace.
The templates are available to members of the Arty Crafty Kids club.
Members will need to log in to access the templates: https://www.artycraftykids.com/product/how-to-draw-a-sunflower-templates/
Not A Member?

Watch the Video Tutorial to see how the Sunflower is Drawn and Painted
Let’s Create a Sunflower Picture!
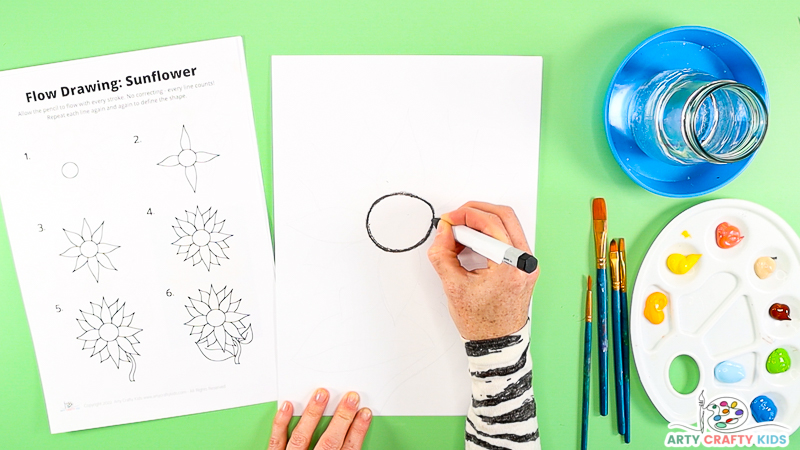
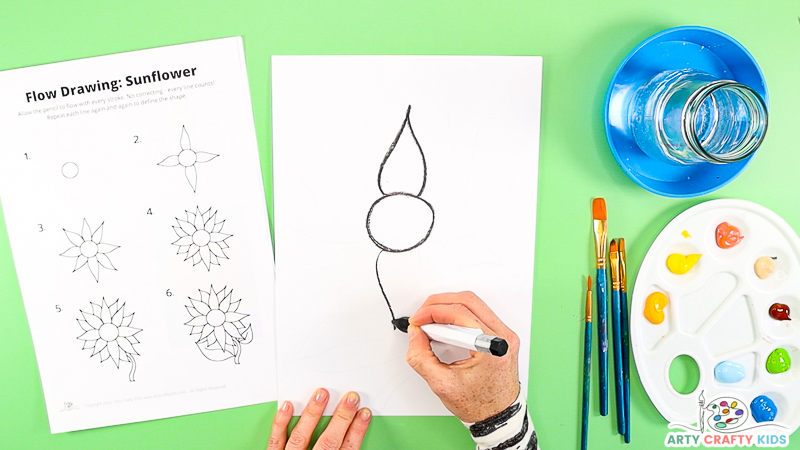
Draw a Large Center Circle
Start by using a pencil or crayon to draw a large circle in the center of the sheet of mixed-media paper or card stock.
This circle will form the prominent disc flower of our sunflower picture.
Repeat the circle over and over until the shape is formed and nice thick lines emerge.
Arty Crafty Kids will notice that as they go round and round, a dominant line will form and the drawing itself becomes rhythmical and natural.
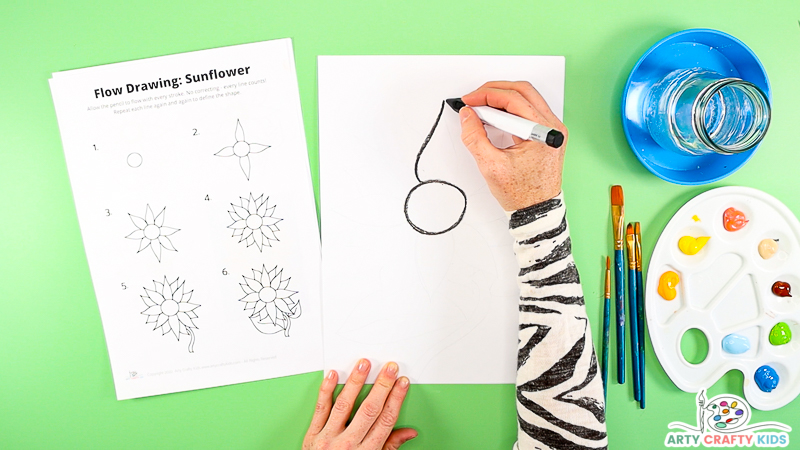
Draw the First Half of the Petal
Next, draw half of the first petal. Again, flow the pencil or crayon up and down the line until it feels right.
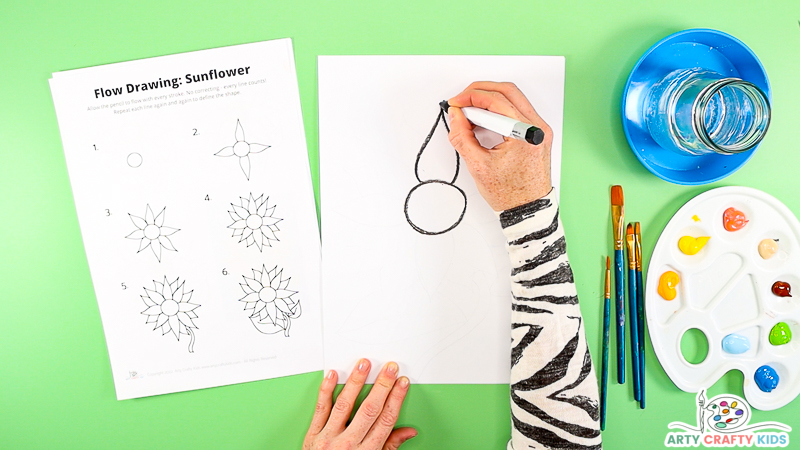
Draw the Second Half of the Petal
Repeat the process with the second half until a petal shape is formed.
Did you know that sunflowers are made up of thousands of individual flowers? the petals themselves are little flowers that come together to form the large bloom of the sunflower. The outer petals mature before the inner petals, and can vary in shape, size and color.
With this irregularity in mind, when it comes to drawing the sunflower, each and every petal can take their own shape.
While the petals are similar in form, some petals are wider, thinner, longer or slightly shorter than others. The tips can bend in different directions too.
Draw the First Two Sunflower Petals
Draw the second petal opposite the first.
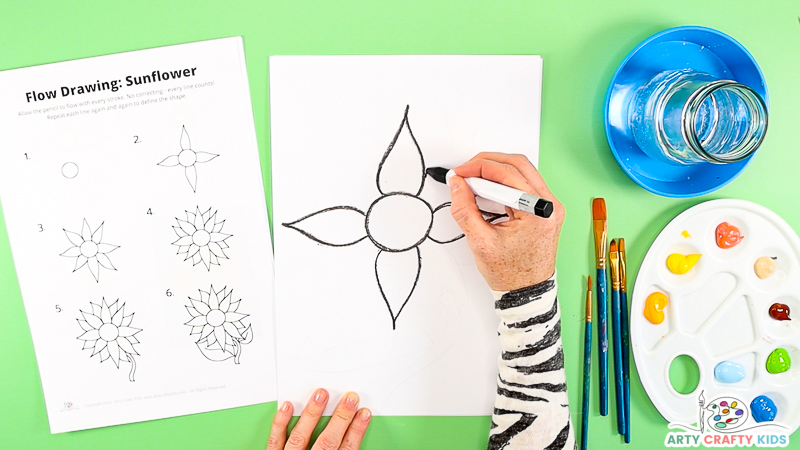
Fill the Gaps with Another 4 Petals
And draw another two petals at 3 and 9 o’clock positions!
Next, begin to fill the gaps with more petals.
Continue filling the gaps and experimenting with the petal shapes – the drawing will soon begin to look like a sunflower.
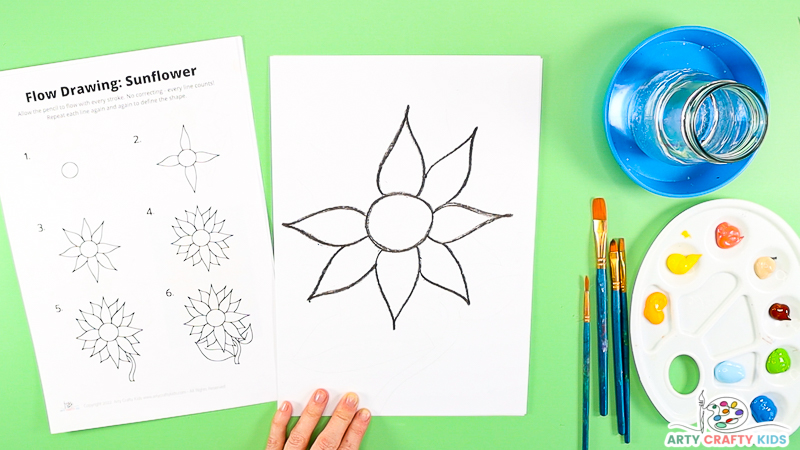
Draw the Outer Ray Flowers (Petals)
With the first round of ray petals complete, draw the outer ray flowers (the petals positioned in-between the first row).
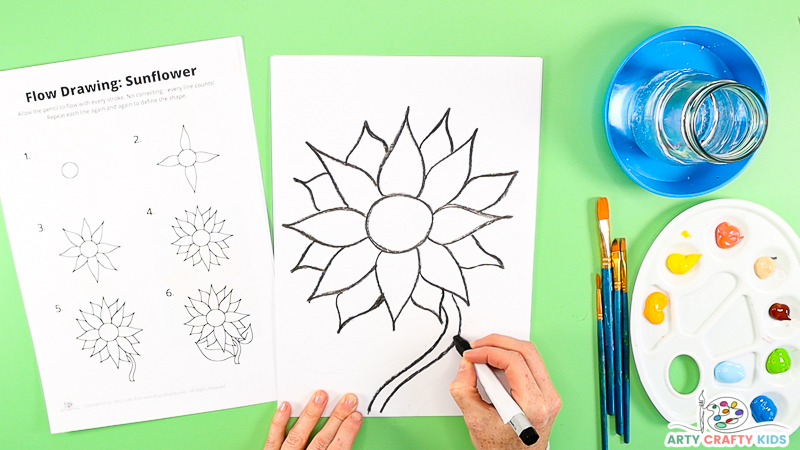
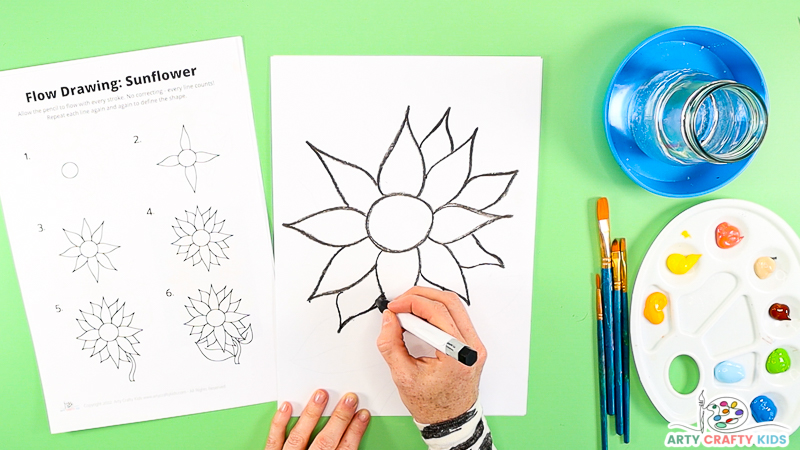
Draw the Sunflower’s Stem
Once the outer ray petals are drawn, add a long stem from the flower to the bottom of the sheet.
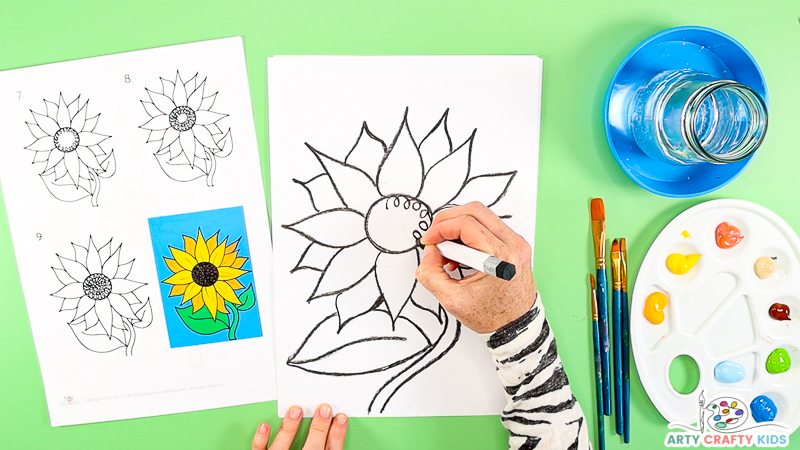
Draw the Disc Flowers
The disc flower florets, that are shorter and denser than the surrounding ray flowers mature into edible round seeds – it is this aspect of the sunflower we’re capturing with our loop-the-loop drawings.
Starting from the inner circle line, draw one continuous loop-the-loop line within the circle.
Try to exaggerate the loops to create the round seeds.
Once this motion is mastered ( Arty Crafty Kids may wish to practice on a separate piece of paper first), the loop-the-loops are super fun to draw and add a sense of rhythm and pace to the drawing process.
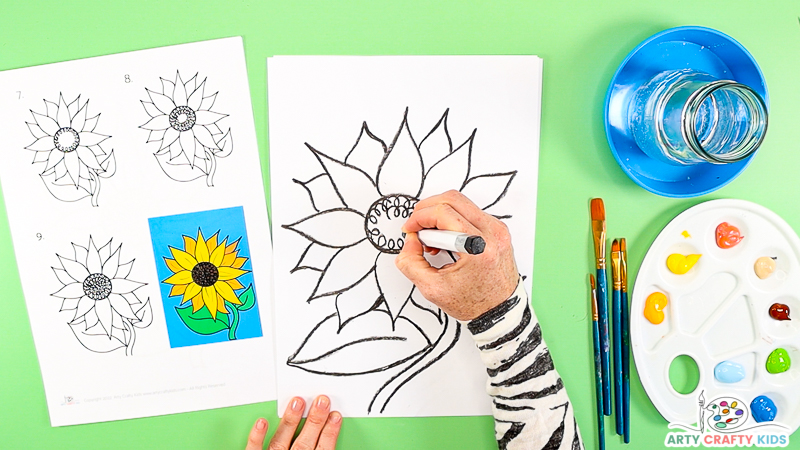
Draw Swirls in a Circular Motion
The disc flowers of a sunflower present in circles within circles within circles, in an almost mandala fashion.
Once the first set of loop-the-loop are draw, add a second line and work inwards until the disc is full.
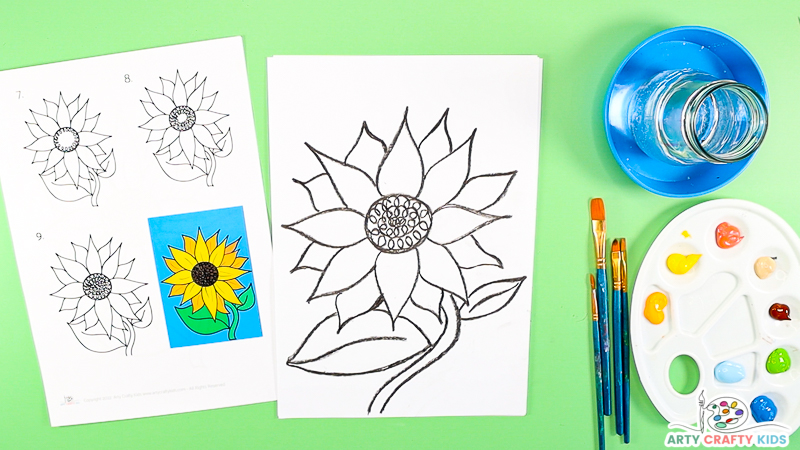
Draw Leaves
Once the key areas of the sunflower are drawn, add some leaves to the stem.

Paint the Sunflower
When you picture sunflowers, big, bright yellow blooms usually come to mind. But these happy plants are available in lots of different colors from shades of gold and cream to rose, pink and chocolate brown.
Using a favorite coloring medium, paint or color in the sunflower and stem.
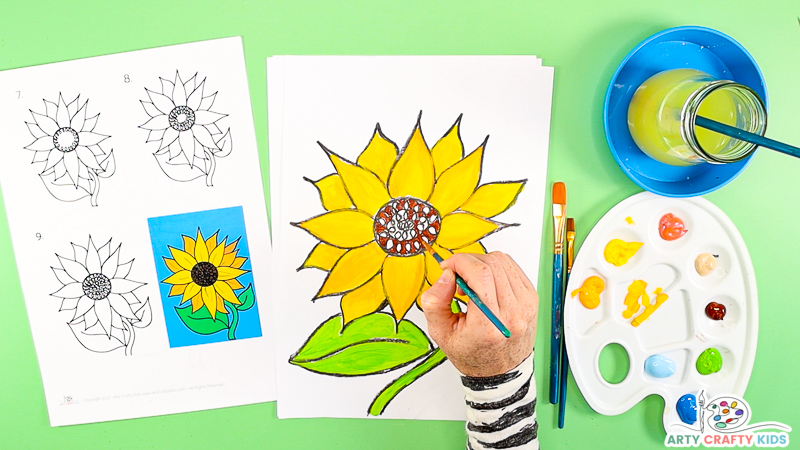
Paint the Disc Flowers
Next, fill the disc flower with a mix of reddy brown and black.
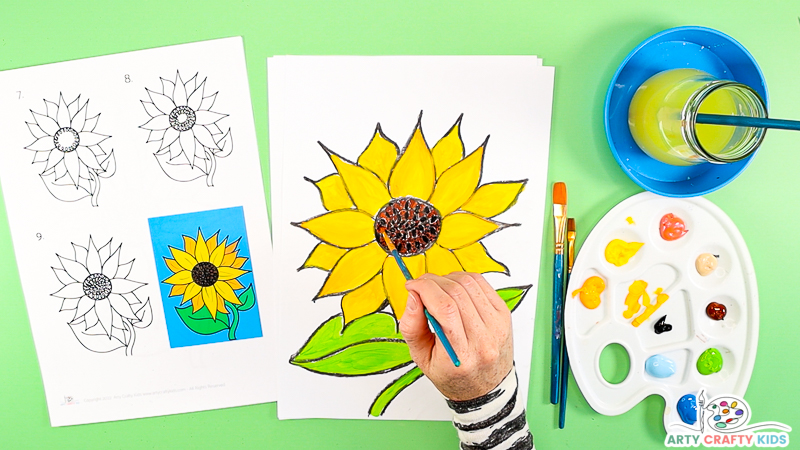
Continue filing the disc flower until a nice blend of of red, brown and black comes together.
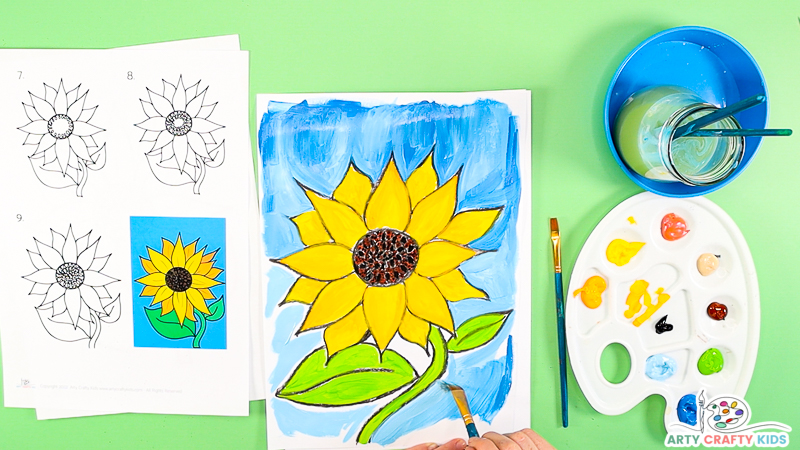
Paint a Contrasting Background
To complete the sunflower drawing, fill the background with a bright contrasting color.
As Sunflowers stand tall and proud towards the sun, our sunflower has a backdrop of mixed blue to portray a lovely sunny day!
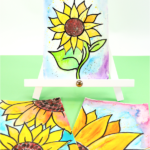
The Sunflower Drawing is Complete!
Your Arty Crafty Kids will now have the basic ingredients to draw their very own sunflower.
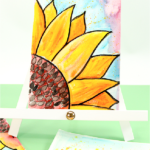
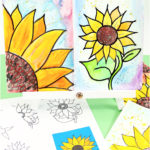
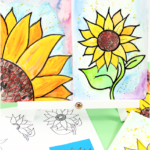
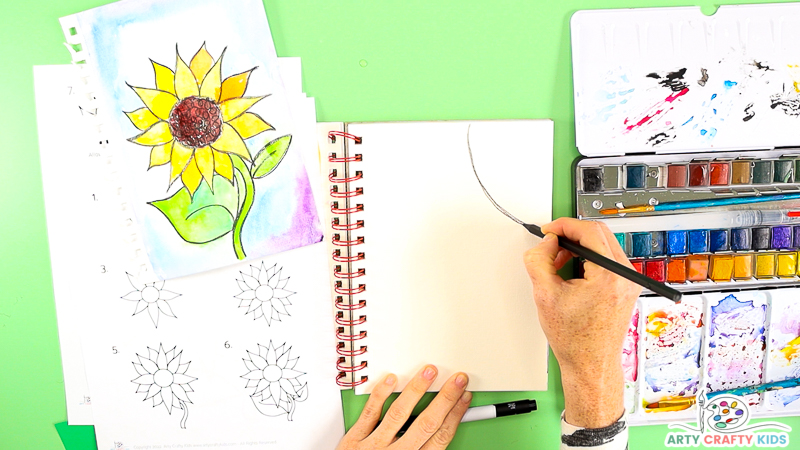
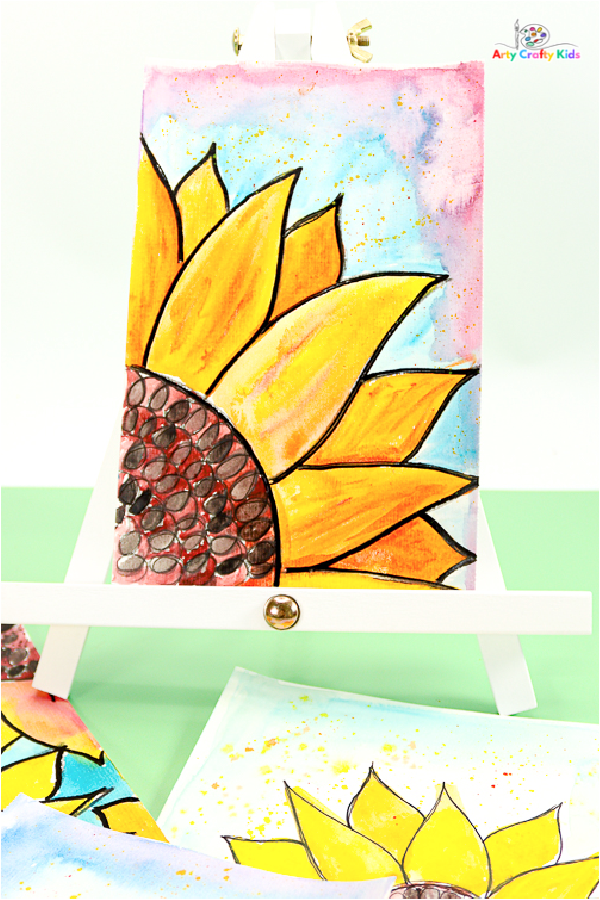
Our next tutorial uses the principles outlined in our How to Draw a Sunflower step-by-step to create an arty partial sunflower, completed in watercolor.
By focusing on a small area of the sunflower’s bloom, Arty Crafty Kids may use the petals to explore color, blending and texture.
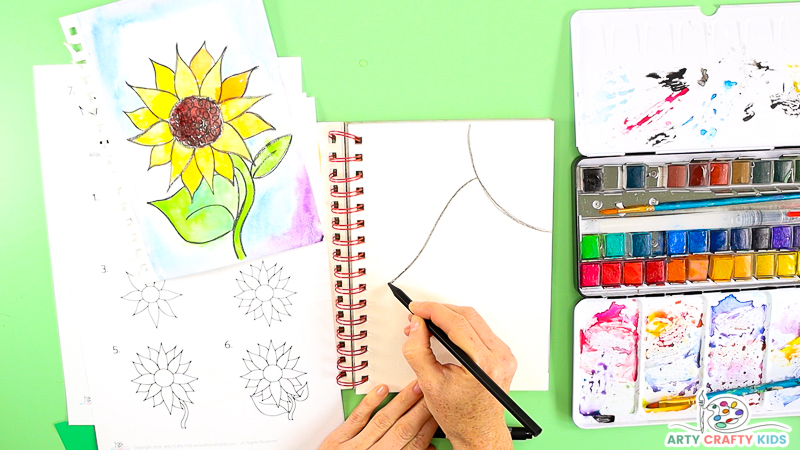
Easy How to Paint a Sunflower Guide with Watercolor Paint
This partial sunflower tutorial is super easy for kids to draw and is the perfect alternative for those who may find a full flower tricky or who would like to focus on the color and painting element of the project.
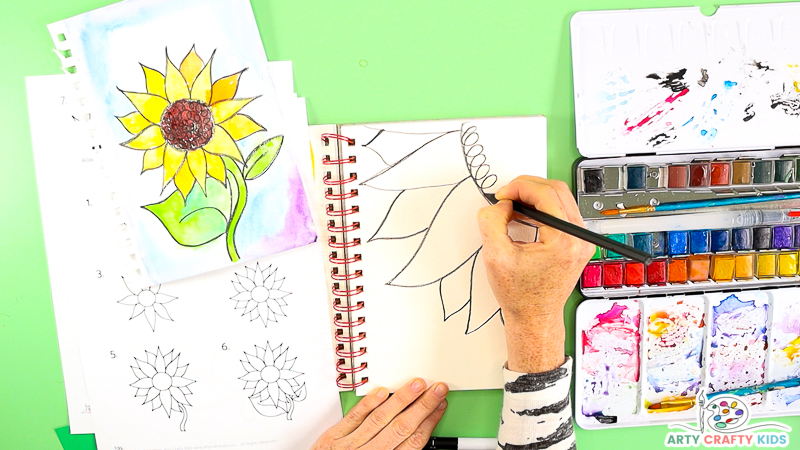
Draw a Semi-Circle
Select a corner of the mixed-media or watercolor paper and draw a partial circle shape – imagine drawing the sun!
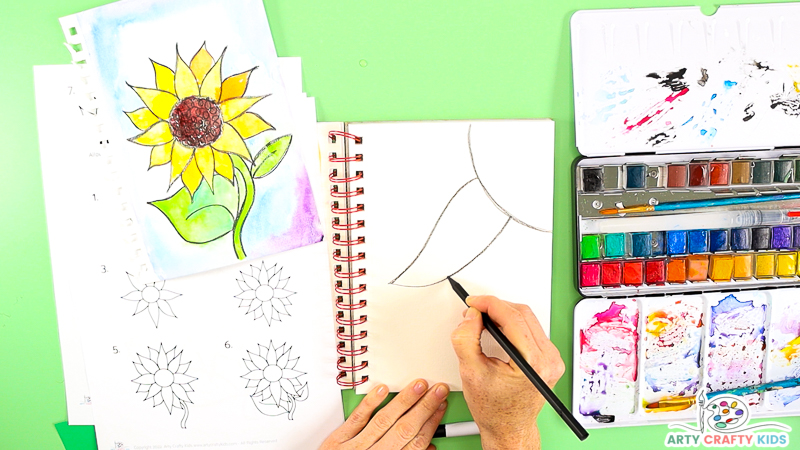
Draw Half of the First Petal
Next, draw the first half of the petal.
Unlike the petals in the previous sunflower guide, this petal will be much larger and ideally, will dominate the sheet.
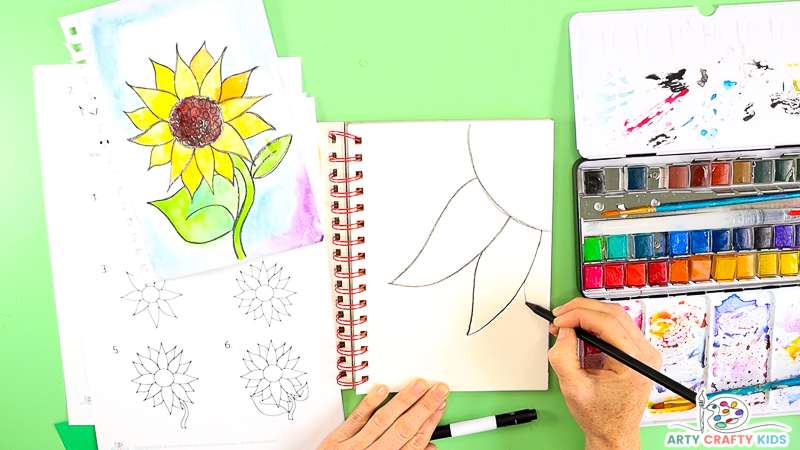
Draw the Second Half of the Petal
Draw the second half of the petal and if necessary, repeat the line to add shape and definition.
This petal will become the placer petal and other’s will be drawn around it.
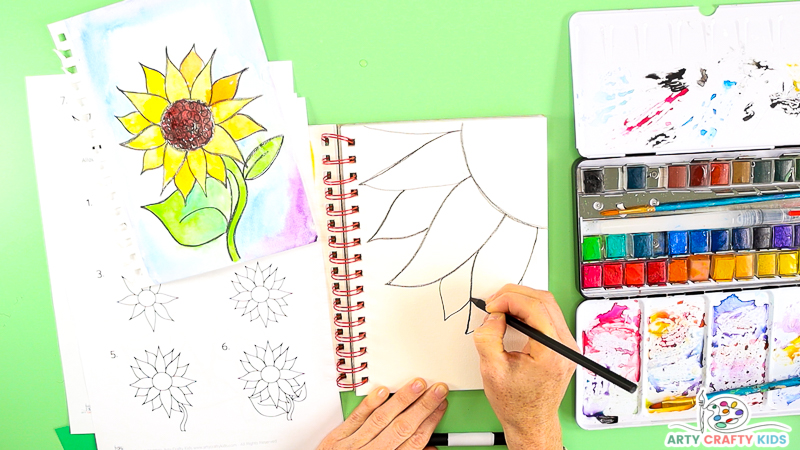
Draw a Line of Petals Around the Semi-Circle
Next, draw neighboring petals around the placer until the center semi-circle is covered.
Fill the Gaps with Petals
Draw the outer ray petals.
Fill the Flower Disc with Loop-the-Loop Swirls
Fill the disc flower with loop-the-loops.
These swirls can be large and exaggerated.
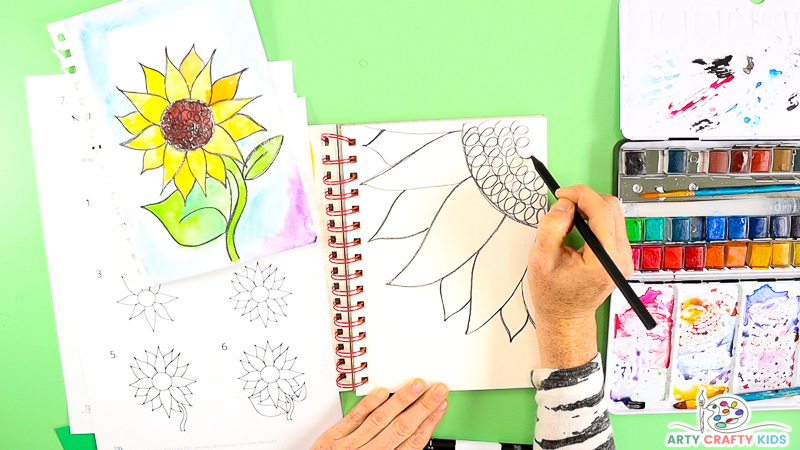
Fill the Center of the Sunflower with Swirls
Continue filling the center with loop-the-loop lines.
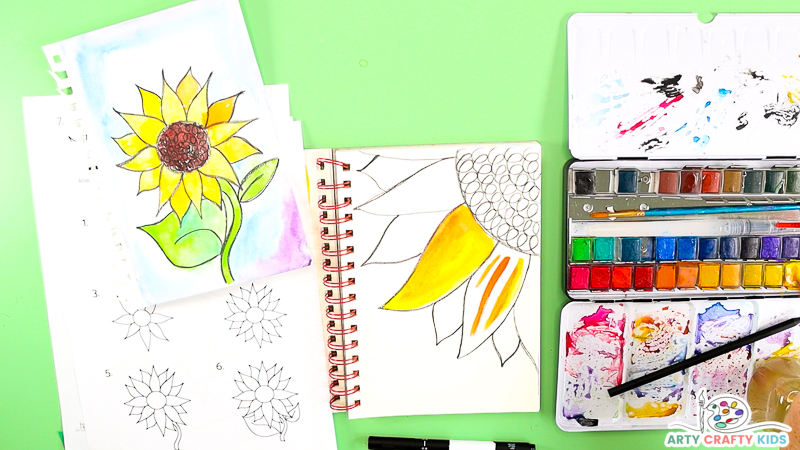
Dampen the Brush and Apply Yellow and Orange
To create bold and striking petals, we will be using the flat wash technique – the easiest watercolor technique for kids and beginners. It’s perfect for covering large surfaces quickly and through layering, creates amazing blends and textures.
Begin by dampening the paintbrush and apply an orange or dark yellow shade within a petal.
Next, again dampen the brush and apply a lighter shade of yellow on top of the orange.
To encourage the colors to mix, add more water to the brush.
Use this process to color the petals.

Use the Petals as a Mixing Palette
Encourage Arty Crafty Kids to experiment with the water to paint ratios as they fill the petals with color.
Continue layering orange, yellow and red shades.
Add More or Less Water to Blend the Paint
To blend the paint, try adding more water to the paintbrush.
For darker flicks of color, apply the paint with less water.
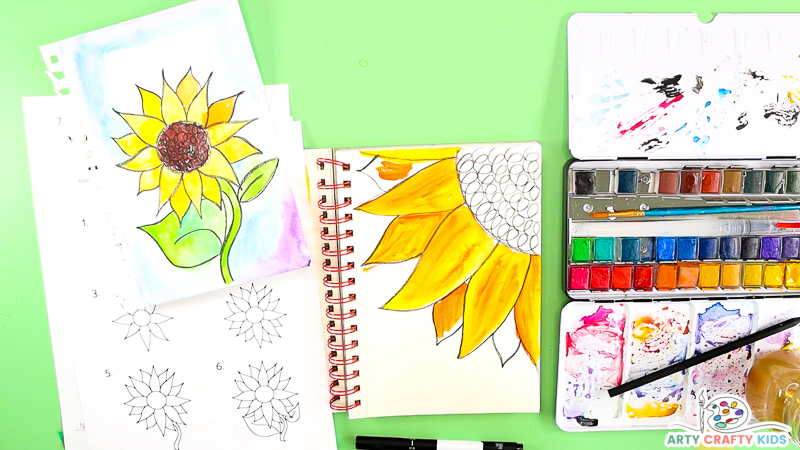
Use the Wet on Wet Technique to Create a Textured Background
Apply a layer of water to the white area surrounding the sunflower.
Dampen the brush and select a color.
Apply the watercolor paint to the watery white area and watch the paint spread with the water.
Add secondary colors and encourage the colors to blend with the paintbrush.
Once the painting is dry, extra definition can be created by outlining the petals with a black marker pen.
With both the background and sunflower colored, take a moment to admire the contrasting effects and textures your Arty Crafty Kids have achieved with their watercolor painting.
By simplifying the sunflower drawing, children can shift their focus on learning a new painting technique and simply playing with color, while creating an effective piece of art.
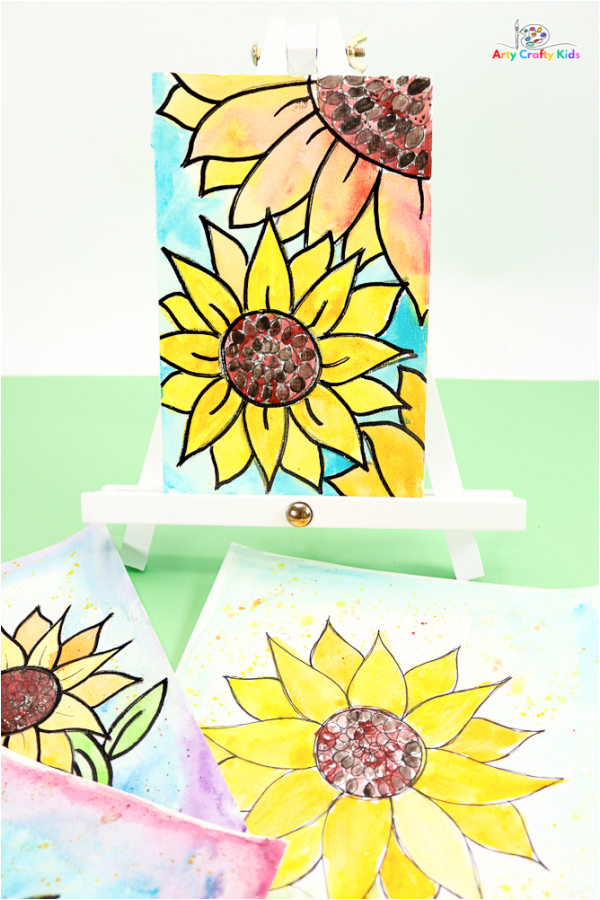
Another art idea takes us to a combination of both sunflower drawings!
Once children have learnt how to draw the sunflower, the drawing and painting composition possibilities are endless.
The easy to Draw Sunflower Tutorial is Complete
So there you have it — a simple guide on how to draw a sunflower. With its large and bright petals, the sunflower is the perfect subject for beginner artists looking to practice their skills. And once you’ve mastered the basics, you can start experimenting with different color schemes and backgrounds to create a truly unique piece of art.
We hope your Arty Crafty Kids are feeling inspired by our examples and will have the best time having a go for themselves! As always, we love to see their works of art in action. If you happen to share their completed sunflower drawing, #artycraftykids and give us a tag.
Learn More about the Flow Drawing Technique:
What is Flow Drawing?
Flow Drawing is an art technique developed by us to encourage children to understand shapes and create illustrations, in a much ‘freer’ way.
By removing restrictions, flow drawing encourages children to fully engage in the moment and discover their natural flow, making every line count and bringing mindfulness to their creative process.
You can think of the flow drawing technique as a ‘how to draw’ guide with a difference – children won’t just draw a picture, they’ll create a unique work of art, right from their soul.
Flow Drawing Benefits:
Although the process of flowing more naturally in art might seem a little alien to children at first, it’s really worth encouraging them to have a go.
Flow drawing has so many benefits and helps little hands and minds to:
- Explore simple shapes and how they work together to create larger forms
- Discover their natural flow and rhythm through repetitive movements
- Learn how to combine mediums, with a fun and easy approach
- Build confidence in their own creative ability
- Combat ‘perfection-seeking’ in art, providing a much needed alternative to rigid ‘how to draw’ guides
- Bring mindfulness to the creative process and boost mental health
- Foster a love of art and self-expression.
More Easy How to Draw Tutorial for Kids
If you want to teach your children how to draw, our flow drawing technique is the perfect solution. Using simple shapes, our easy-to-follow guide will help them create their own artworks in no time.
With our step-by-step approach, they’ll be able to learn how to mix and match different shapes to create new forms. And best of all, they’ll have a lot of fun doing it!
-
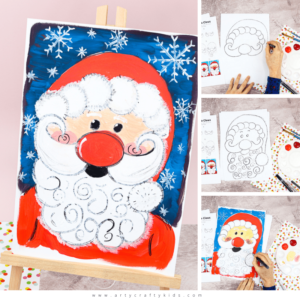
 Flow Drawing and Paint Along: Santa Claus
 -
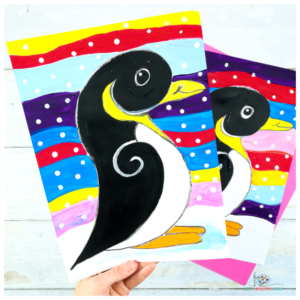
Flow Drawing Penguin Template
-
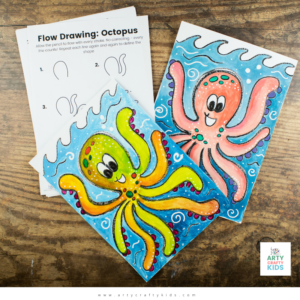
Flow Drawing Octopus Guide
-
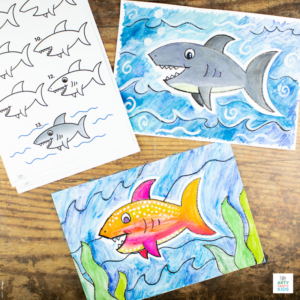
Flow Drawing Shark Tutorial
-
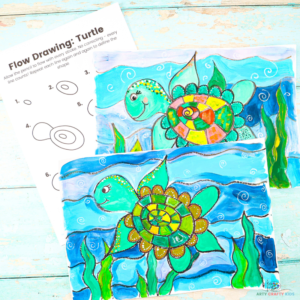
Flow Drawing Turtle Tutorial
-
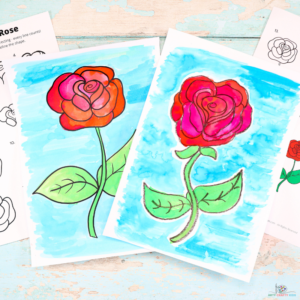
Flow Drawing: A Rose
-
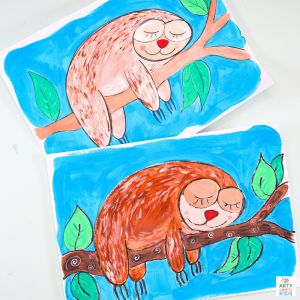
Flow Drawing: Step by Step Sloth
-
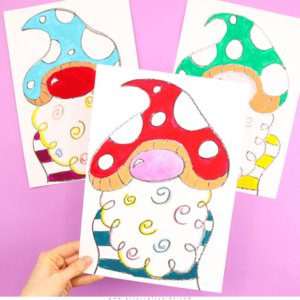
Flow Drawing: Toadstool Gnome
-
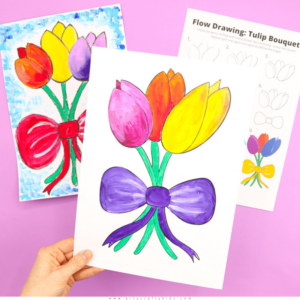
Flow Drawing: Tulip Bouquet
-
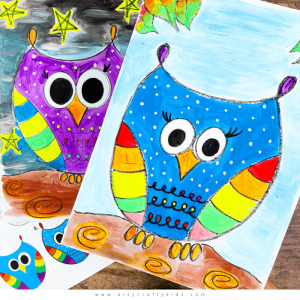
Flow Drawing: How to Draw an Owl
-
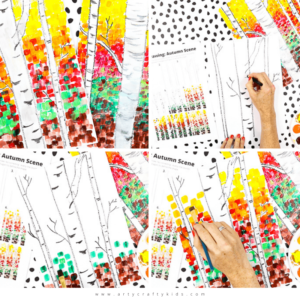
Flow Drawing: How to Paint an Autumn Birch Tree Scene
-
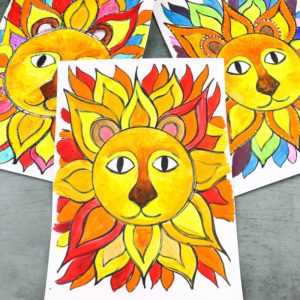
Flow Drawing: Sunshine Lion Art
-
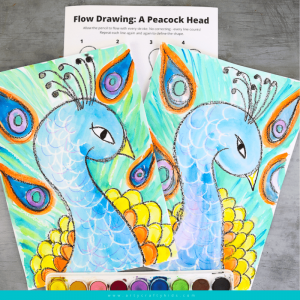
Flow Drawing: How to Draw a Peacocks Head
-
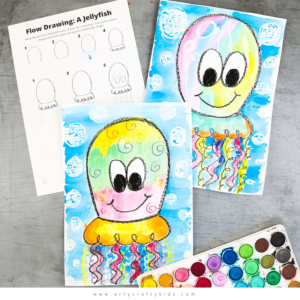
Flow Drawing: How to Draw a Jellyfish
-
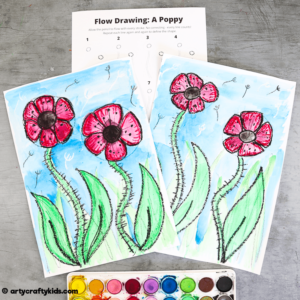
Flow Drawing: How to Draw a Poppy
-
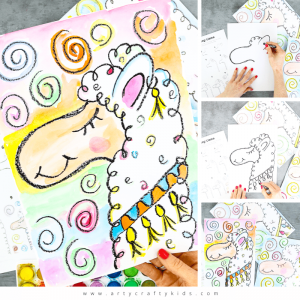
Flow Drawing: How to Draw a Llama
-
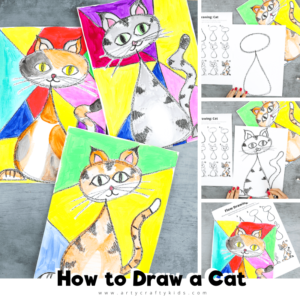
Flow Drawing: How to Draw a Cat
-
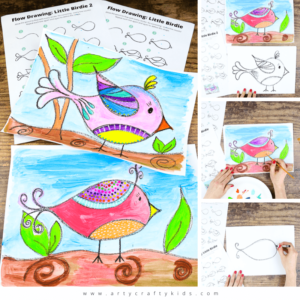
Flow Drawing: How to Draw a Little Bird
-
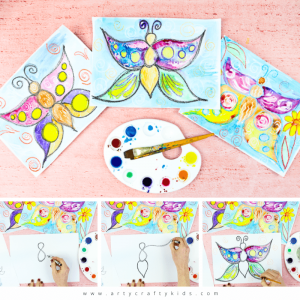
Flow Drawing: How to Draw a Butterfly