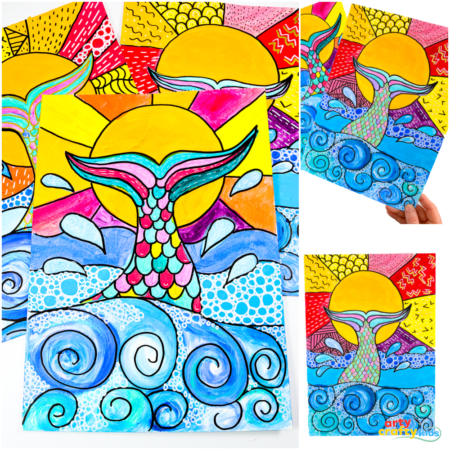
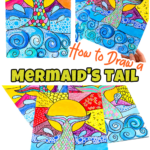
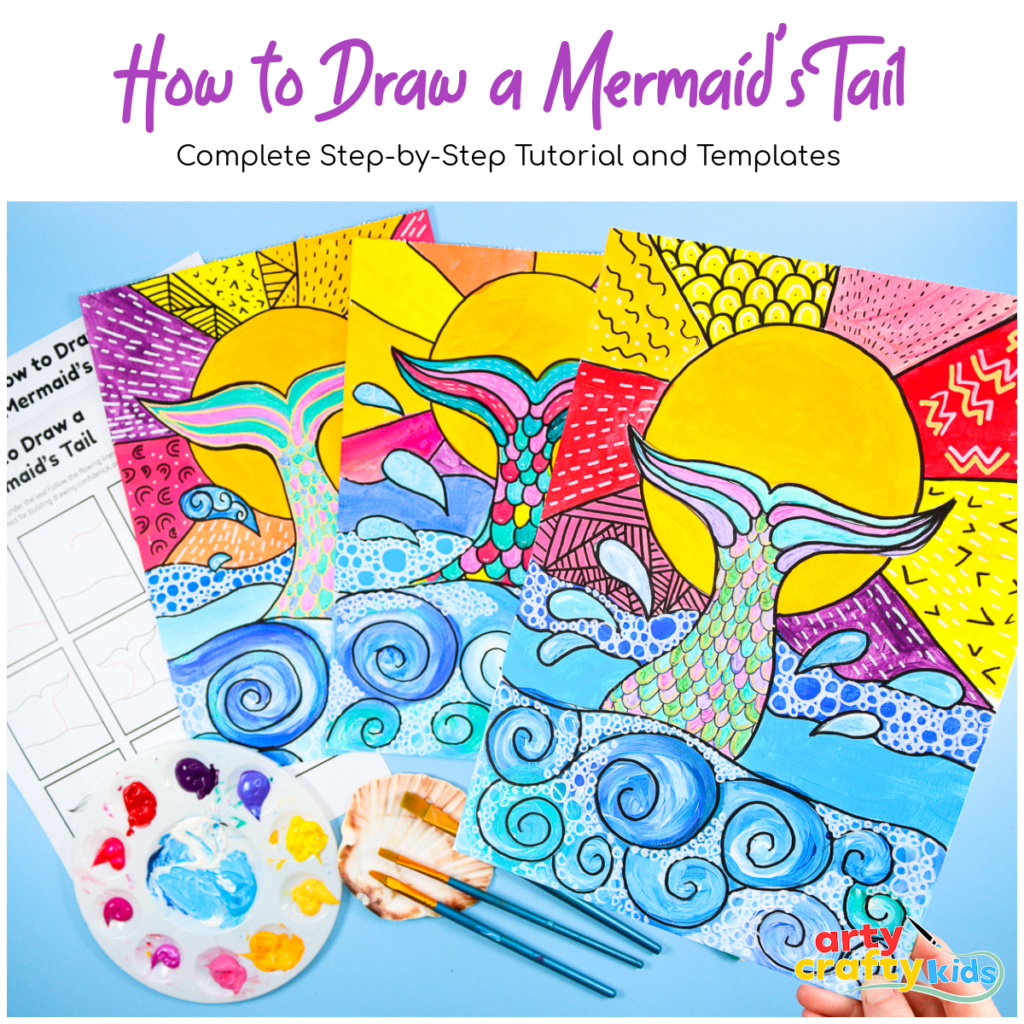
A Complete Step-by-Step ‘ How to Draw a Mermaid’s Tail’ Drawing and Painting Project for Kids
This summer-inspired art project invites children to dive into the magic of the deep sea as they draw, paint, and decorate a mythical mermaid’s tail.
With just a few simple materials and an easy-to-follow printable tutorial, this project guides children through every stage – from sketching and pattern-making to painting and final embellishments.
Perfect for classrooms, summer camps, or creative afternoons at home, this under-the-sea themed tutorial encourages confidence in drawing, introduces the contrast between warm and cool colors, and explores the bold linework used by pop artists like Romero Britto and Keith Herring.
This project is rooted in the flow drawing technique – a gentle, mindful approach that encourages children to draw with freedom, rhythm, and movement.
Rather than focusing on perfect lines or rigid shapes, flow drawing invites children to relax into the process, using sweeping curves, repeated patterns, and fluid marks to bring their mermaid tail to life.
It’s a beautiful way to build confidence in drawing while also nurturing creativity and focus.
How to Draw a Mermaid’s Tail Step-by-Step
Watch the Step-by-Step How to Draw a Mermaid’s Tail Video:
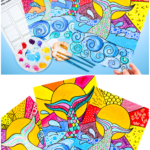
Materials:
- White Cardstock or Mixed-Media Paper
- Pencil
- Black Marker Pen
- Metallic Pens or Acrylic Marker Pens
- Acrylic Paint ( or another favorite medium)
- Step-by-Step How to Draw a Mermaid’s Tail Printable (members will need to log in to access the templates).
Not a Member?
The printable pack includes a comprehensive step-by-step visual guide to help students draw a mermaid’s tail with ease, plus a ready-to-decorate mermaid tail template ideal for younger children or those who prefer a creative starting point.
Join the Arty Crafty Kids club to access the Mermaid Tail templates and 100s more Art and Craft templates, How to Draw Guides, and Coloring Pages.

Let’s start drawing a Mermaid’s Tail!

Step 1: Begin with the Tail Shape
Use a pencil and start by drawing a flowing curved line across the lower half of the page – this creates the base of the mermaid tail as it rises from the sea.
Then, extend two curved lines upward from the center, arching them outward to form the flukes.
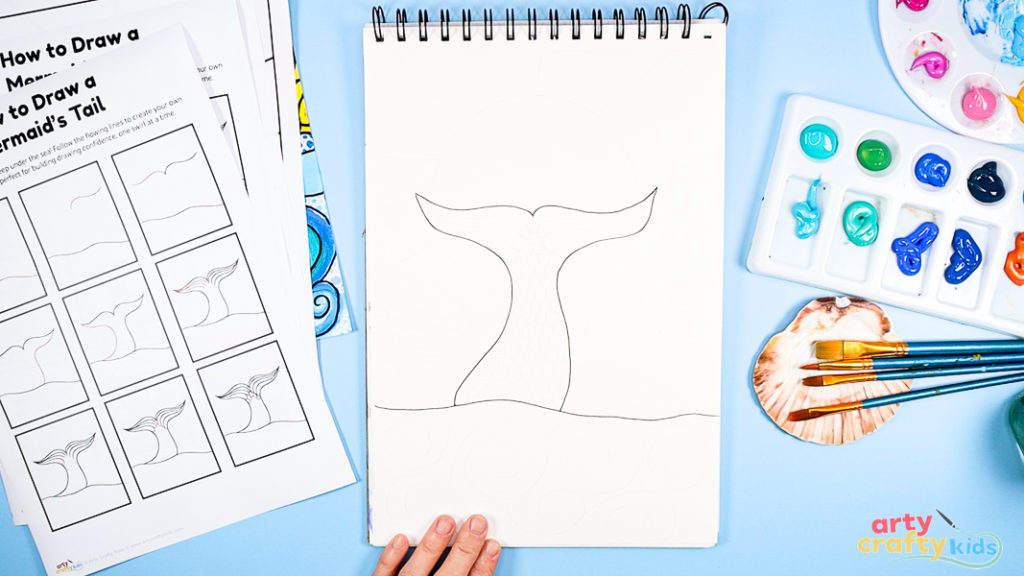
Connect the tips of the flukes to the sea line below using two smooth, curved lines to complete the shape of the tail.
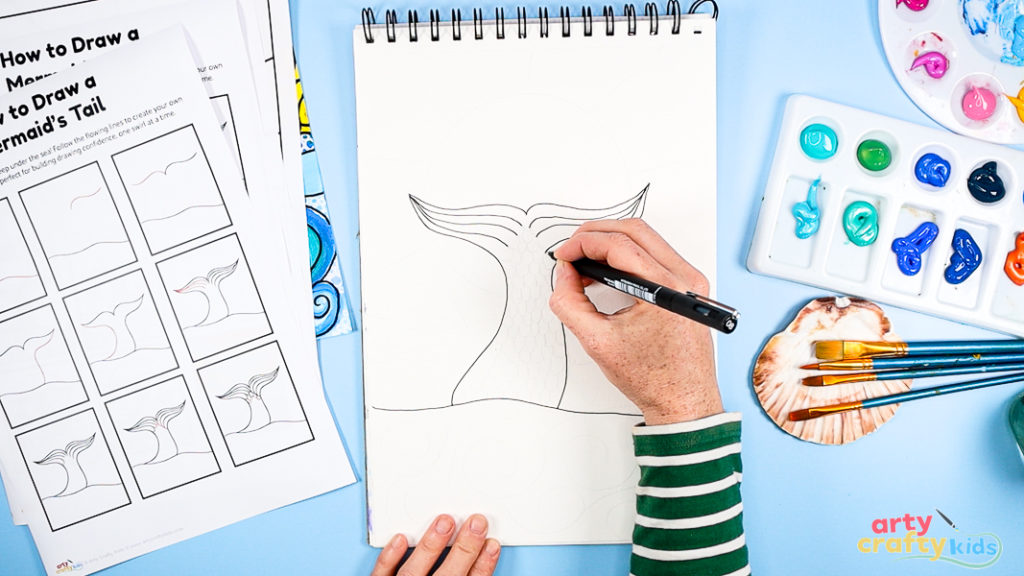
Step 2: Add detail to the Mermaid’s Tail.
Starting from the inner tips of the flukes, draw three gentle, wavy lines that flow downward through the tail to suggest movement and flow.
Join the ends together with curvy, scalloped lines to form the top edge of the tail.
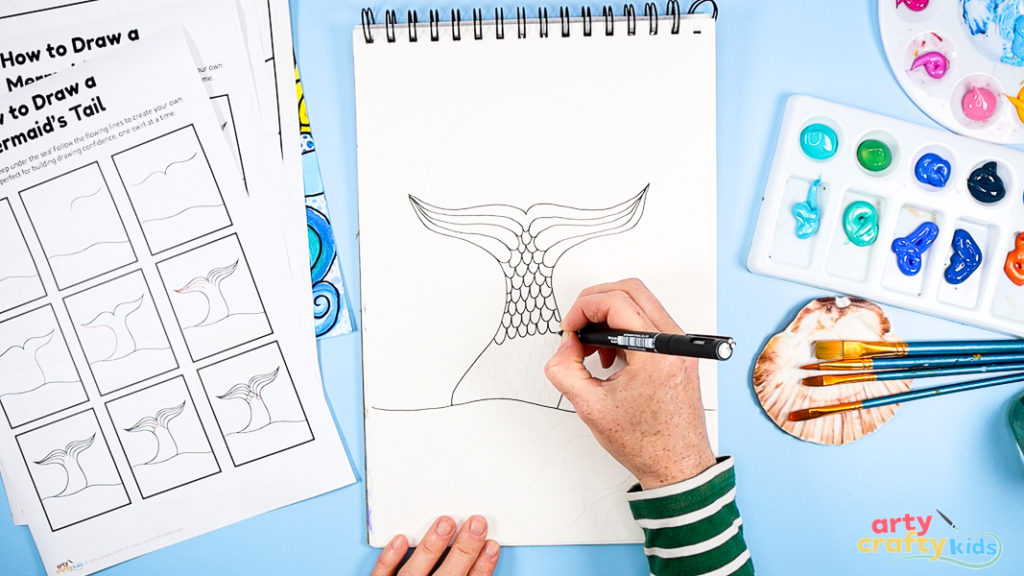
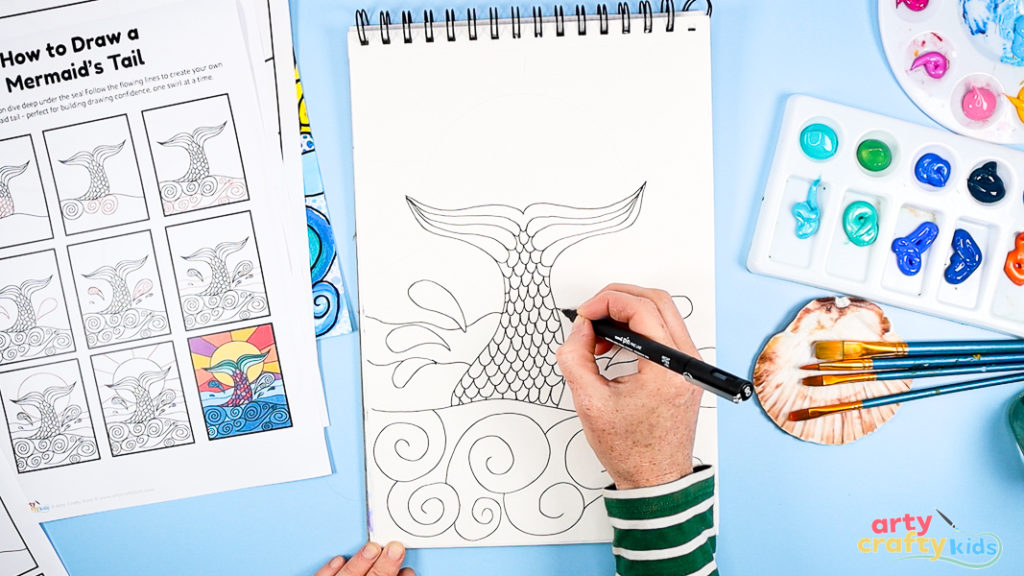
Step 3: Draw scallop patterns within the Mermaid’s Tail.
Using scallop shapes or overlapping arches, pattern the tail with scales. Encourage your students to keep their lines light and loose – they don’t need to be perfectly even.
This repetition helps develop hand control and focus. It’s also a great opportunity to talk about pattern and texture, inviting children to notice the similarities between fish, dragons, and mermaids.
Step 4: Draw the waves.
Use swirling, flowing lines to create the impression of waves beneath the mermaid’s tail. These can be big or small, looping in any direction – this stage is all about connecting with the movement of the sea and drawing what feels natural.
To add depth and a sense of layering, draw a few additional wavy lines above the base wave, along with some splash shapes to suggest movement and energy in the water.
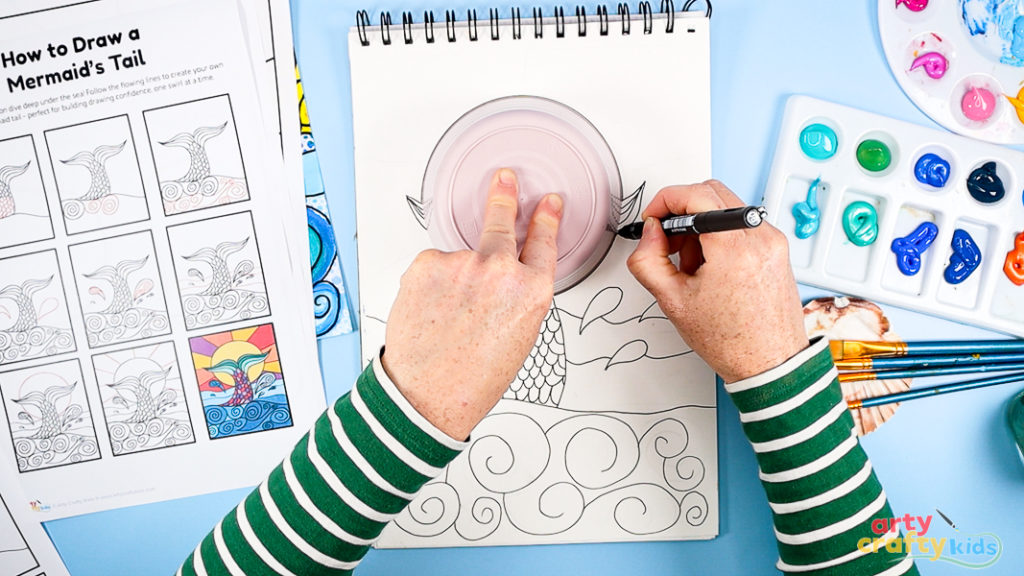
Step 5: Draw a large sun.
Using a bowl as a guide or drawing freehand, create a large circle that surrounds the tip of the tail, as if the sun is setting behind it.

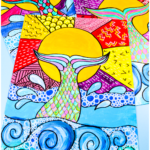
Then divide the sky area into sections using straight and curved lines. These segmented spaces will later be filled with patterns and color, helping children explore contrast, balance, and design.
You could link this to the idea of stained glass windows, patchwork, or mosaic art – each section working together as part of a whole.
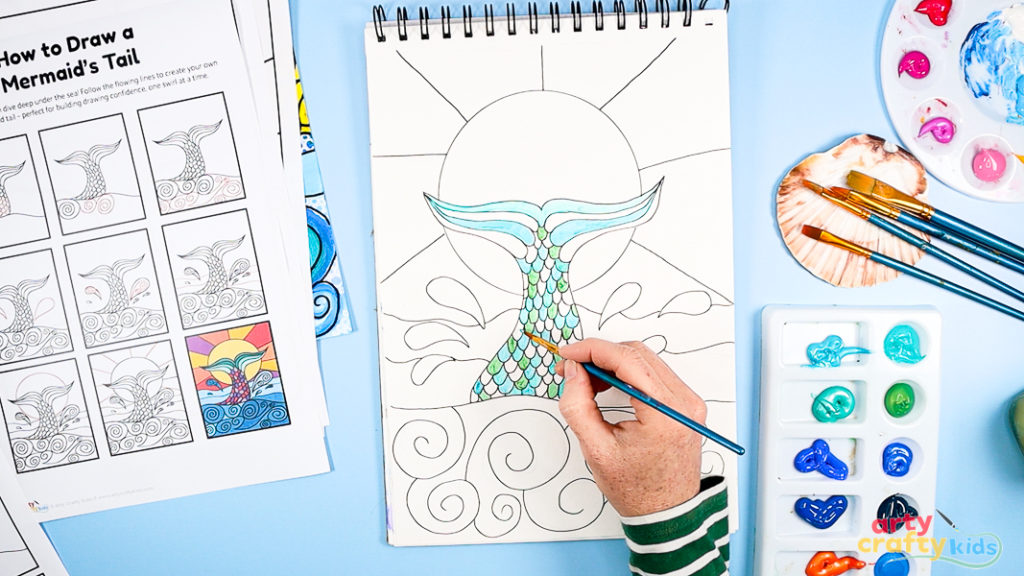
Step 6: Acrylic Painting – Color in the Mermaid’s Tail.
Using acrylic paint, invite children to carefully fill in the tail and flukes. Acrylic is a fantastic medium for this stage – it’s bold, vibrant, and perfect for layering.
Encourage your artists to select either warm or cool tones to set the mood of their piece.
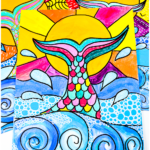
- Warm colors like pinks, reds, oranges, and golds give the tail an energetic, fiery feel -like it’s glowing in the sun.
- Cool colors like blues, purples, and turquoise create a calm, underwater vibe – soft and serene.
This is also a great opportunity to explore different brush sizes and shapes. Fine details, like the scalloped scales on the tail, are best painted with a small, round-tipped brush, while broader areas, such as the sun and its rays, are more easily filled with a larger, flat brush.
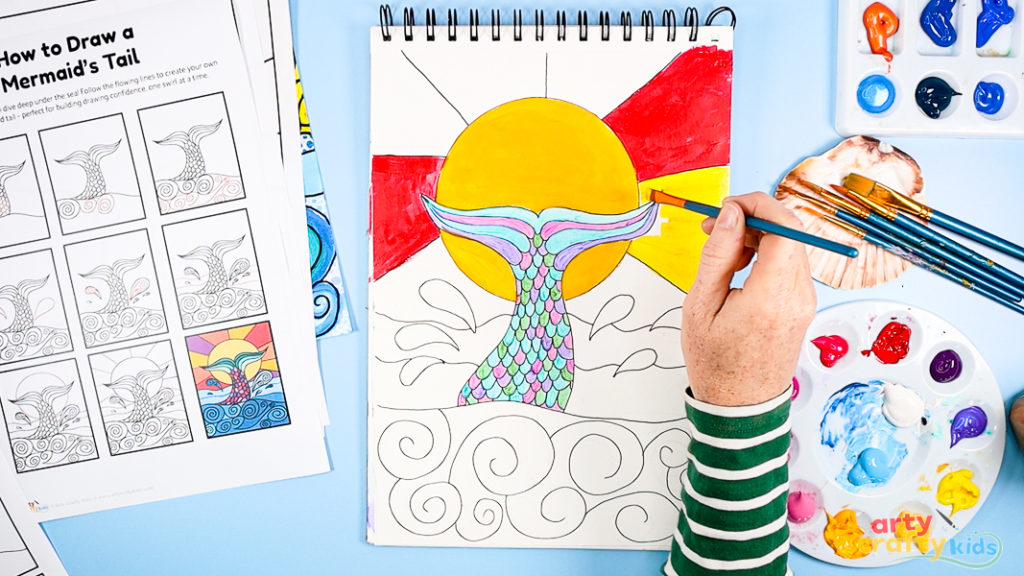
Step 7: Warm and Cool Colors – Paint the sun.
Use warm colors like yellow, orange, red, pink, and even purple to paint the sun and rays. Encourage kids to blend and layer the shades to create a glowing, sunlit effect with depth and warmth.
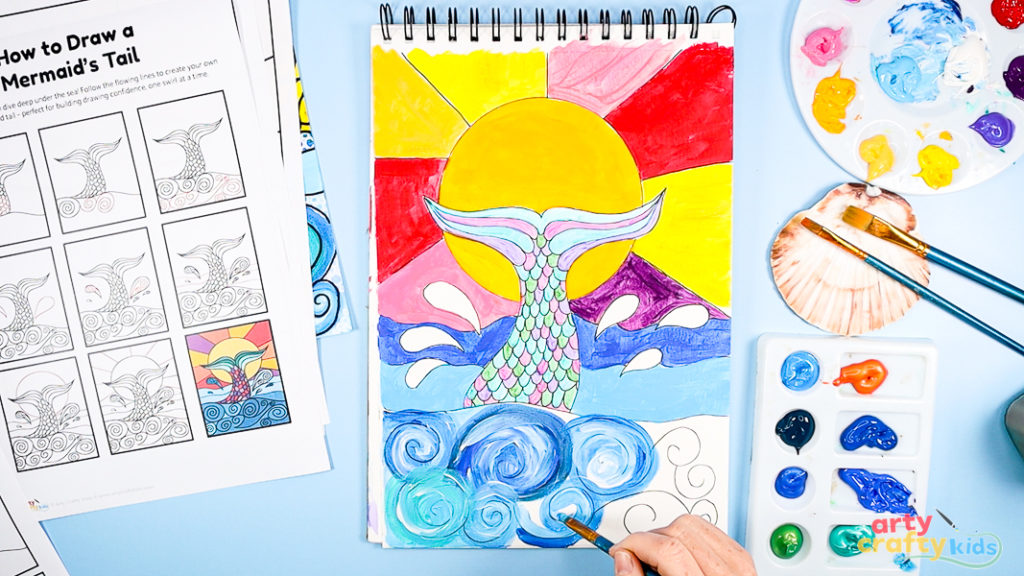
Step 8: Blending Paint – Paint the waves.
Unlike the bold, solid colors of the sun, we want the waves to feel soft and full of movement.
Try blending blue and green with a little white, using big, curved brushstrokes – like you’re painting the shape of rolling waves. Let the colors mix on the page to create a swirly, flowing sea.
Let the painting dry completely before moving on to the next step, so the colors stay crisp and the paper doesn’t smudge.
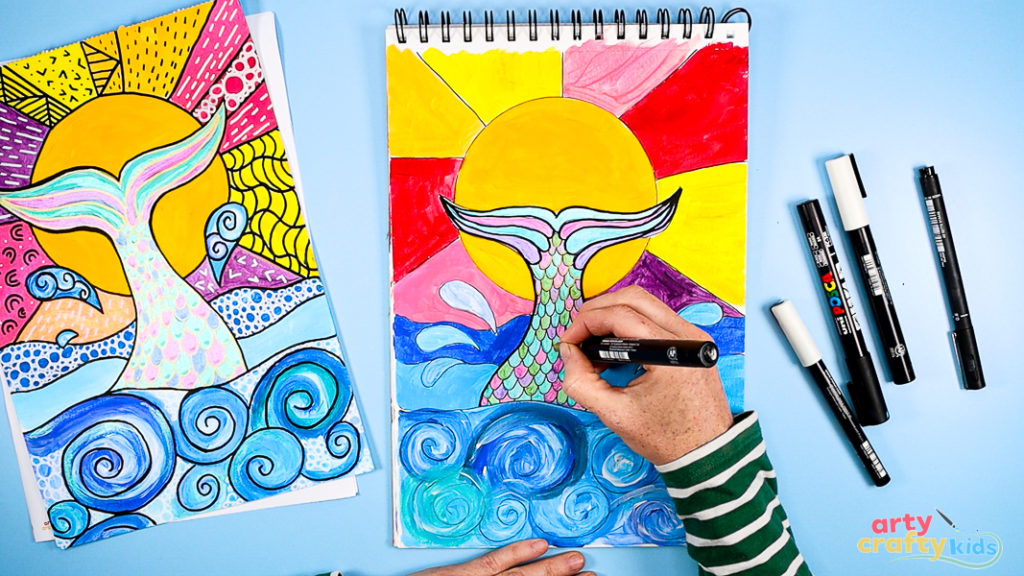
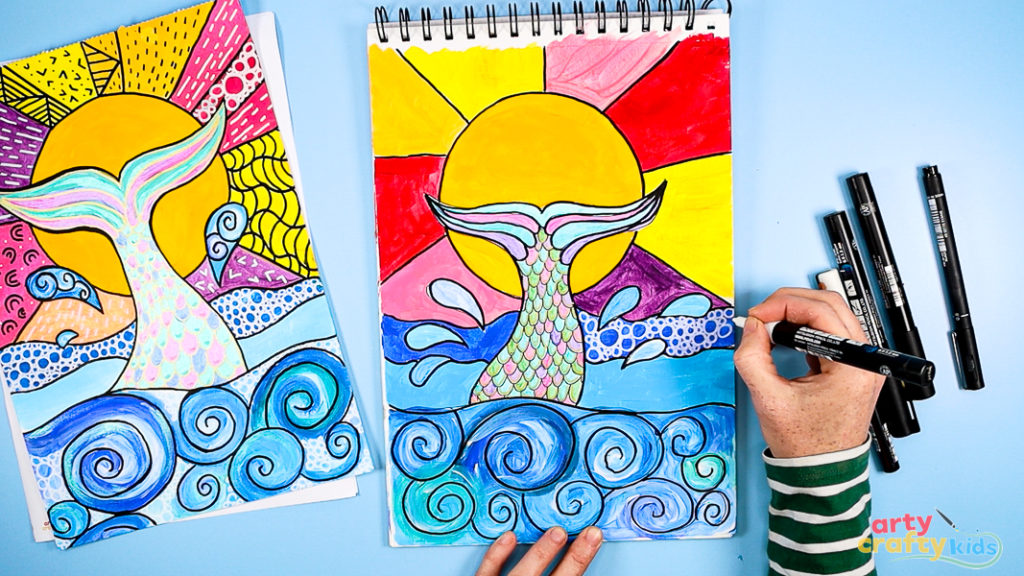
Step 9: Outline the Meraid’s Tail.
Use a black marker to carefully outline the mermaid’s tail. This bold line technique is often used by pop artists like Romero Britto, Andy Warhol, and Keith Haring to create strong contrast and make key elements of their artwork stand out.
Step 10: Introduce pattern creation and doodling.
This step represents a chance for children to slow down, observe their work, and add thoughtful details that elevate the entire piece.
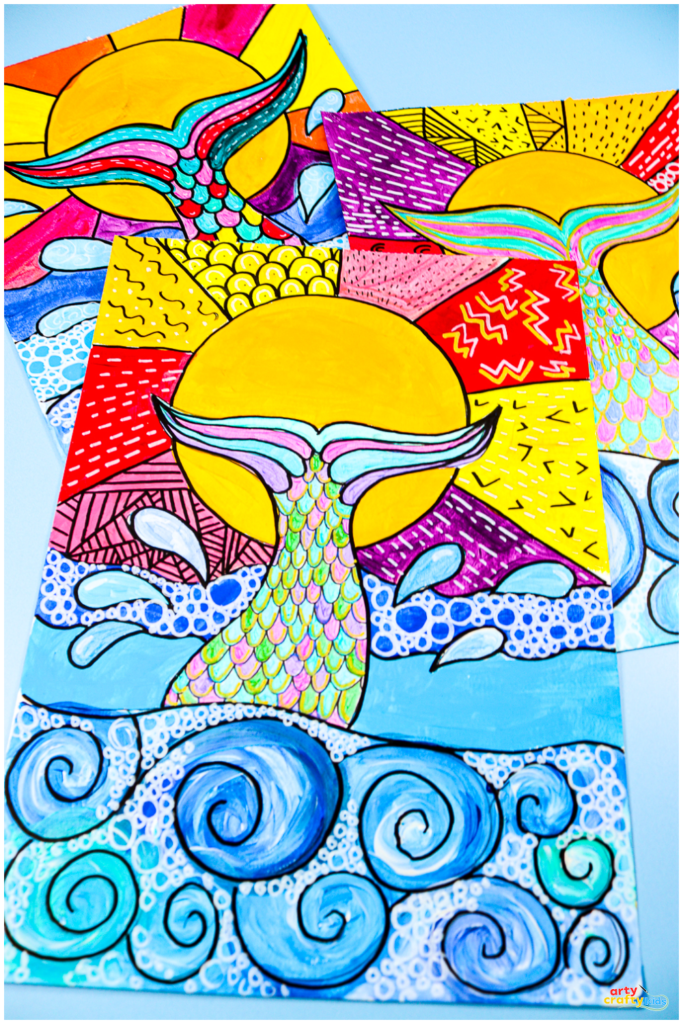
I like to use a white acrylic pen to draw simple circles within the waves. The white stands out beautifully against the blended blues and greens, giving the sea a sparkling, almost magical quality, like bubbles or reflections catching the light.

Inside the sun, I switch things up and use a combination of black, white, and metallic pens (gold or silver work especially well).
Children can explore different patterns here – dots, dashes, zigzags, spirals, and even tiny stars or hearts.
The key is to keep it simple and repeat the shapes, creating rhythm and visual interest without overwhelming the space.
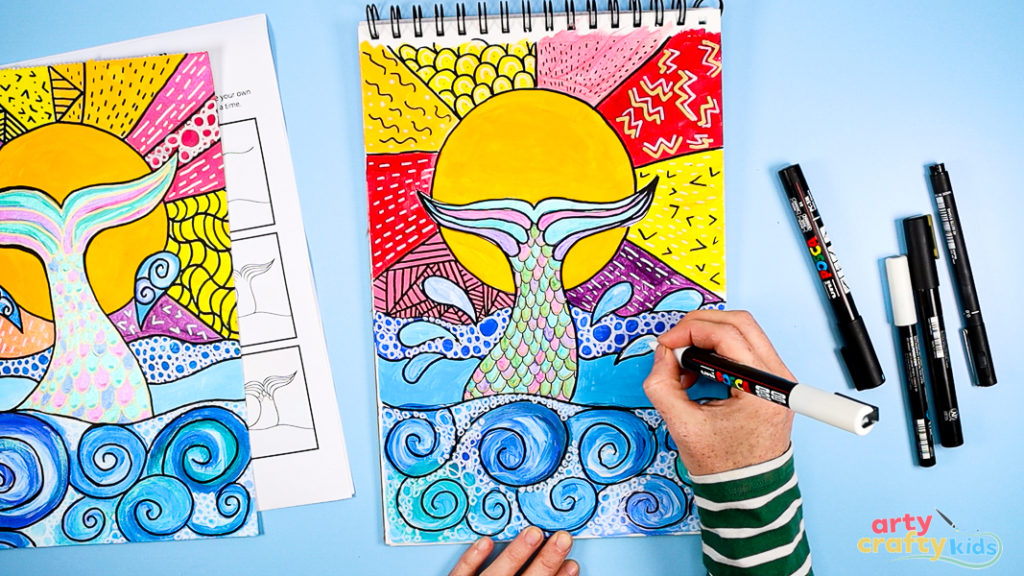
This stage adds texture, contrast, and depth, giving the final artwork a finished, layered look. The patterns break up blocks of color and encourage children to slow down and focus on the details, while also giving them space to express their own style.
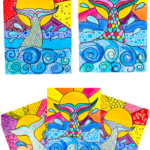
The overall effect? A bold and vibrant mermaid scene full of movement, contrast, and personality, where every completed tail tells its own story.
If your children loved creating a mermaid’s tail, keep the ocean adventure going with more under-the-sea drawing projects!
Try our Easy Crab Drawing, How to Draw a Fish, Shark Tutorial, or even our sunny How to Draw a Sun – all perfect companions to this mermaid project. Each one builds on key skills like flow drawing, color contrast, and expressive outlines.
FAQ: How to Draw a Mermaid’s Tail
What age is this mermaid tail art project suitable for?
This tutorial is great for kids aged 5 and up. Younger children can use the ready-made template to color and decorate, while older kids can follow the step-by-step drawing guide for a more detailed experience.
Can I use other art materials besides acrylic paint?
Absolutely! While acrylic paint gives vibrant results, kids can also use watercolors, colored pencils, pastels, or markers—whatever you have on hand. The process stays the same, and it’s fun to experiment with different textures and effects.
What kind of paintbrushes should we use?
A variety of brushes works best for this project. Use a small round-tipped brush for finer details like scales and lines inside the tail, and a larger flat brush for painting broad areas like the sun or background. It’s also a great opportunity for kids to explore how brush shapes affect movement and texture.
What is flow drawing and how does it help children?
Flow drawing is a relaxing, rhythm-based drawing technique that uses smooth, continuous lines. It encourages creativity and focus, helping children build confidence in their mark-making without worrying about perfection.
Do I need to print the templates in color?
Nope! The printable mermaid tail templates work perfectly in black and white. Kids will add all the color themselves as part of the creative process.
How can I make this easier for younger children?
Use the pre-drawn mermaid tail template included in the pack. Kids can color, paint, or collage directly onto it, skipping the drawing steps while still engaging in a rich, creative activity.
Is this project good for classroom use?
Yes! The tutorial is designed to be flexible and works beautifully in a classroom or homeschool setting. It supports key art skills like drawing, pattern-making, color theory, and fine motor control, with plenty of room for self-expression.
How long does the full project take?
On average, it takes about 45–60 minutes, depending on how detailed your children get with painting and doodling. If time is limited, you can spread it across two sessions—one for drawing and painting, and one for outlining and detail.