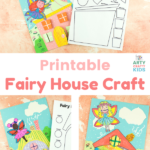
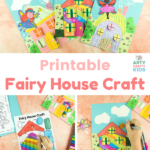
Grab some paper and pens, and learn how how to make a fairy house with our Printable Fairy House Craft tutorial!
We’ve all grown up with stories of the Tooth Fairy and the Fairy Godmother, with film and literature turning a number of fairies into popular household names from Tinkerbell to Thumbelina and even the ‘evil’ fairy Maleficent. Beyond popular culture, fairies feature heavily in folklore and at a very basic level, are used to teach morality to children with an over simplified view of good-versus-evil, where the heroine or hero will always overcome a life challenge.
Inspired by the magic of fairytale and wonder, we have created a fairy craft that will inspire the imaginations of kids both big and small.
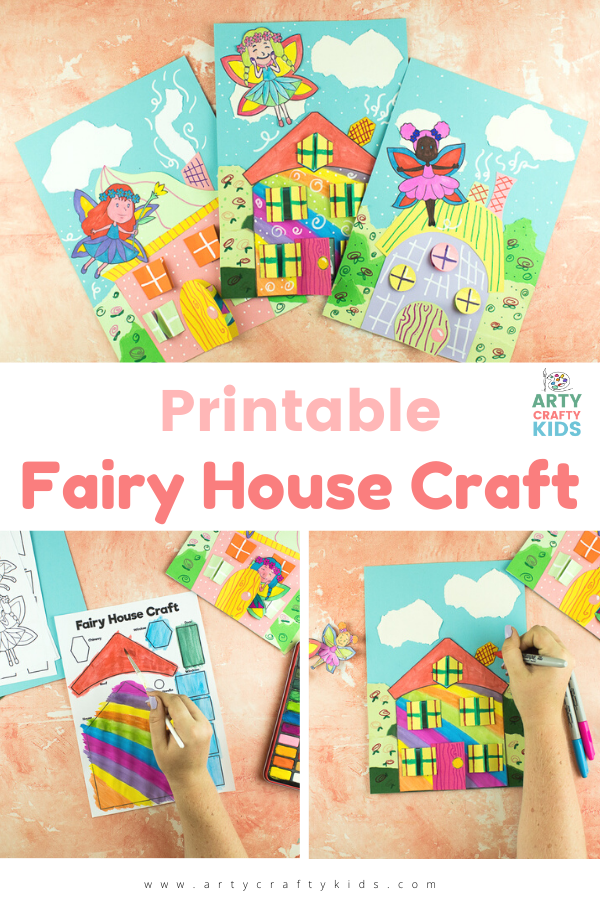
This printable Fairy House craft is sure to get children’s imaginations running wild, just like the stories! With a simple printable template, some coloring, cutting and sticking, your children can create their very own unique fairy house that’s complete with opening windows and doors. You may also add a fairy inside the doorway to welcome all her enchanting friends to her new home!
Printable Fairy House Craft
Table of contents
- Printable Fairy House Craft
- Download the Printable Fairy House Craft Template:
- Not a Member?
- Watch the Fairy House Craft tutorial video!
- Let’s Make a Fairy House!
- More Printable Crafts for Kids
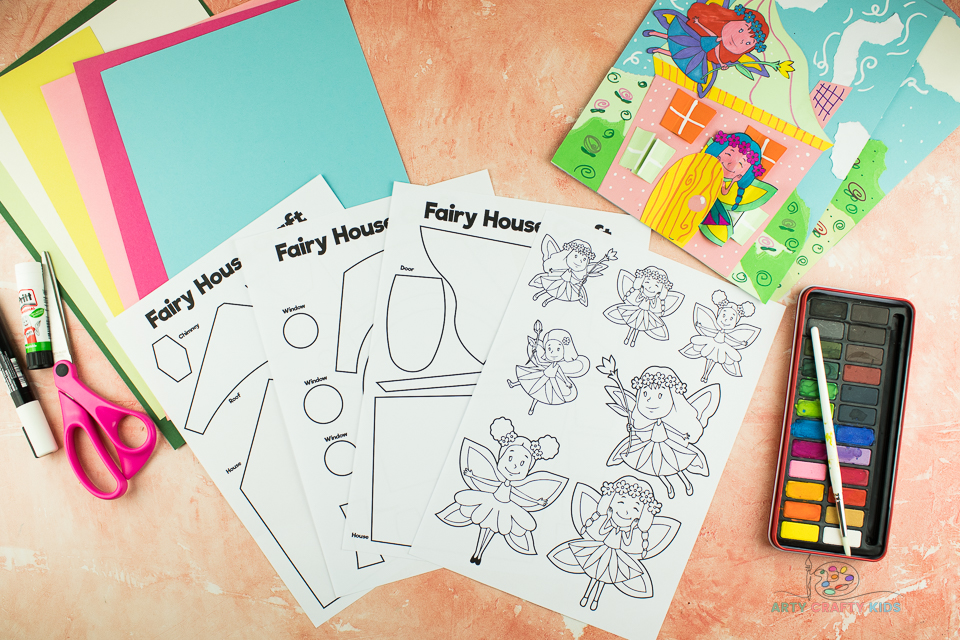
Materials
- Printable Fairy House template
- Acrylic Paints (or other coloring medium of choice)
- Marker Pens
- Scissors
- Glue Stick
- Colored Card
- White Paper
Download the Printable Fairy House Craft Template:
This printable fairy pack includes three house templates and a page of fairies in different sizes. Feel free to experiment by mixing different elements of each house template together. Why not use round windows on a square house? Or have a wavy roof with 2 chimneys!? The choices are endless and children always have the option of creating their own interesting elements too!
The ‘Printable Fairy House Craft’ template is available to members of the Arty Crafty Kids club.
Members will need to log in to access the templates: https://www.artycraftykids.com/product/fairy-house-templates/
Not a Member?

Watch the Fairy House Craft tutorial video!
Let’s Make a Fairy House!
To simplify the tutorial, we have broken the steps down into distinct segments – The Templates, Creating a Backdrop and Assembling the Fairy House.
Coloring the Fairy Templates
Choose your Fairy House template
Before the Arty Crafty Kids start coloring and cutting, encourage them to spend 5 minutes or so thinking about their design. They can mix and match the templates or complete the individual templates provided.
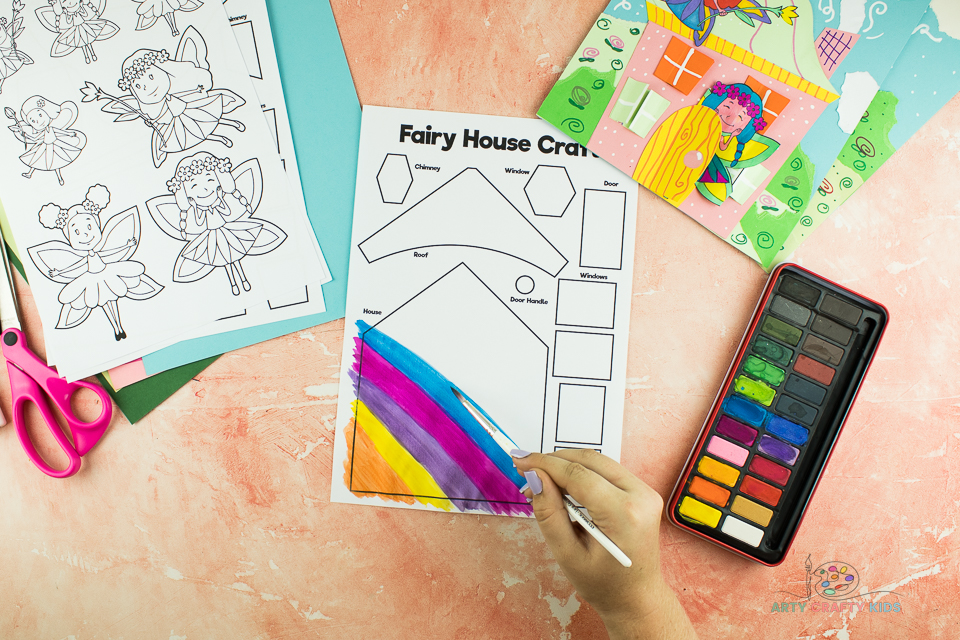
Paint the Fairy House Template
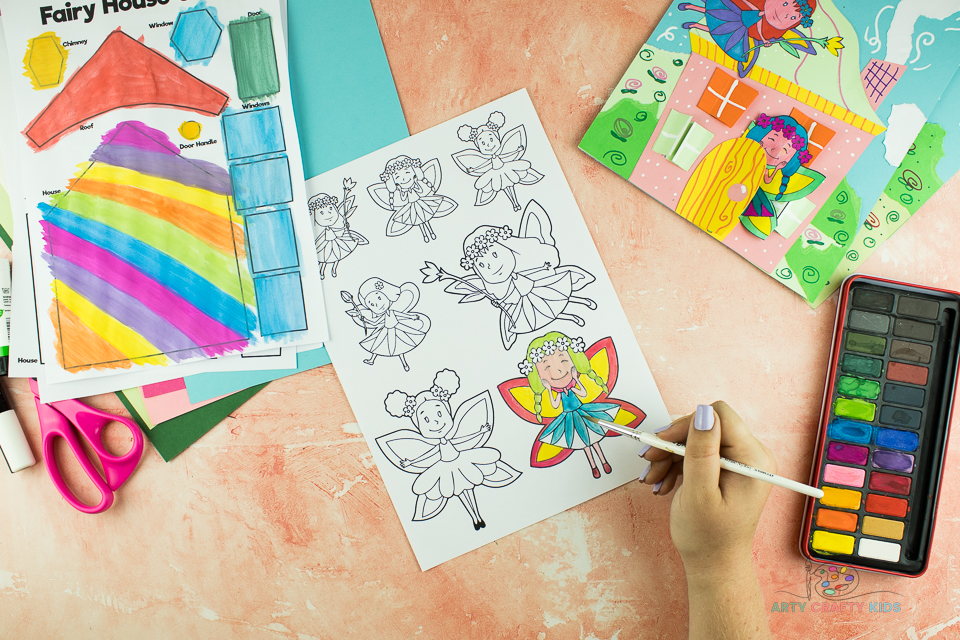
Once your Arty Crafty Kids have chosen their elements, it’s time to select a favorite coloring medium(s) and color!
Our fairies and fairy house has been colored with a combination of felt tipped pens and watercolor paints. We’ve used the brightest and boldest colors available. The stories of Tinkerbell feature seasonal fairies, what would a Winter or Summer fairies house look like?
Paint the Fairy Template
Next, paint the the fairies. This gives children another opportunity to play and use color to create personality.
Once all the elements are colored in, it’s time for scissors.
Carefully cut out the elements. The fairy house elements are rather large and simple in design, while the fairies maybe challenging for little hands.
Let’s Make a Fairy Garden and Backdrop

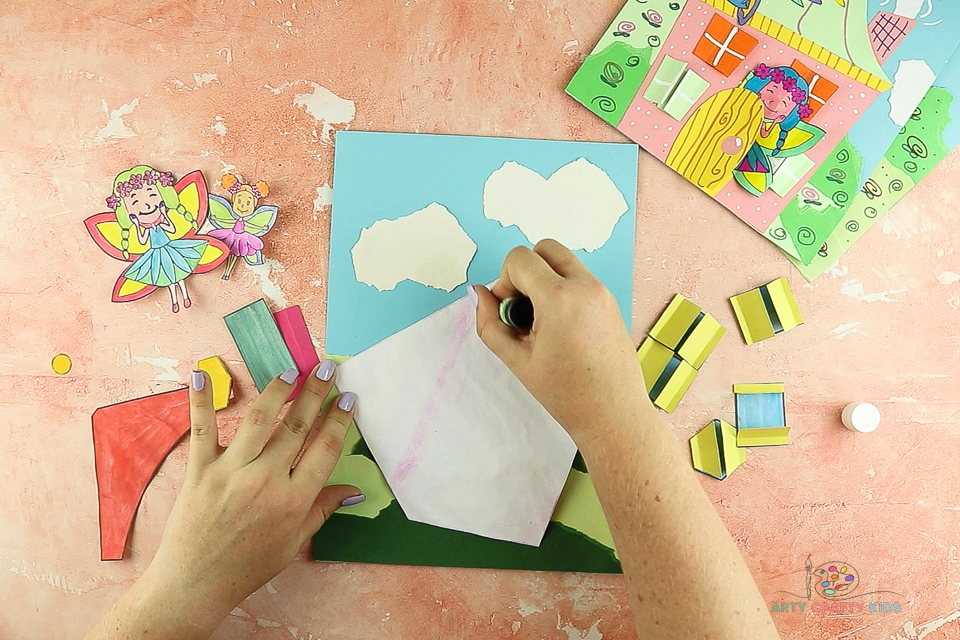
Tear White Paper to create Clouds
Tear some cloud shapes out of white paper. Tearing the paper creates a totally random effect. You can have big or little clouds, lots or just a few.
Glue the clouds onto blue card. This will give the fairies have a lovely bright sky to fly across!
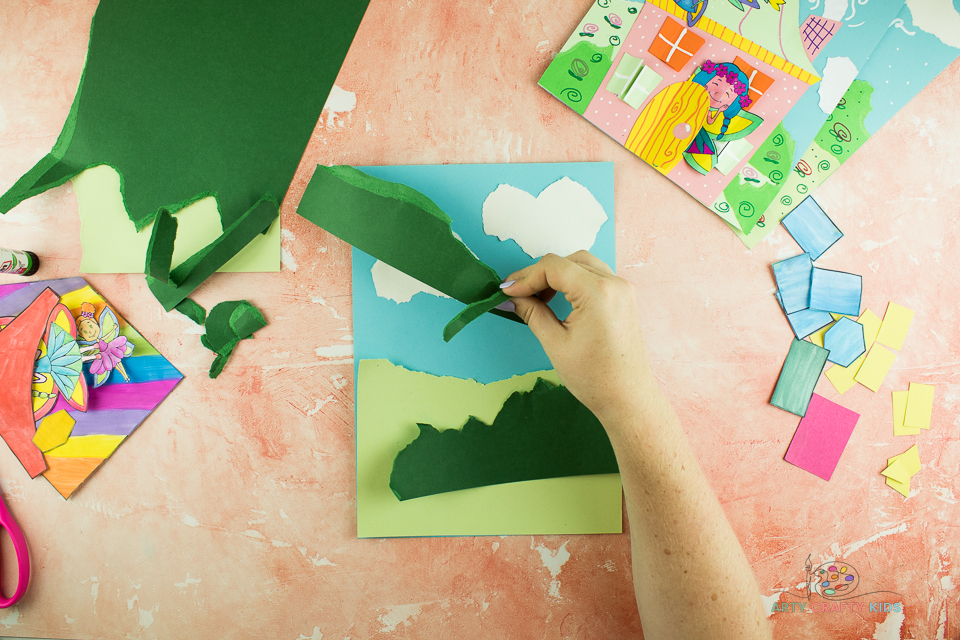
Tear Green Card to create Bushes and Hills
Use the tearing technique to create some interesting shaped hills and bushes for the background. Use different shades of green to create textured layers.
As always, there are options. As an alternative to green hills and grass, use shades of pink, purple, white and blue to create a wintery scene OR yellow to create the impression of a sandy beach.
Assembling the Fairy House
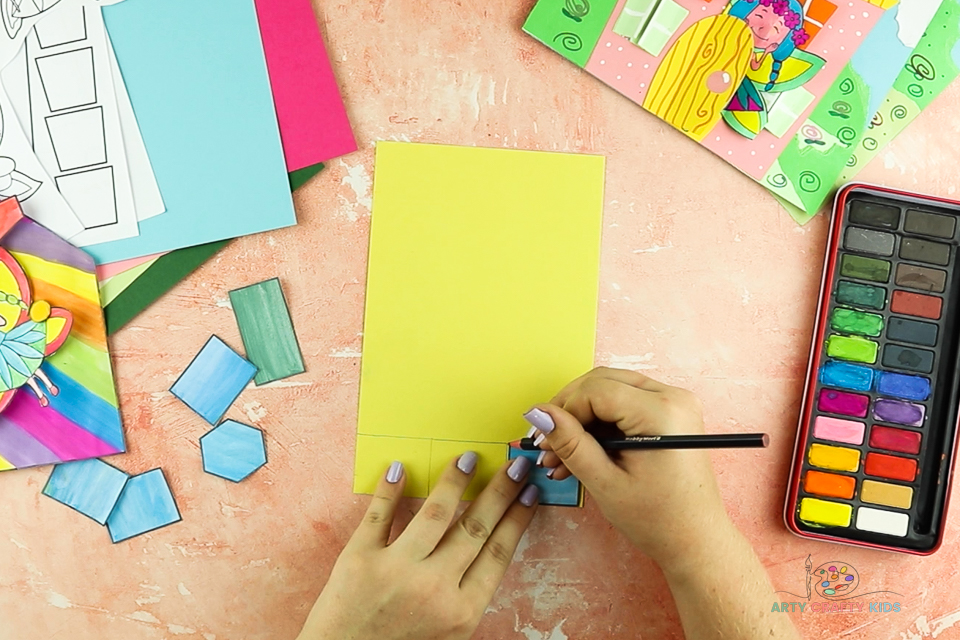
Trace the Windows and Doors
To add windows and doors that open and close, Arty Crafty Kids will need to make window shutters and an extra front door! Trace all the colored in windows and doors onto a contrasting piece of colored card.
One the extra elements have been traced, grab a pair of scissors and cut them out!
Next, the children will need to pair and count the elements. This is a lovely way to introduce maths into crafting and in this instance, Arty Crafty Kids will have doubled the original number of windows and doors ( they should have 10 Windows and 2 Doors).
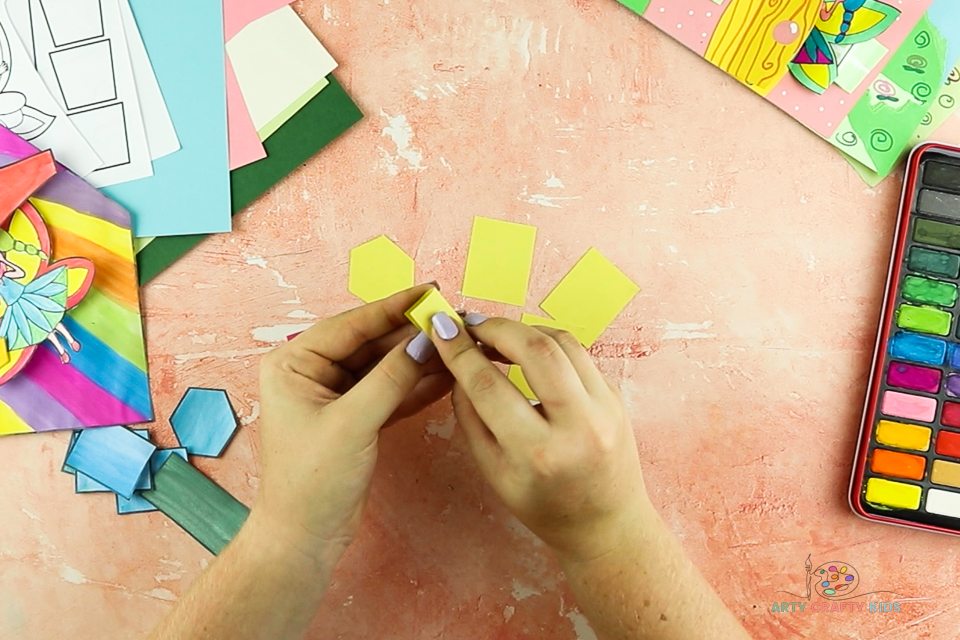
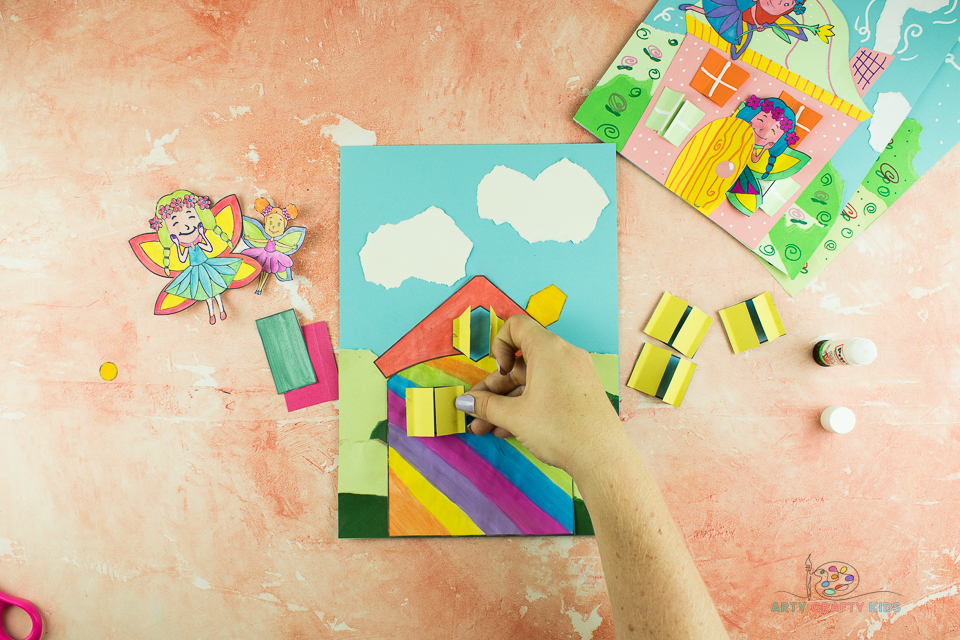
Let’s Make Window Shutters
Next, fold each of the traced window elements in half and then cut along the folded line.
One half of element will be glued to either side of the window.
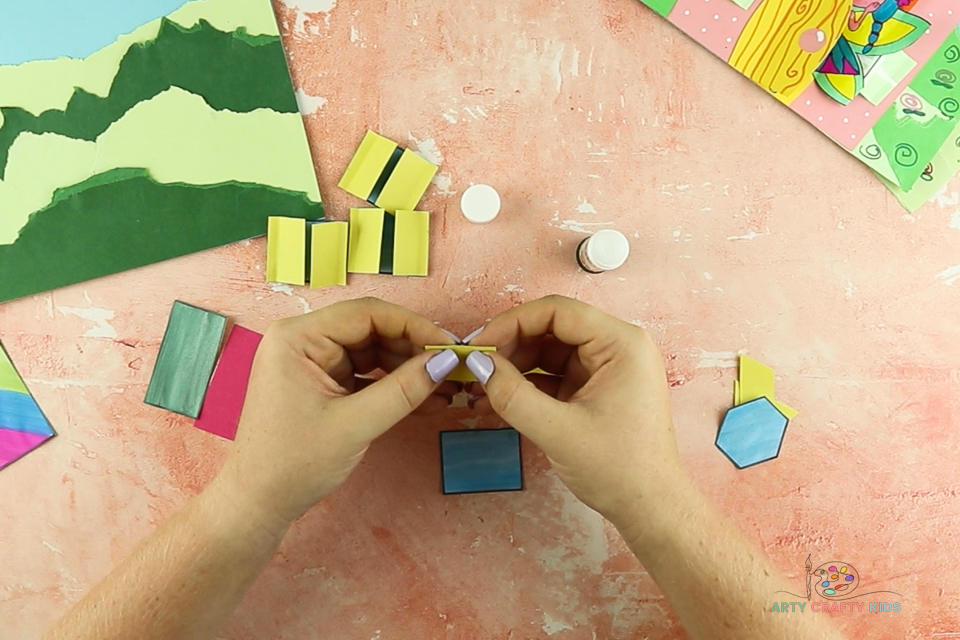
Fold a Small Flap on the Window Shutters
Create another small fold along the long edge of each window. Apply glue and secure to one side of the window and repeat for the opposite side.
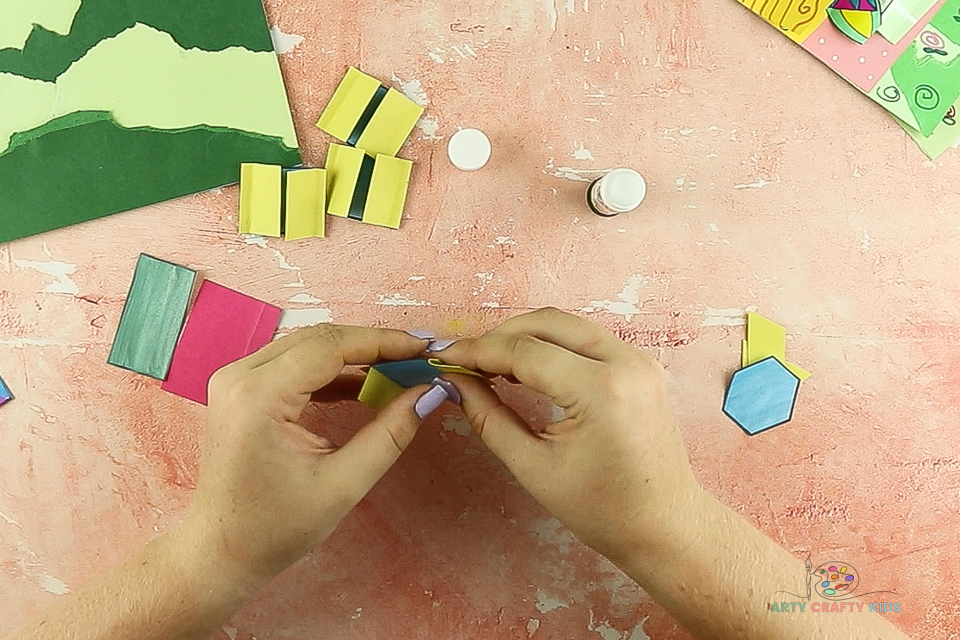
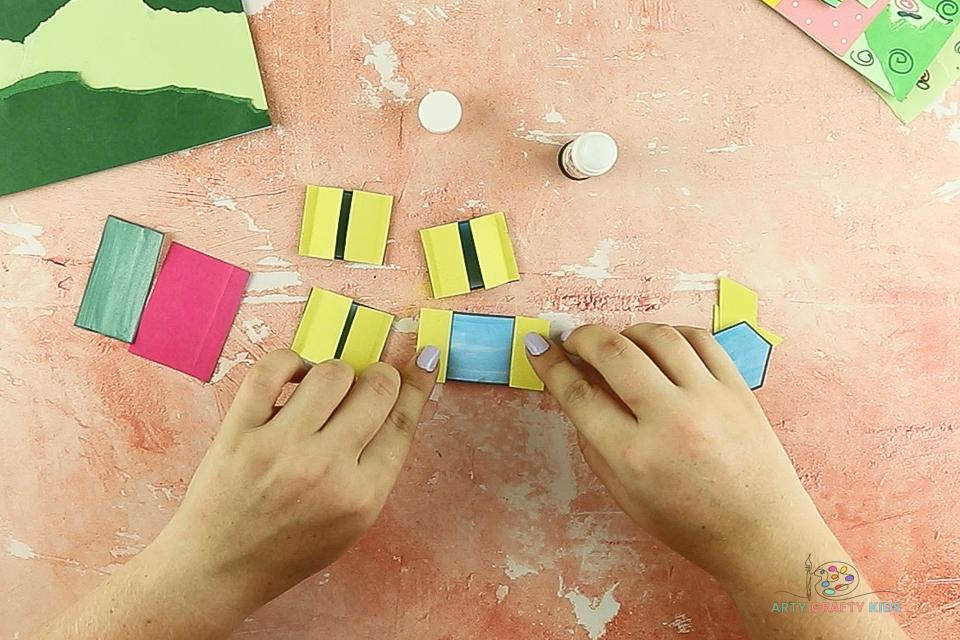
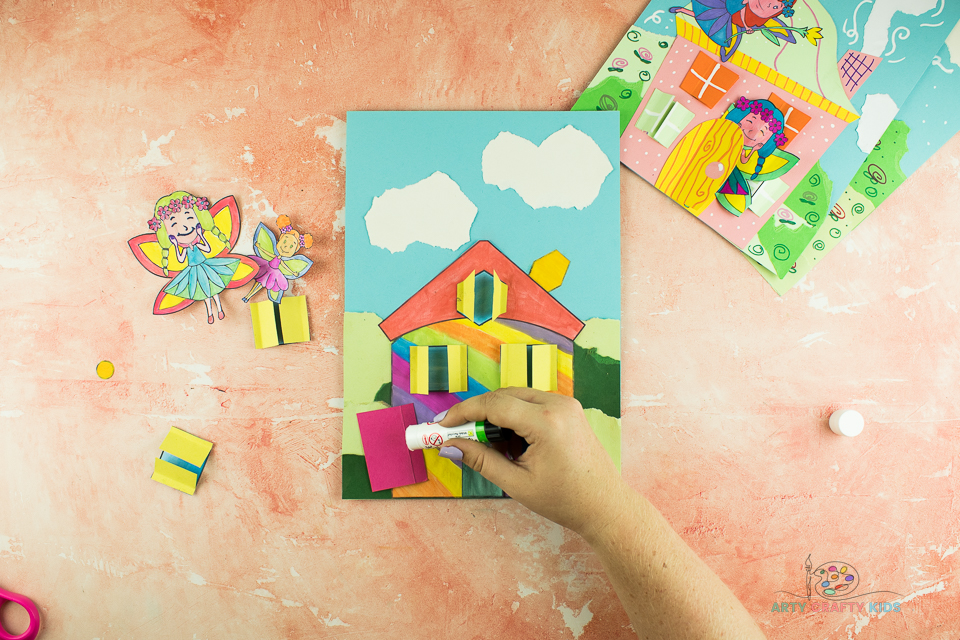
The Fairy Windows are Complete!
Repeat the process until all the windows have shutters.
Glue the House Elements on to the Background
Glue the large house element to the background.
Next, add the roof and the chimney.
Glue on the Windows
Affix the windows to the fairy house.
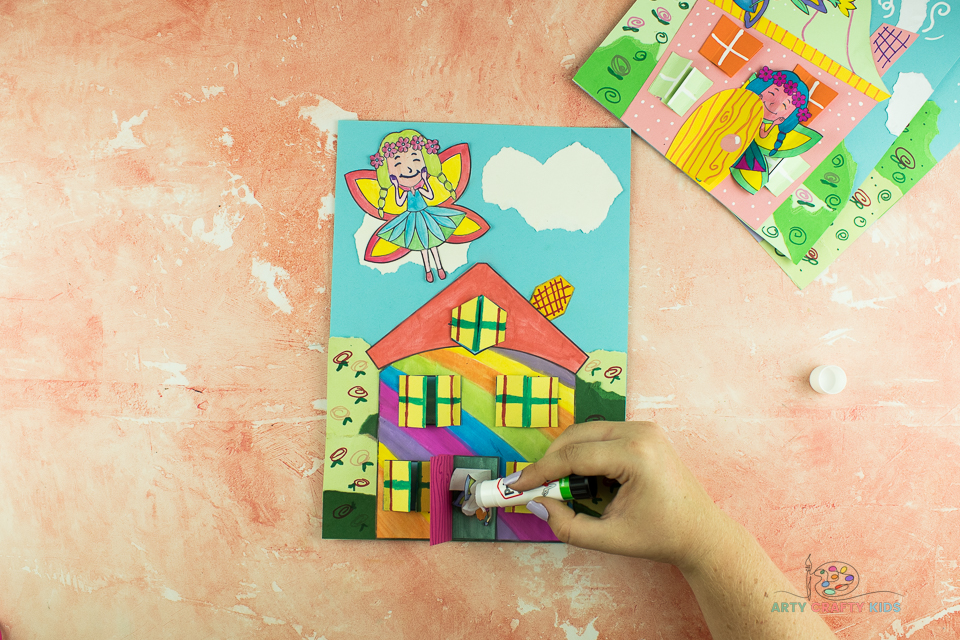
Glue on the Door and Front Door Flap
Glue the painted front door element directly onto the house. Then take the extra door traced in a previous step and fold along one of the long edges to create a flap.
Apply a layer of glue to the flap of the door and affix to the edge of the painted door.
The finished door should flap open and closed.
Don’t forget to glue the doorknob on!
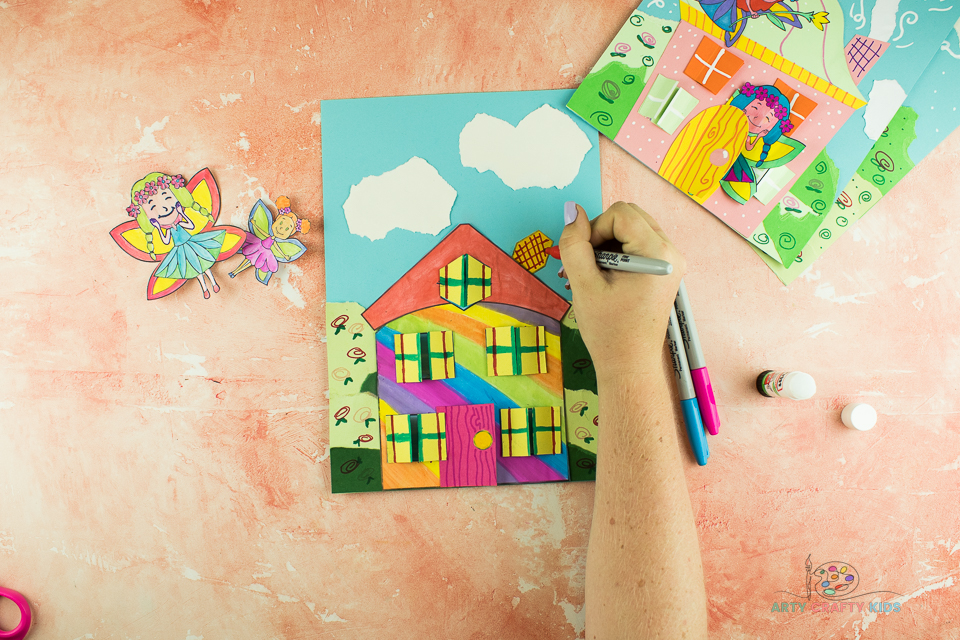
Add some Details
Use a marker pen or acrylic paint pens to add small details. These details could be roses and window frames OR brickwork and swirly patterns to create a wood effect.
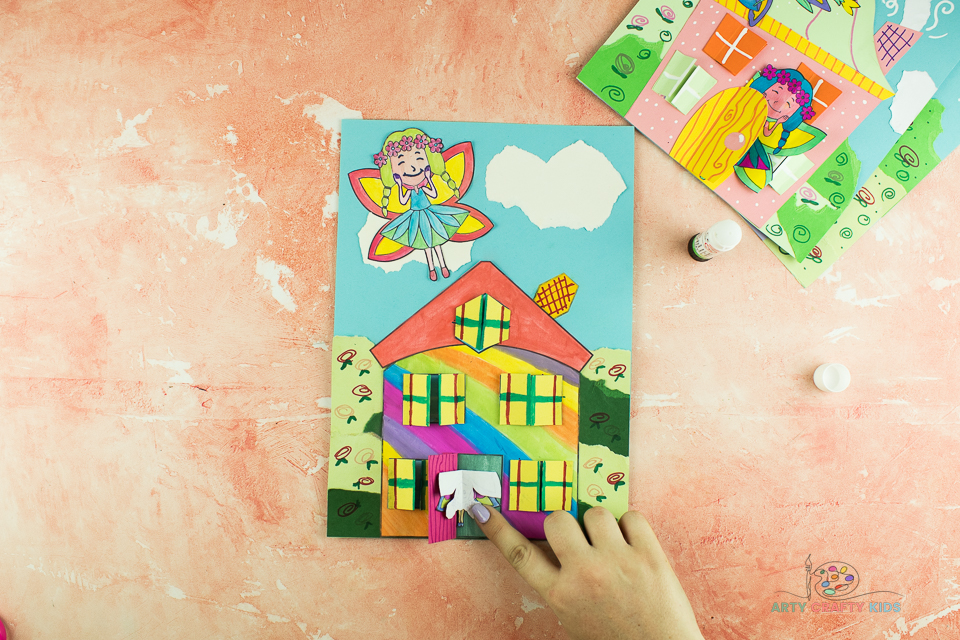
Fold a Fairy for the Doorway
With the fairy house assembled, it’s time for fairies!
Take one fairy and fold her in half down the middle and then fold again from top to bottom. The fairy should be folded in four parts and will fit nicely behind the folding door.
Glue the Fairy in the Doorway
Apply a layer of glue to the bottom of the folded fairy.
Stick on side to the door flap and the other side to the opened door backdrop.
The fairy will now pop open when the door is opened.
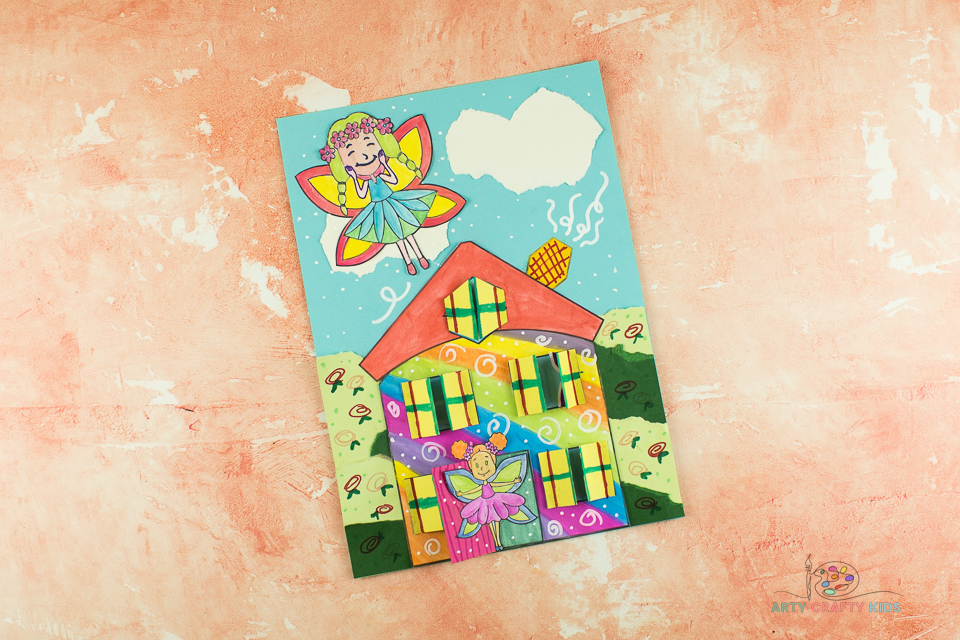
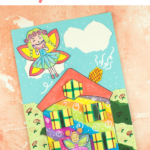
The Fairy House Craft is Complete!
The beautiful Fairy House is complete and now the fairies have somewhere lovely and fun to live!
To expand the project further, children may pair this project with our Design your Own Fairy Wings prompts.
If you’d like to share you’re fabulous creations we’d love to see them! Post some pictures and tag us on social media!