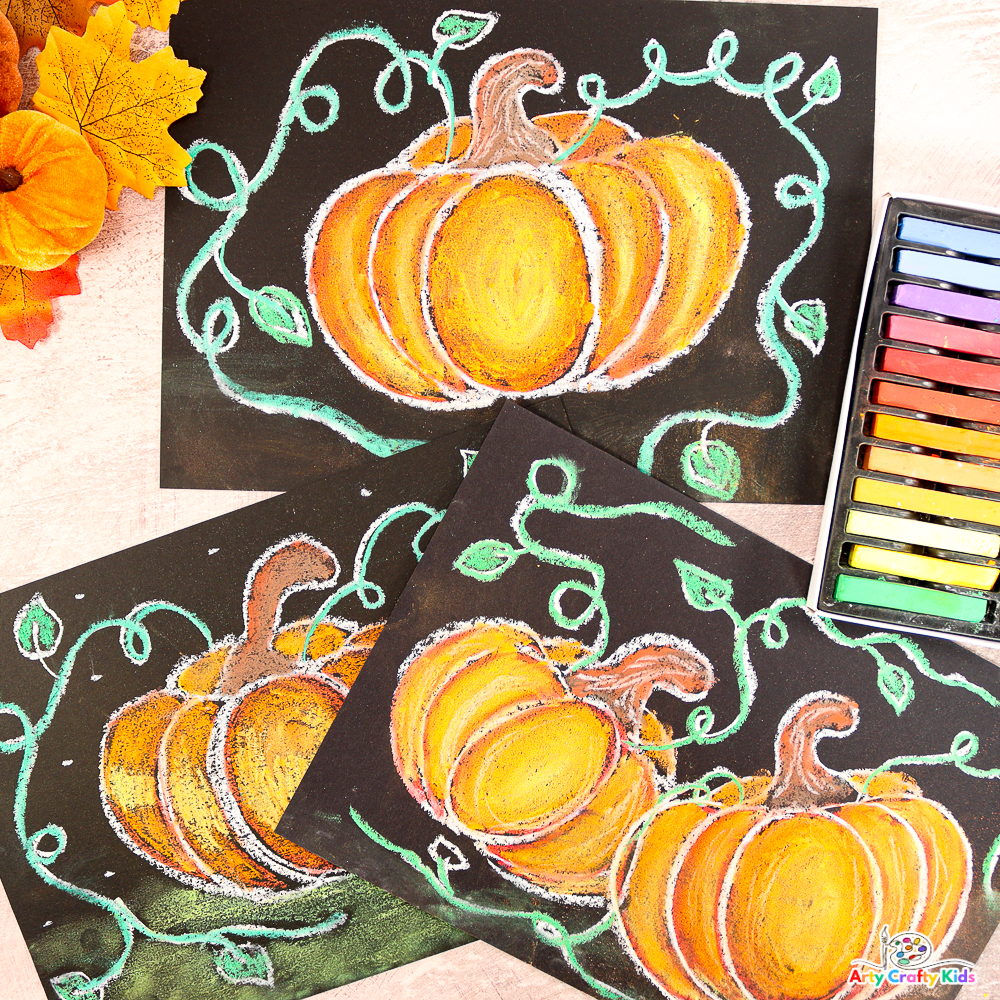
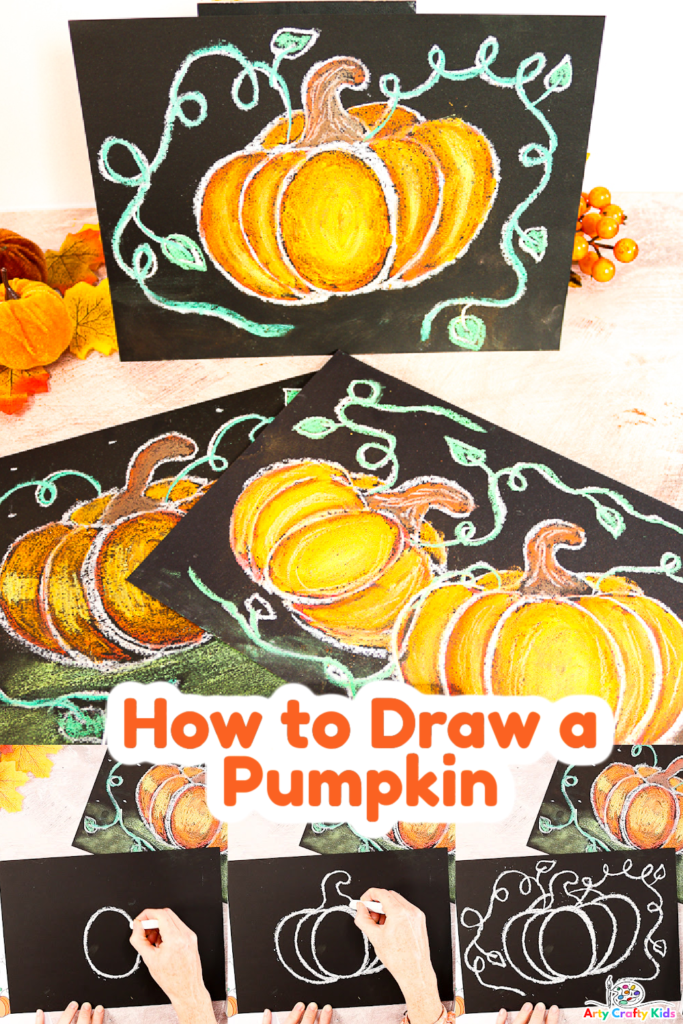
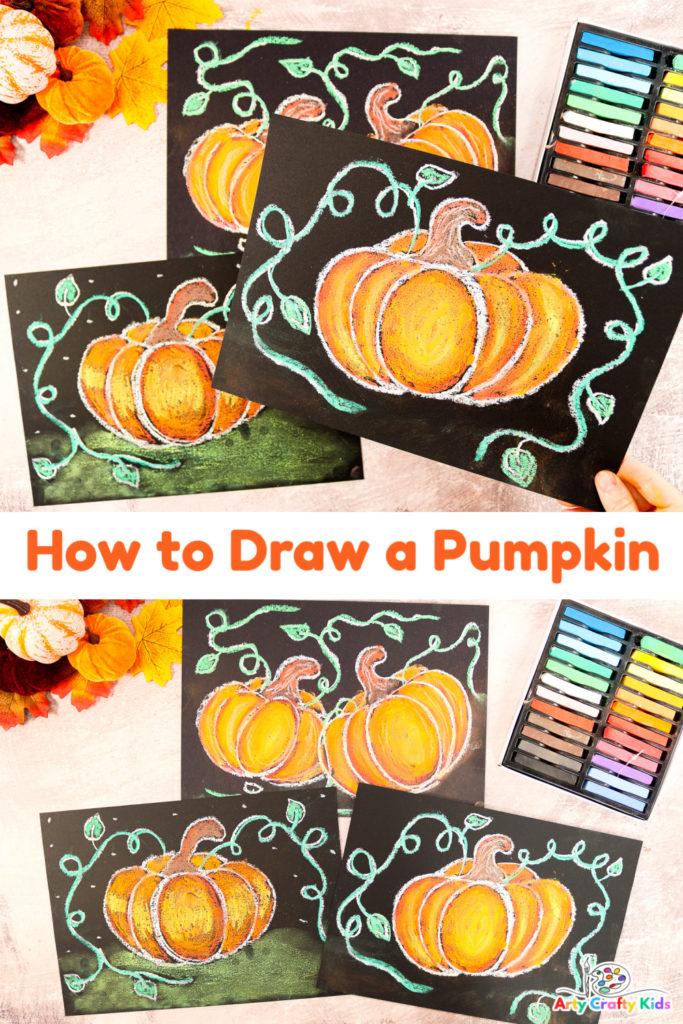
Learn how to draw a pumpkin with chalk pastels in just a few easy to follow steps!
Drawing pumpkins is not as difficult as it seems. Our step-by-step tutorial will not only demonstrate one of the easiest ways to draw a realistic pumpkin but will go one step further to show Arty Crafty Kids how to transform their drawings into gorgeous Autumn art!
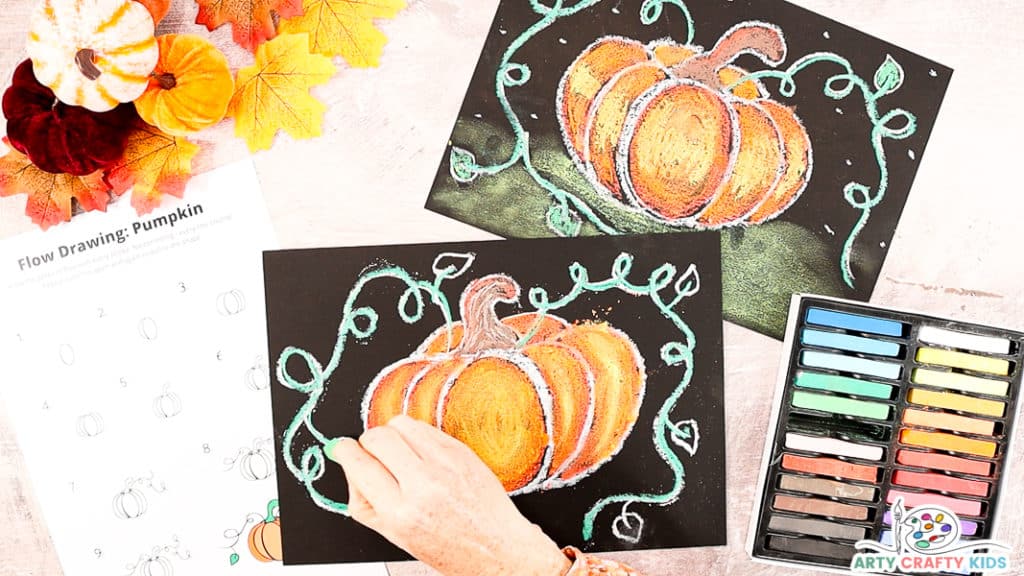
Using the Flow Drawing Technique, we encourage children and beginners to engage in their natural rhythms and draw using simple shapes.
Chalk pastels are a fantastic medium for children to explore; they can produce vibrant colorful results quickly and are amazingly tactile, with blending and art achieved with the power of their fingertips.
Once the children have mastered the basics of drawing a simple pumpkin shape, they can expand their creativity by drawing different shapes – tall ones, round ones, spotty ones or Jack-o-Lanterns!
Whatever the theme of pumpkin art project – Harvest, Halloween or Thanksgiving – this fun and simple art idea will provide hours of creative joy.
How to Draw a Pumpkin – A Step-by-Step Tutorial
Materials
Black Card Stock
Soft Chalk Pastels or Oil Pastels
A Cloth
Download the Pumpkin Step-By-Step Tutorial:
The Pumpkin Step-by-Step Printable and Outline is available
to members of the Arty Crafty Kids club.
Members will need to log in to access the templates: https://www.artycraftykids.com/product/flow-drawing-pumpkin-tutorial/
Not a Member?

Watch How Easy the Pumpkin is to Draw!
Let’s Draw a Pumpkin!
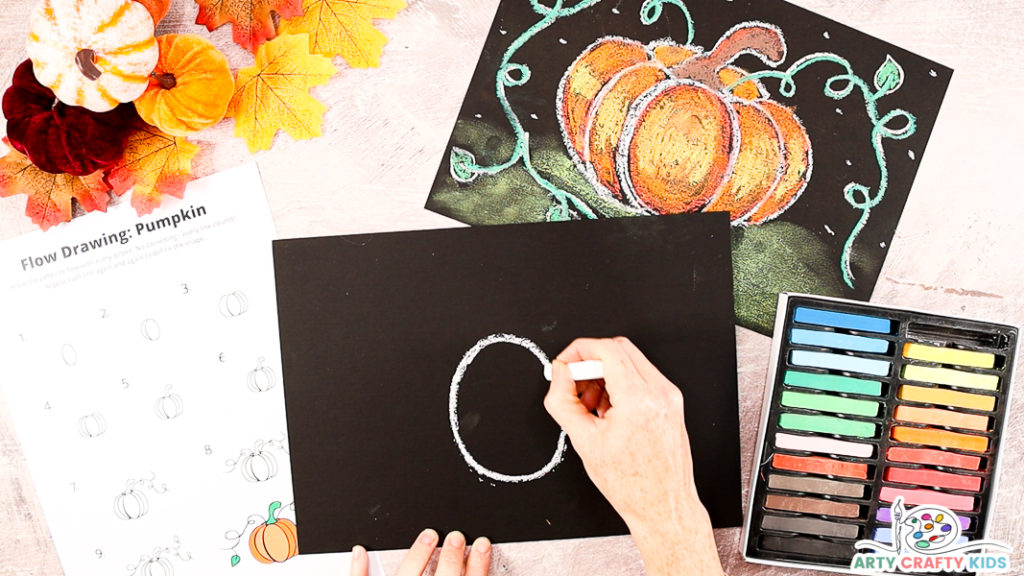
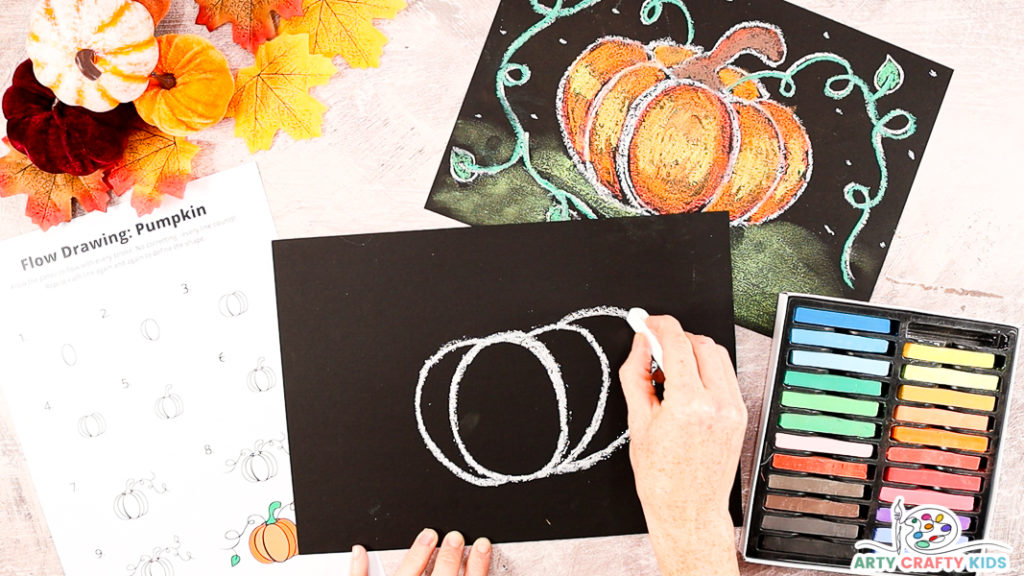
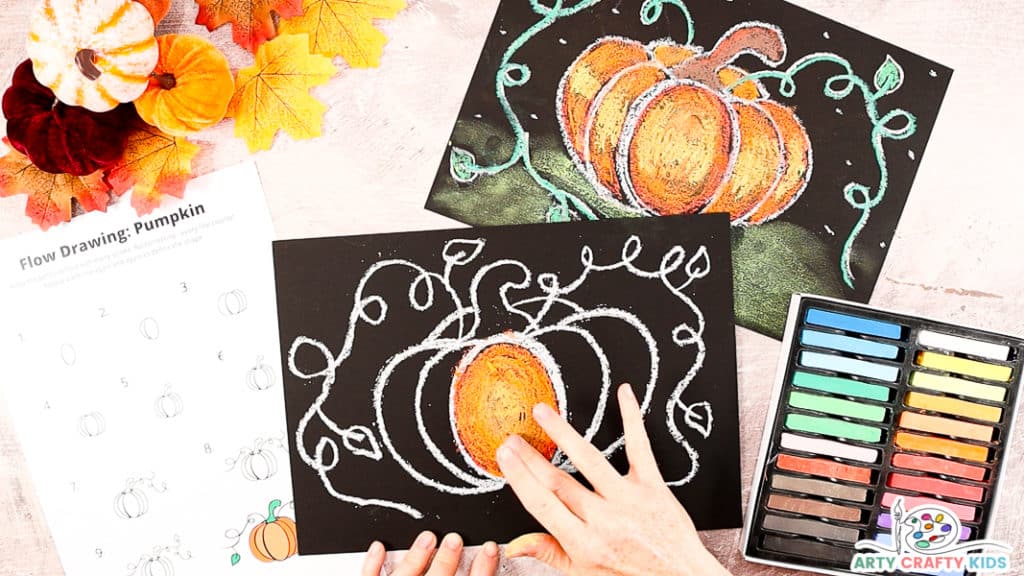
Step 1: Draw a Large Central Oval
Use a white pastel to draw a large central oval. Repeat the shape over and over until a strong line emerges.
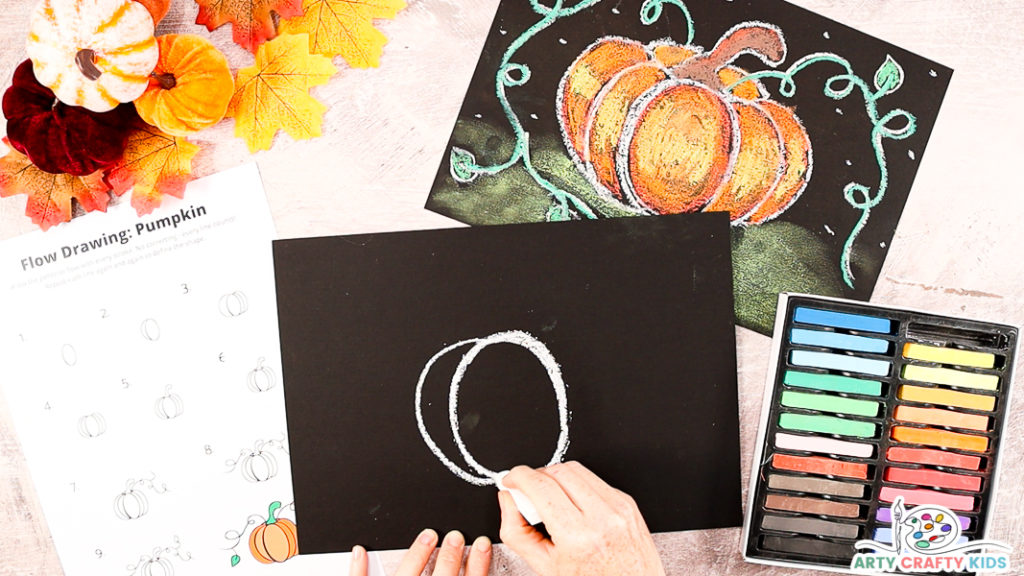
Step 2: Draw an Adjoining Segment to Build the Pumpkin Shell
Position the chalk pastel at the top of the oval and proceed to draw a large curve away from the shape and then back to join the bottom.
This completes the first segment of the pumpkin shell.
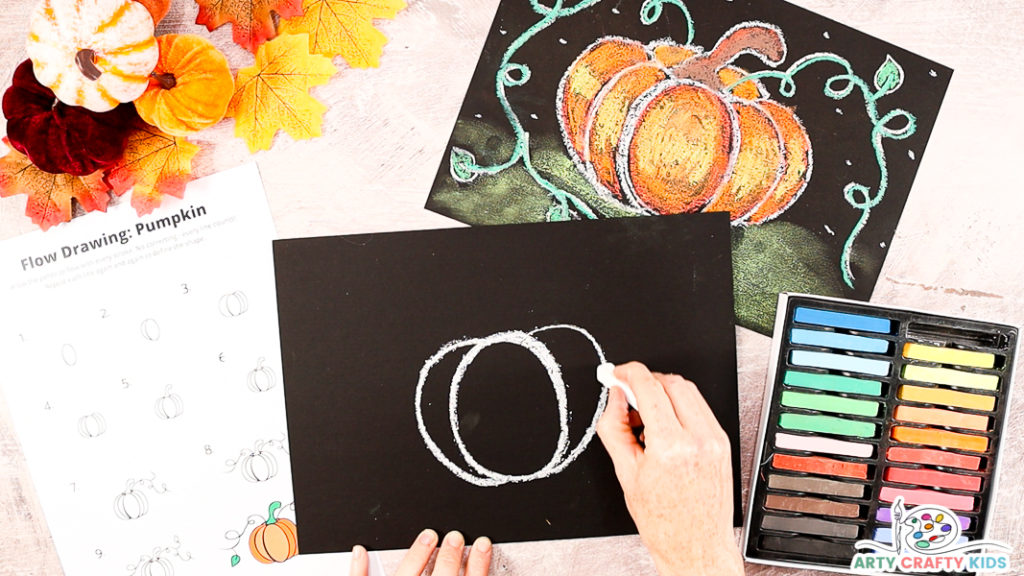
Step 3: Draw Another Pumpkin Segment
Draw a second segment on the opposite side.
Step 4: Draw a Third Segment Slightly Higher Than the First Three
As before, draw a third pumpkin segment that off-shoots from the second, only this time expand the curve so that its slightly higher and wider than the first two.
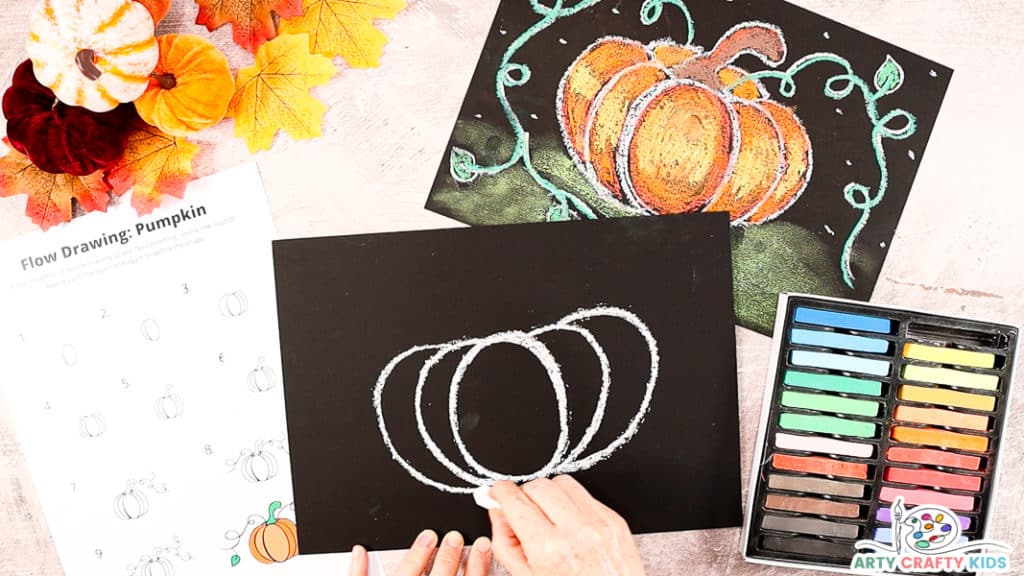
Step 5: Balance the Pumpkin with a Final Segment on the Other side.
Draw a fourth pumpkin segment.
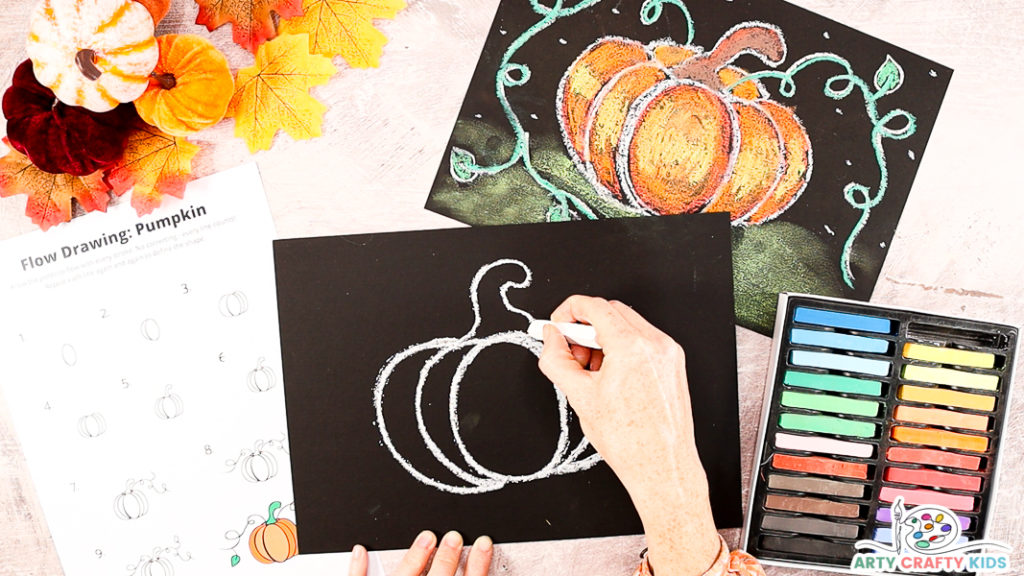
Step 6: Draw a Pumpkin Stalk
Next, draw a stalk above the central interior of the pumpkin.
Step 7: Draw Two Background Segments
Draw two small bumps either side of thestalk to add depth and a realistic form to the pumpkin shape.
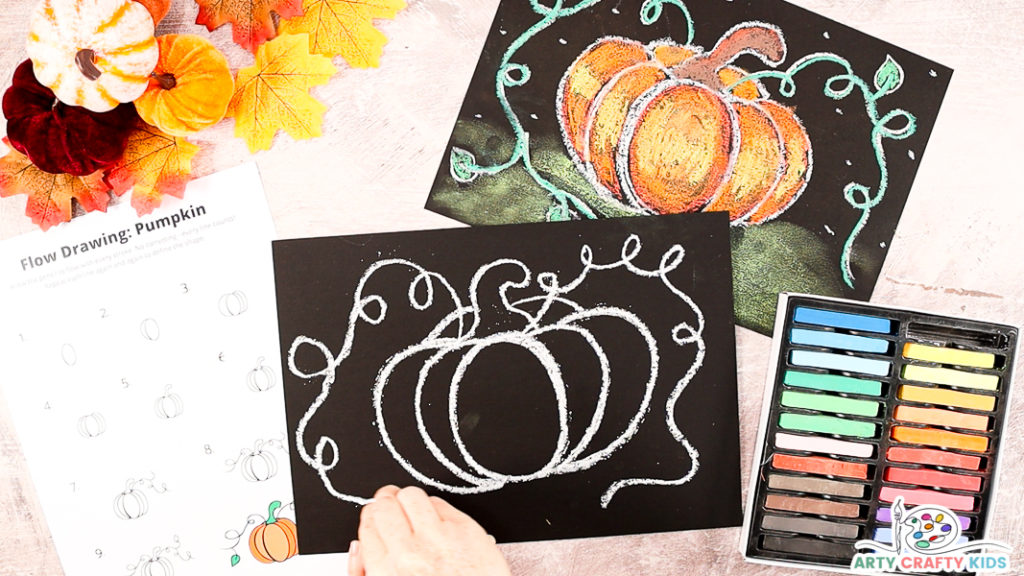
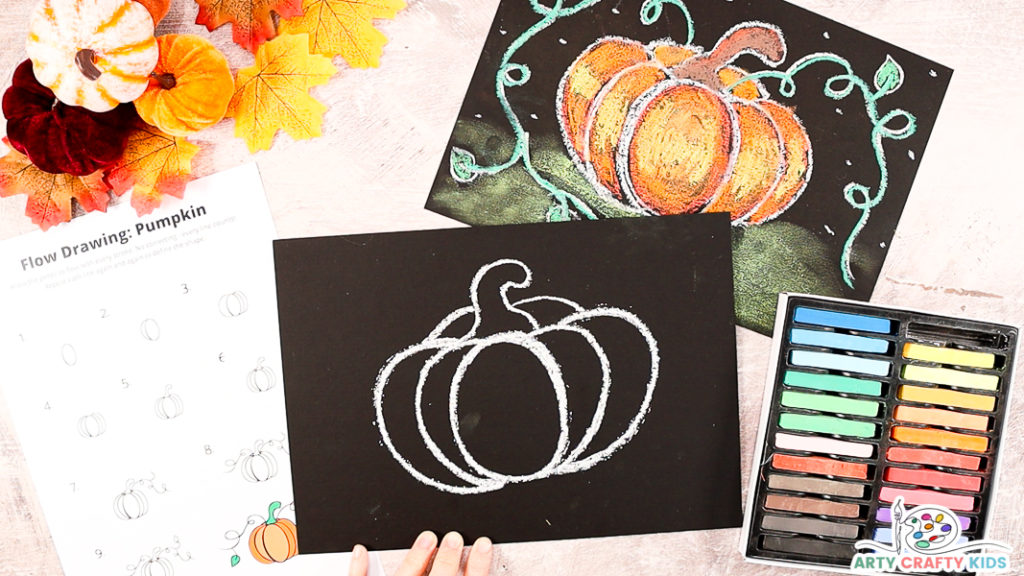
Step 8: Draw Swirly Vines
Starting from the stork, draw a pair of swirly vines that fill the surrounding space.
Your Arty Crafty Kids will have now learnt how to draw a simple yet realistic looking pumpkin!
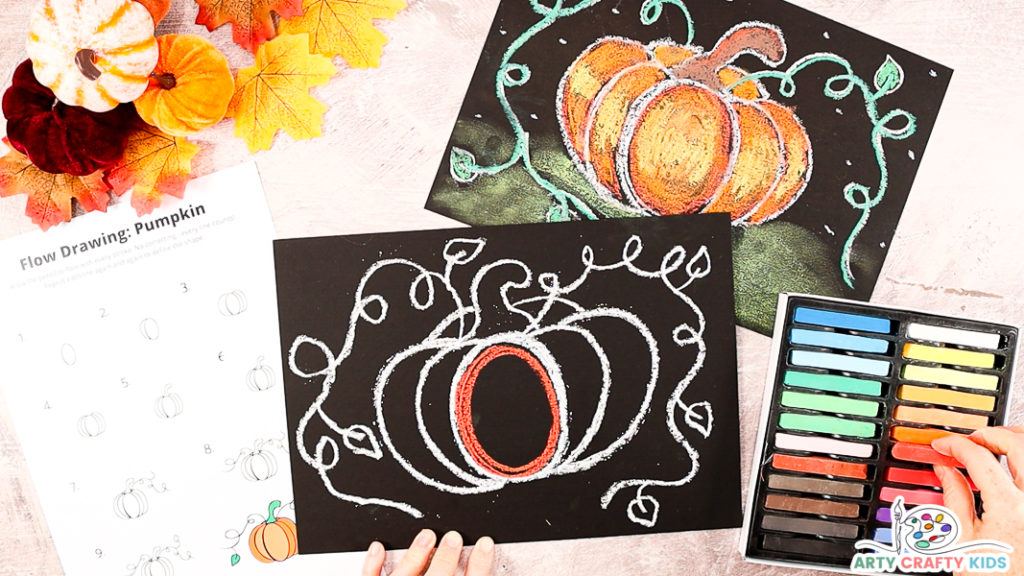
Step 9: Color with a Dark Red/Orange
Select a dark shade of orange/red chalk pastel and draw a series of continuous circles within the oval segment.
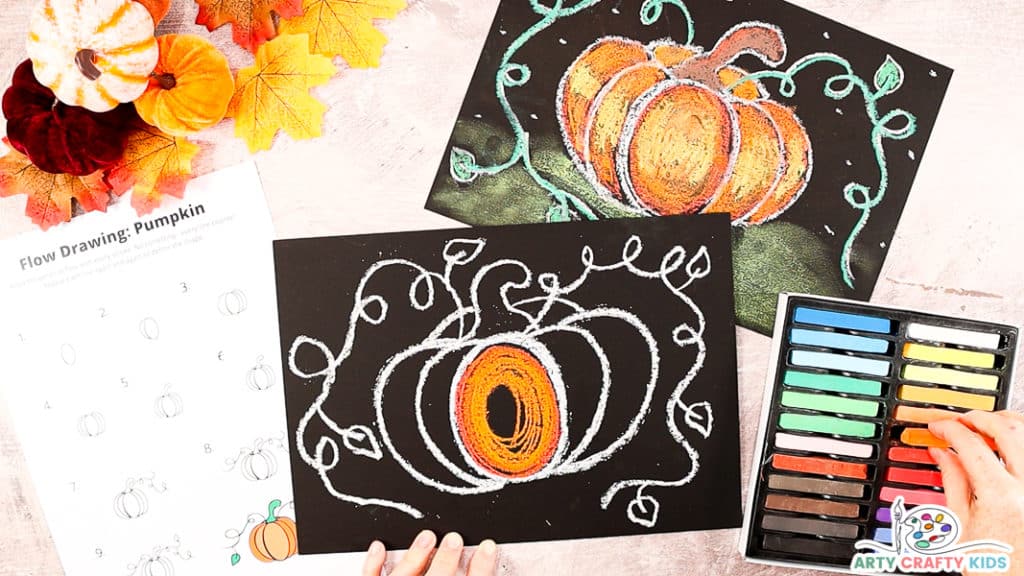
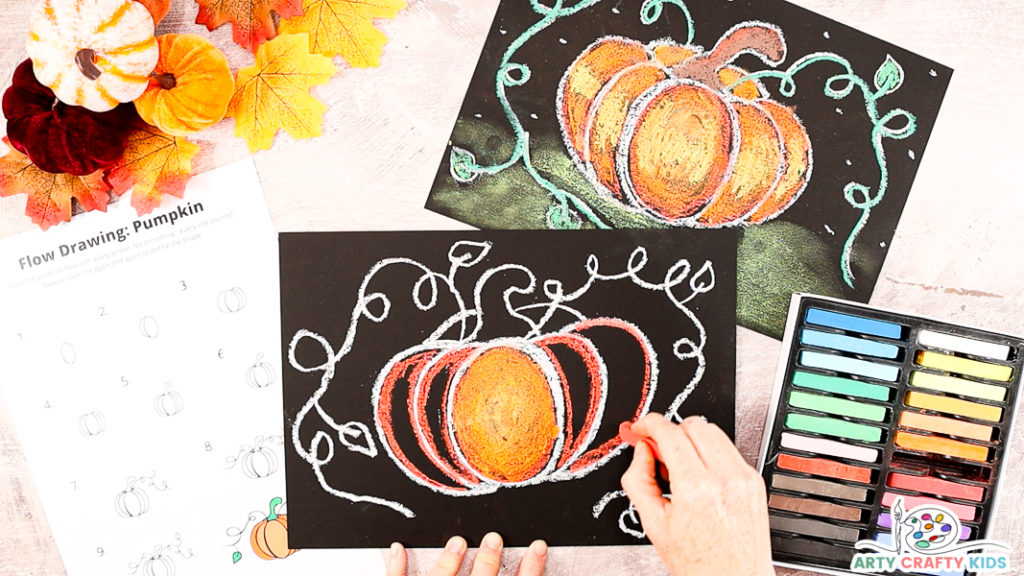
Step 10: Add a Lighter Shade of Orange
Repeating the flow of continuous circles, swapping the dark orange/red with a lighter shade of orange.
Step 11: Fill the Gap with the Color Yellow
And go lighter again with the next color, filling any left over space with a vibrant yellow.
The transition of color from dark to light within the segment adds depth and a sense of roundness to the pumpkin.
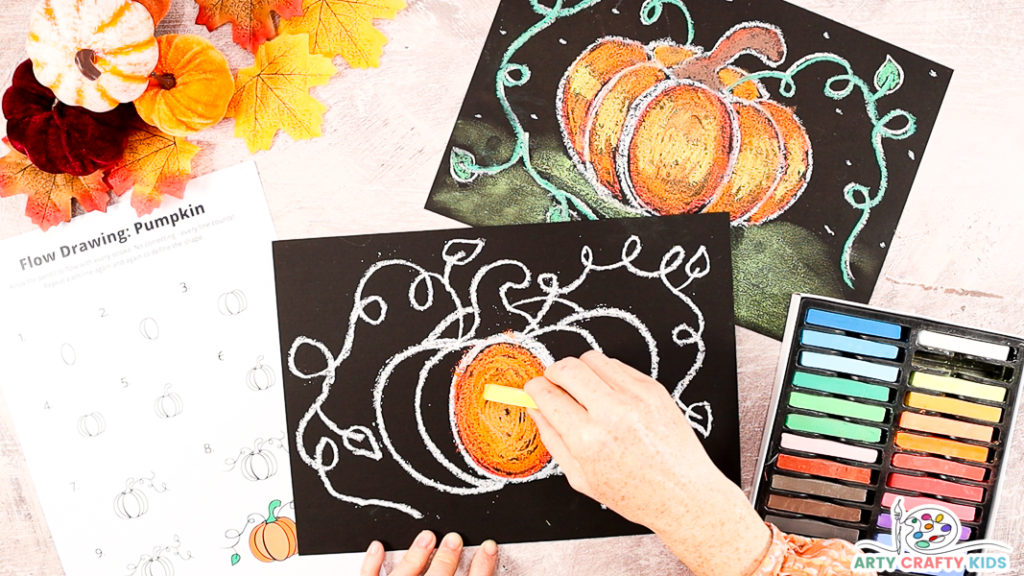
Step 12: Blend the Different Shades of Orange and Yellow
Use a finger or cloth to gently blend the chalk.
Step 13: Color the Remaining Pumpkin Segments
Repeat the process of the first pumpkin segment with the remaining parts.
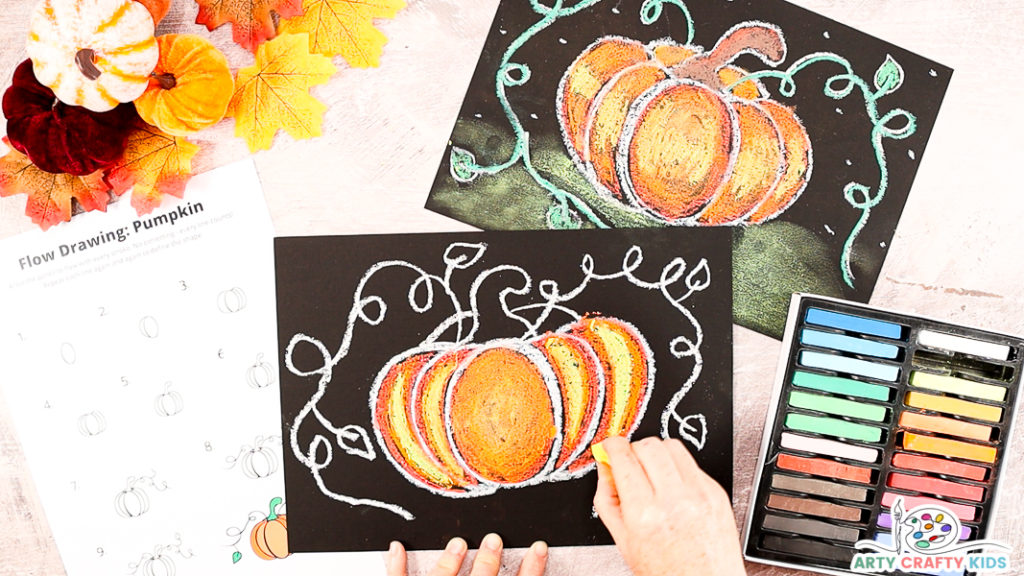
Step 14: Highlight with Lighter Colors
For best results, make sure each segment is highlighted with a lighter shade.
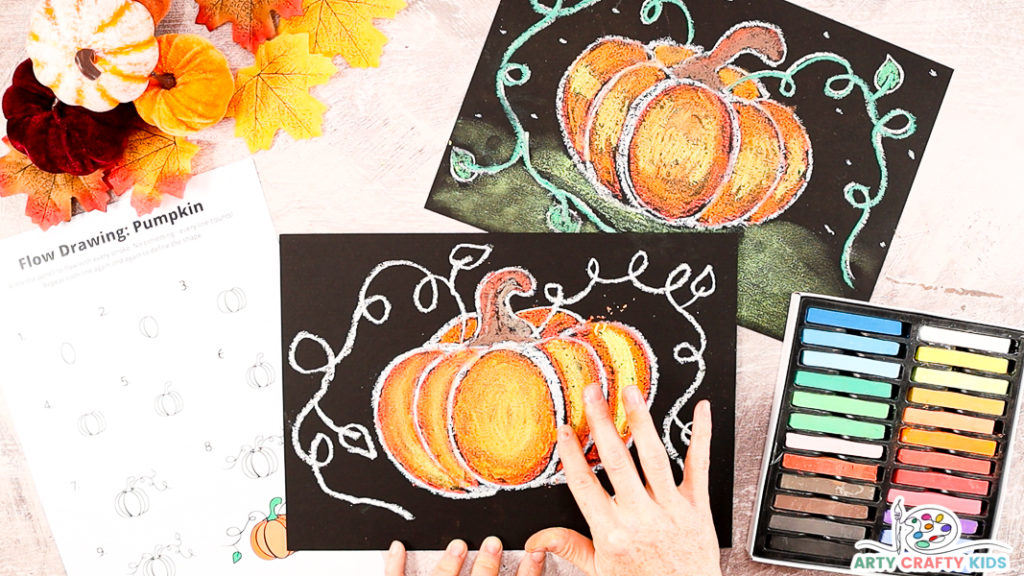
Step 15: Blend and Remove Any Excess Chalk
Blend the chalk and gently lift the drawing to its side and shake onto a cloth to remove any excess chalk ( see video for an example).
Step 16: Color the Stalk and Pumpkin Vines
Line the vines with a green and add a series of leaves.
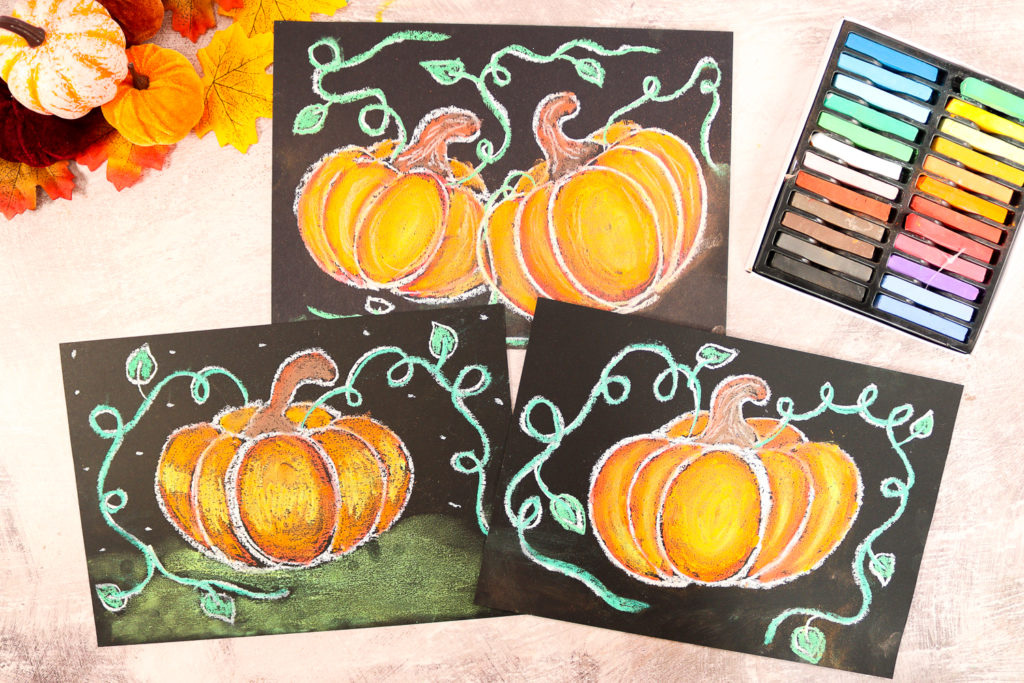
Once your Arty Crafty Kids have grasped the basics of drawing their pumpkins, they can try enhancing their pictures with a starry night background, a leafy/muddy ground or drawing entire field of smaller pumpkins!
Maybe they could add a few faces to transform them into Jack-o-Lanterns.
As always, we love to Arty Crafty Kids’ creativity in action and if you happen to share their completed makes on social media, please do give us a tag or/and use the #artycraftykids – happy crafting!
What is Flow Drawing?
Flow Drawing is an art technique developed by us to encourage children to understand shapes and create illustrations, in a much ‘freer’ way.
By removing restrictions, flow drawing encourages children to fully engage in the moment and discover their natural flow, making every line count and bringing mindfulness to their creative process.
You can think of the flow drawing technique as a ‘how to draw’ guide with a difference – children won’t just draw a picture, they’ll create a unique work of art, right from their soul.
Flow Drawing Benefits:
Although the process of flowing more naturally in art might seem a little alien to children at first, it’s really worth encouraging them to have a go.
Flow drawing has so many benefits and helps little hands and minds to:
- Explore simple shapes and how they work together to create larger forms
- Discover their natural flow and rhythm through repetitive movements
- Learn how to combine mediums, with a fun and easy approach
- Build confidence in their own creative ability
- Combat ‘perfection-seeking’ in art, providing a much needed alternative to rigid ‘how to draw’ guides
- Bring mindfulness to the creative process and boost mental health
- Foster a love of art and self-expression.
More Easy How to Draw Tutorial for Kids
If you want to teach your children how to draw, our flow drawing technique is the perfect solution. Using simple shapes, our easy-to-follow guide will help them create their own artworks in no time.
With our step-by-step approach, they’ll be able to learn how to mix and match different shapes to create new forms. And best of all, they’ll have a lot of fun doing it!
-
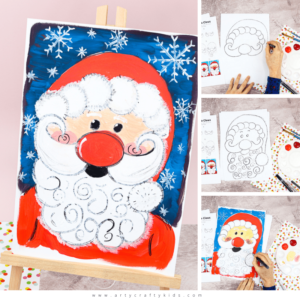
 Flow Drawing and Paint Along: Santa Claus
 -
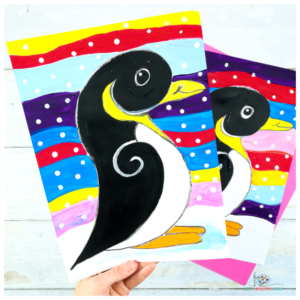
Flow Drawing Penguin Template
-
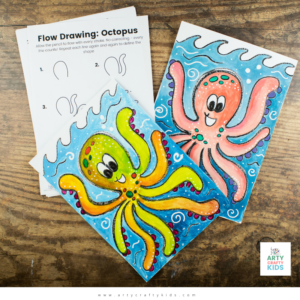
Flow Drawing Octopus Guide
-
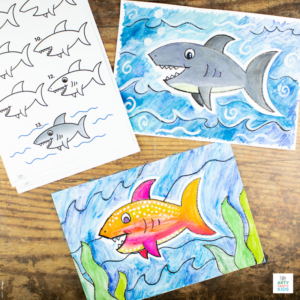
Flow Drawing Shark Tutorial
-
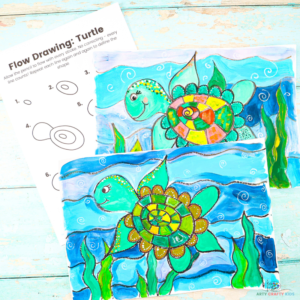
Flow Drawing Turtle Tutorial
-
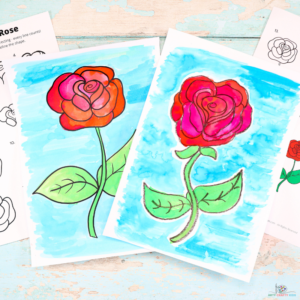
Flow Drawing: A Rose
-
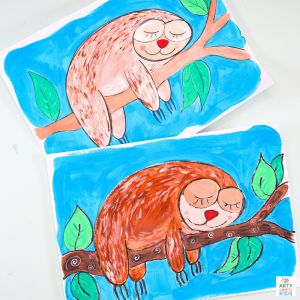
Flow Drawing: Step by Step Sloth
-
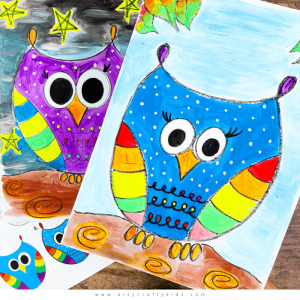
Flow Drawing: How to Draw an Owl
-
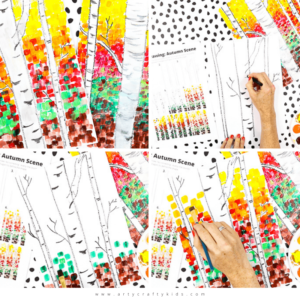
Flow Drawing: How to Paint an Autumn Birch Tree Scene
-
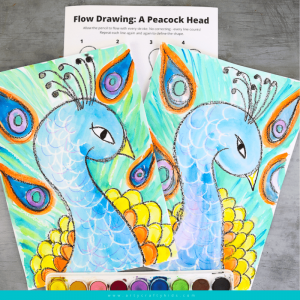
Flow Drawing: How to Draw a Peacocks Head
-
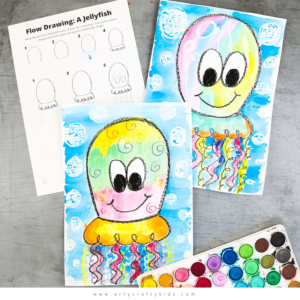
Flow Drawing: How to Draw a Jellyfish
-
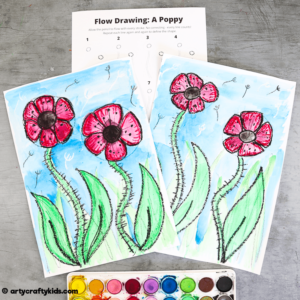
Flow Drawing: How to Draw a Poppy
-
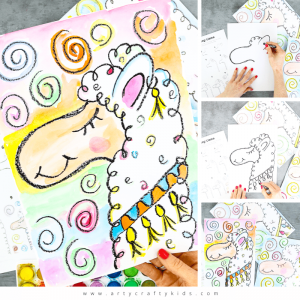
Flow Drawing: How to Draw a Llama
-
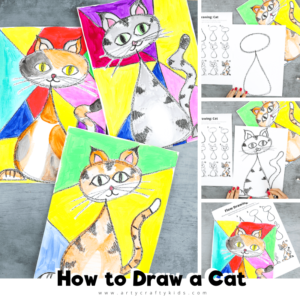
Flow Drawing: How to Draw a Cat
-
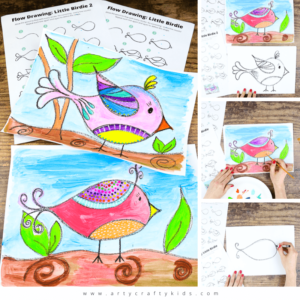
Flow Drawing: How to Draw a Little Bird
-
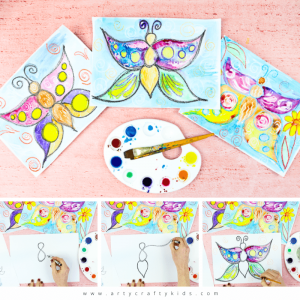
Flow Drawing: How to Draw a Butterfly