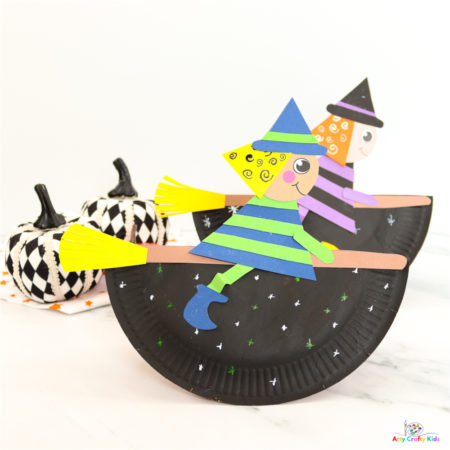
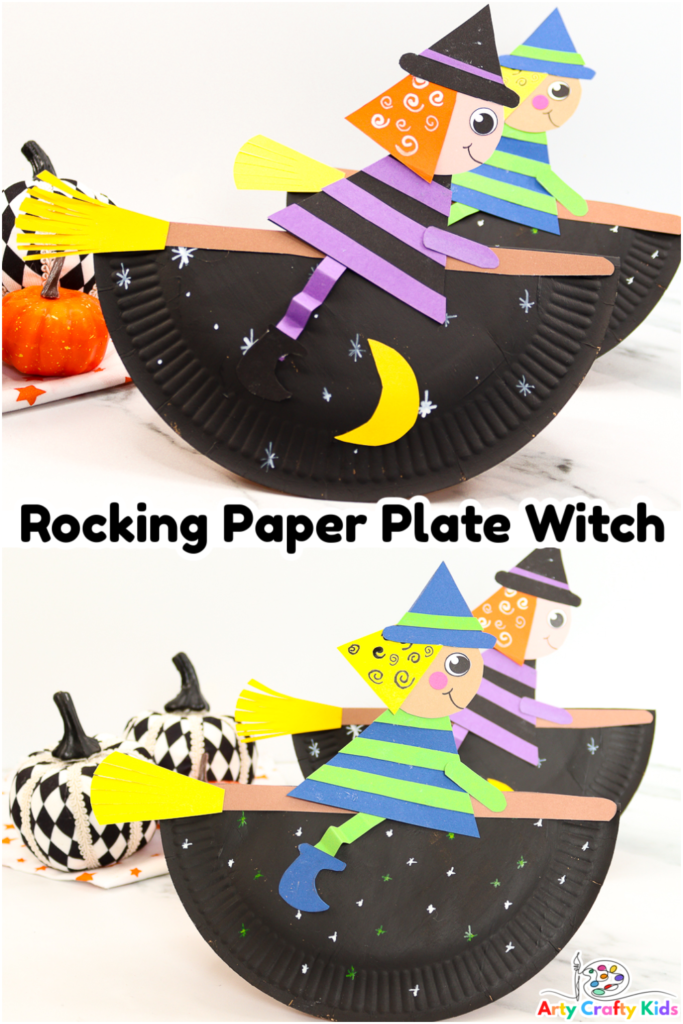
Halloween is fast approaching, which means it’s time to start thinking about some fun Halloween activities for kids. This rocking paper plate witch craft is a great project to get them in the spirit of the coming season and is easy enough that they’ll be able to do it all on their own.
Our latest witch craft is playful in design and with a little tap, children will have rocking “flying” witch! bringing fun and play to creative process.
To make the craft their own, children may color in the printable template and add their own doodles/patterns to personalize their witches.
And once they’ve completed their paper plate witch, why not extend the fun have a go at making a witches cauldron or an interactive moving eyes witch!
How to Make the Rocking Paper Plate Witch Craft
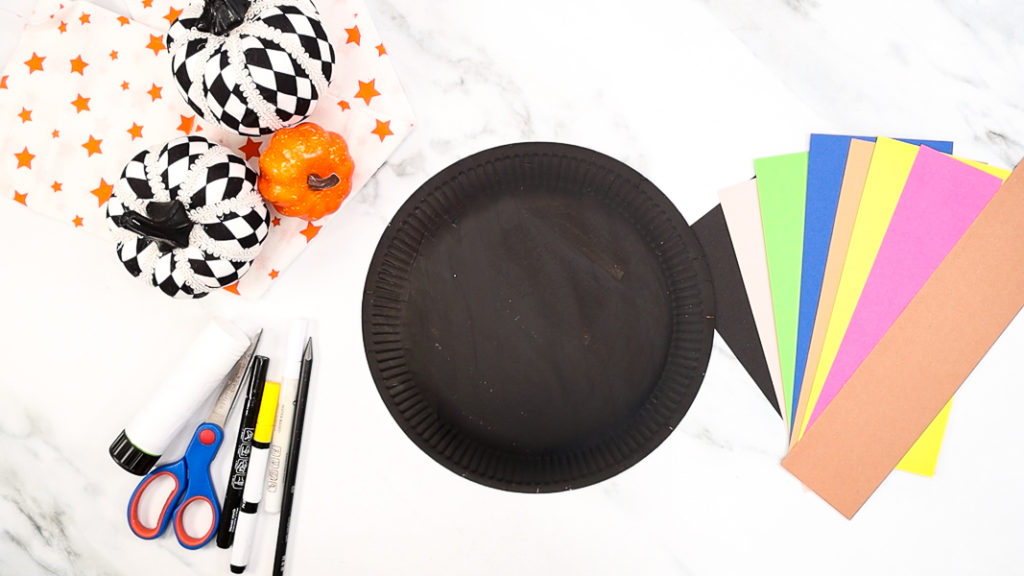
Materials
Paper Plate
Black Paint
Card Stock – Multiple Colors
Marker Pens
Glue Stick
Scissors
Download the Witch Template:
The Rocking Paper Plate Witch template is available to members of the Arty Crafty Kids club.
Members will need to log in to access the templates: https://www.artycraftykids.com/product/rocking-paper-plate-witch-template/
Not a Member?

Watch the Step-by-Step “Rocking Easter Bunny Craft Tutorial:
Let’s Make a Flying Witch!
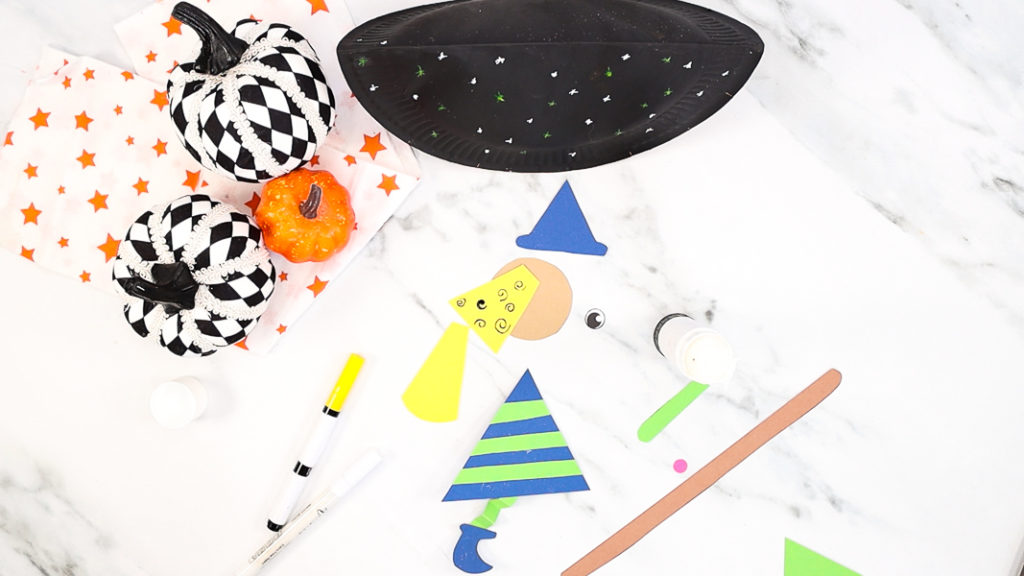
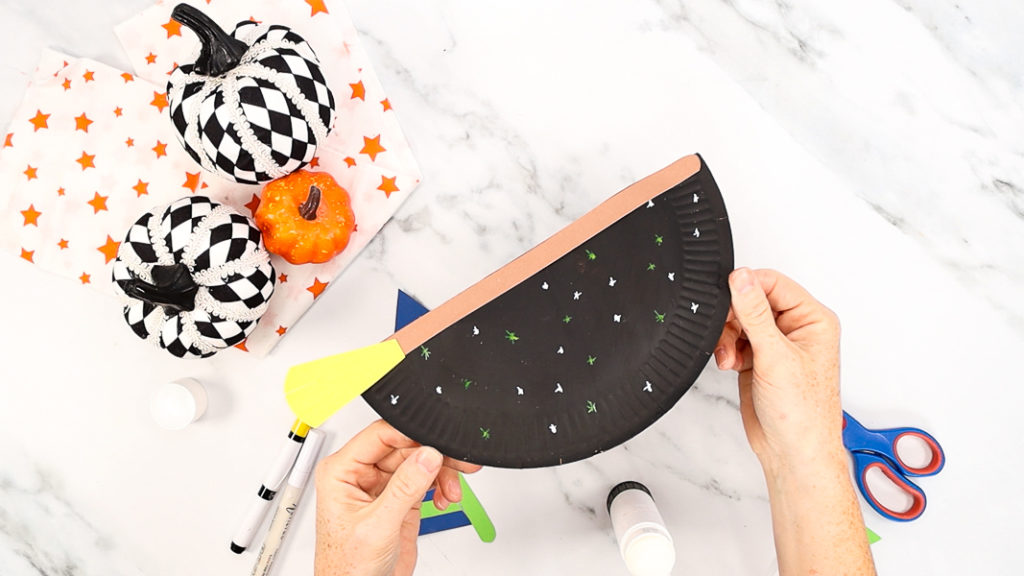
Step 1: Paint a Paper Plate Black
To begin, paint the paper plate black or a dark blue.
If your Arty Crafty Kids are feeling particularly creative, they could paint the plate a blend of twilight colors (red, purple, blue hues).
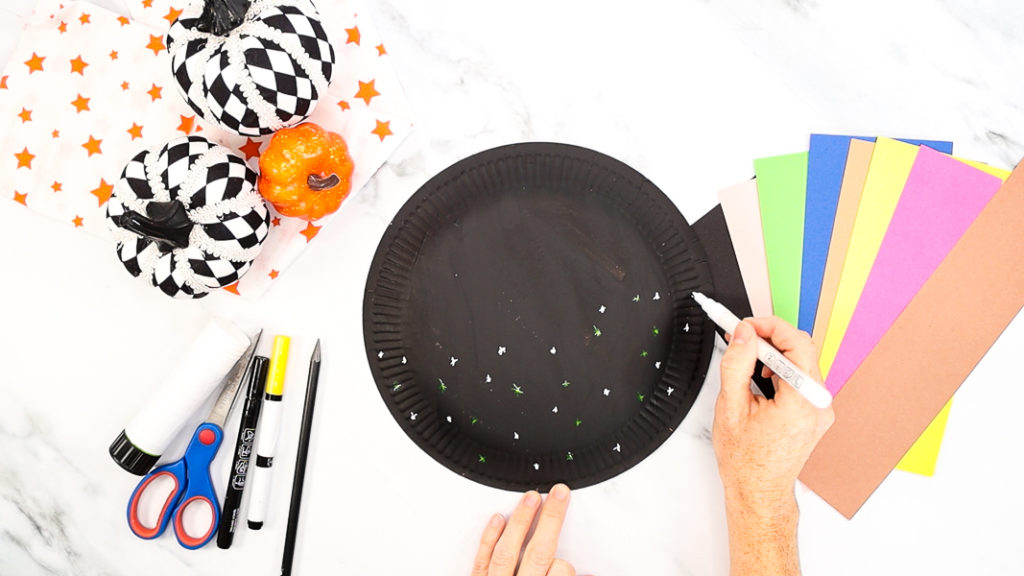
Step 2: Decorate the Paper Plate with Stars
Use an acrylic pen or paint dots to draw white and yellow stars onto the paper plate.
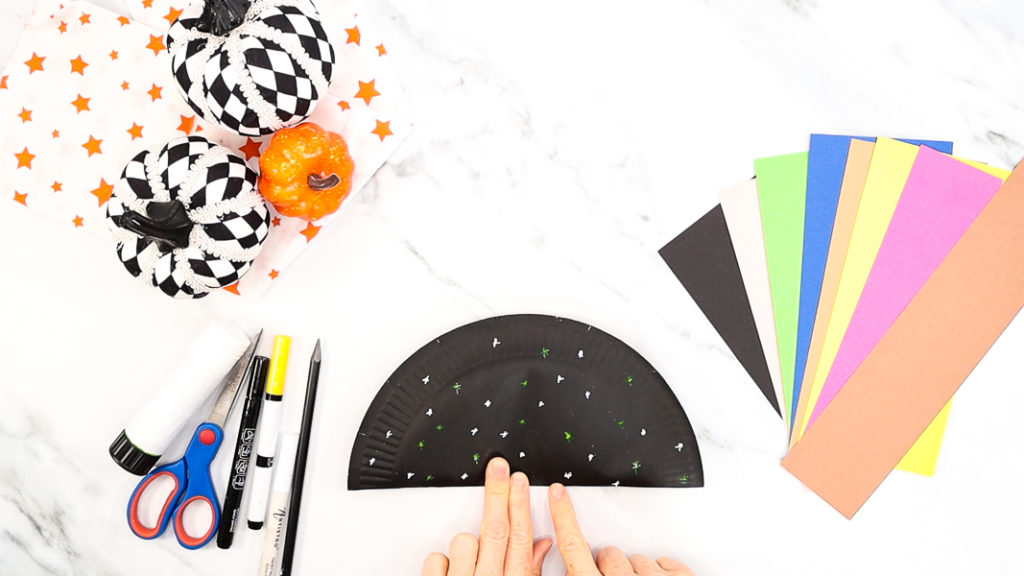
Step 3: Fold the Paper Plate in Half
Fold the paper plate in half, pressing down firmly along the newly formed crease.
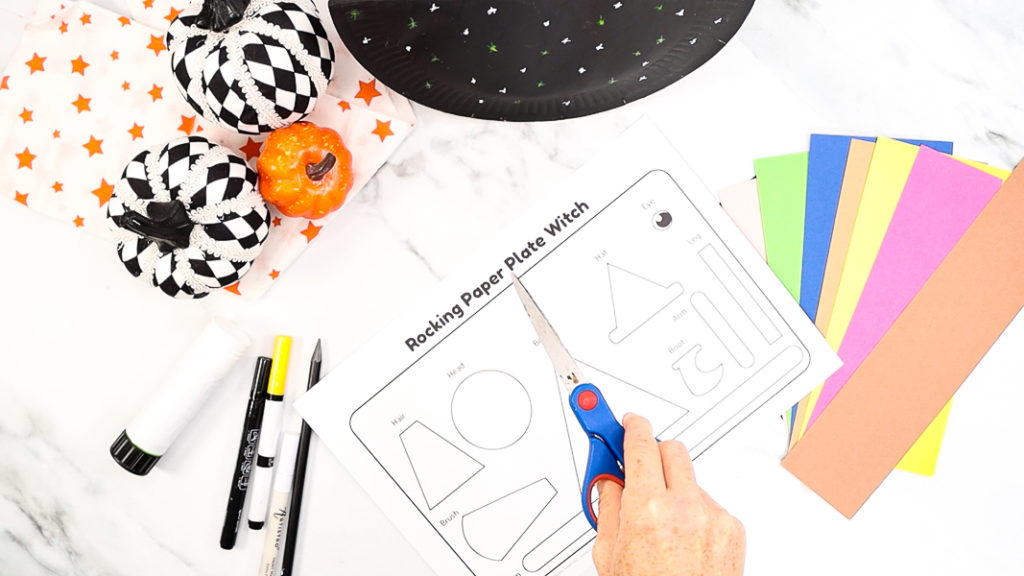
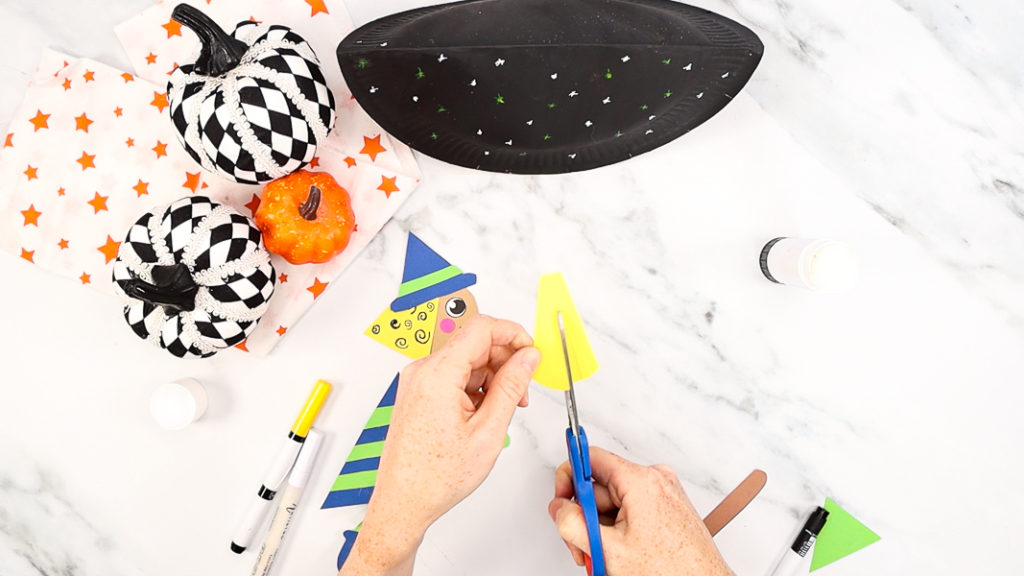
Step 4: Cut the out the Witch Elements from the Template
The witch elements can be colored in and decorated with crayons/paint OR cut out and traced onto colored card stock (as demonstrated in this tutorial).
Carefully cut out the witch elements.
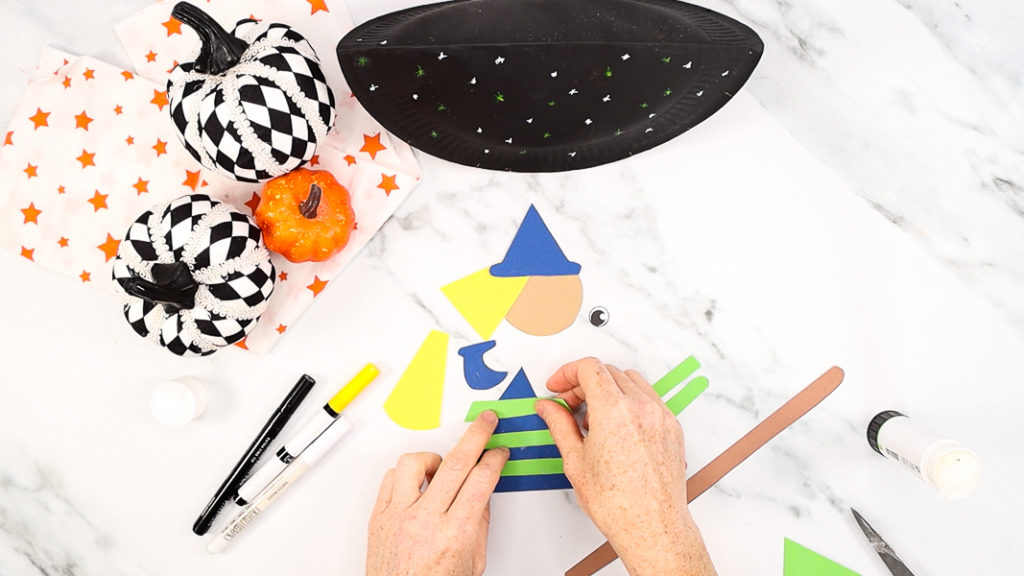
Step 5: Assemble the Witch
To begin, add stripes to the witch’s body ( the large triangle) by cutting strips of contrasting colored paper and affixing them to the body with glue.
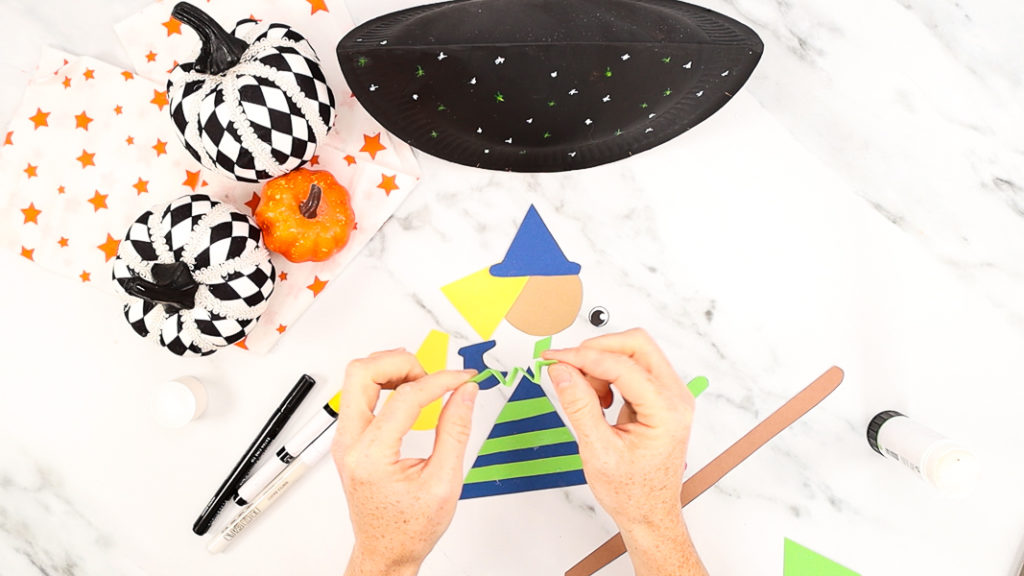
Step 6: Add a Zig-Zag Fold to the Witch’s Leg
To create texture, fold the witch’s leg to form a zig-zag shape and secure the boot element to the bottom of the folded strip.
Step 7: Affix the Witch’s Leg and Boot to the Body Element
Glue the leg to the witch’s body.
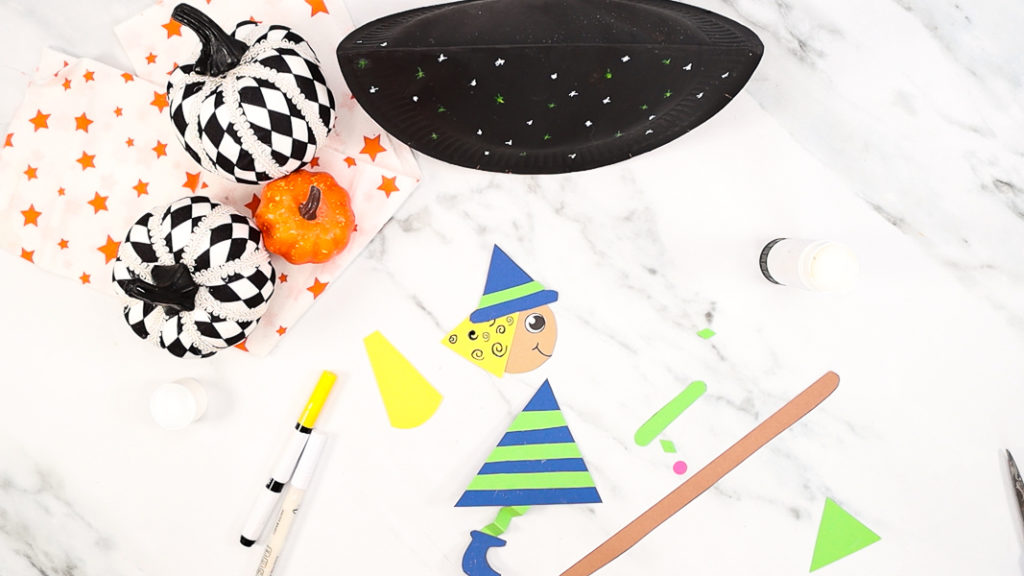
Step 8: Assemble and Decorate the Witch’s Head
Add a strip of contrasting colored paper to the witch’s hat.
Decorate the hair with swirls.
Once the hat and hair are decorated, affix both to the witch’s head (the circle shape).
Complete the head with an eye and a little hand drawn smile.
Step 9: Cut Lines into the Brush Element
To create a bristled impression, cut a series of short lines into the brush element.
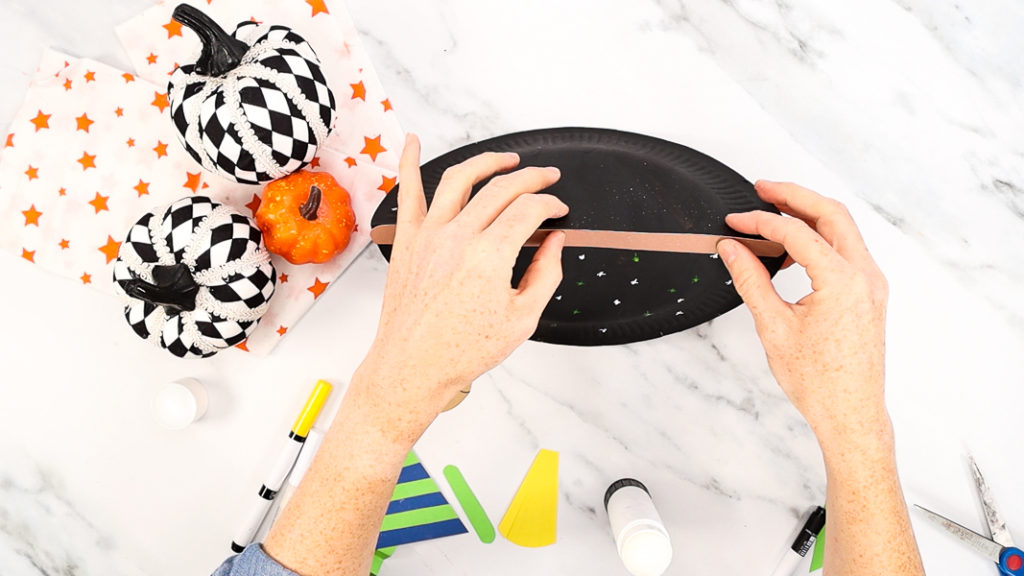
Step 10: Affix the Broom Stick to the Paper Plate
Affix the broom stick along the crease of the paper plate.
Step 11: Affix the Brush to the Broom Stick
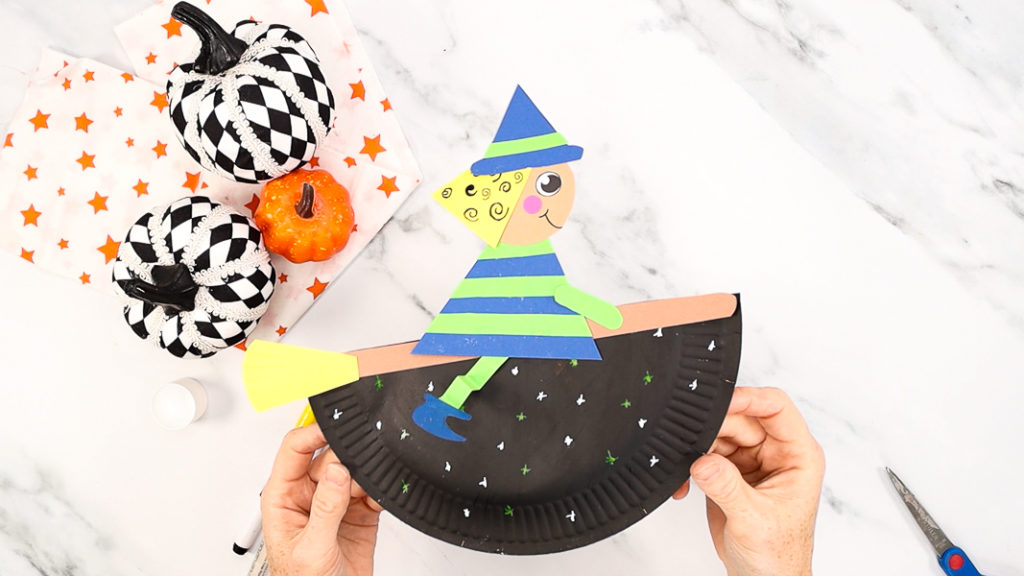
Step 12: Affix the Witch to her Broom Stick to Complete the Craft
To complete the craft, glue the witch to her broom stick and affix the arm element.
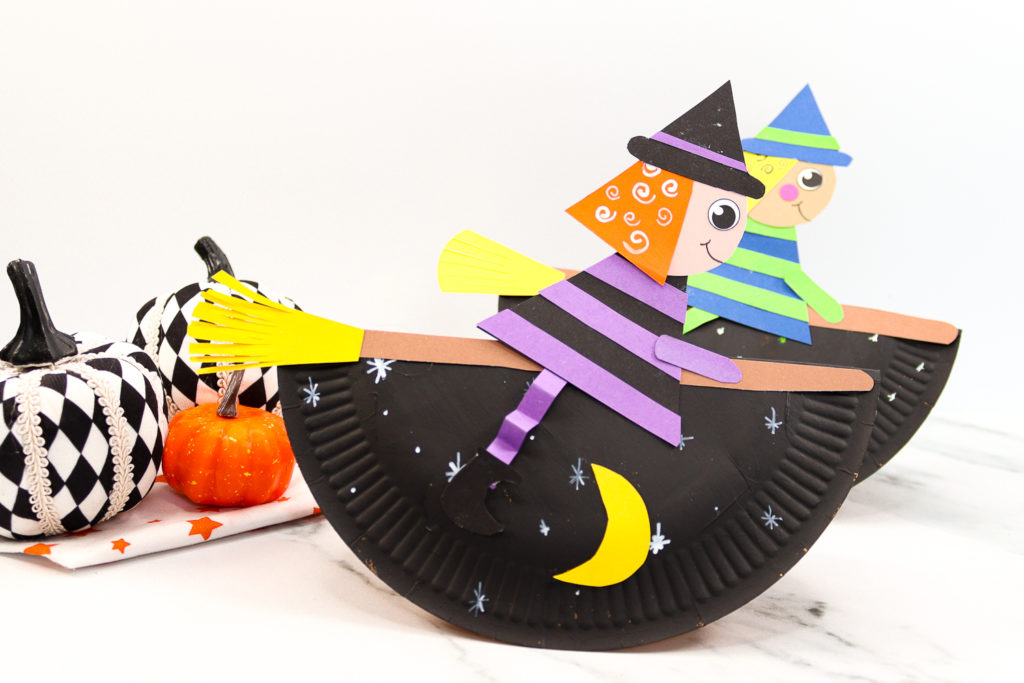
Now it’s playtime. Tap the paper plate to make her fly!
I hope your Arty Crafty Kids have a wonderful creative time making their rocking paper plate witches! As always, we love to Arty Crafty Kids’ creativity in action and if you happen to share their completed makes on social media, please do give us a tag or/and use the #artycraftykids – happy crafting!
More Halloween Crafts for Kids
-
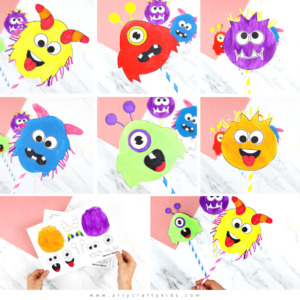
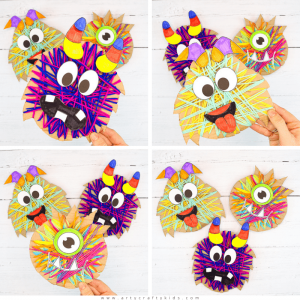
 Monster Spinner Paper Toys
 -
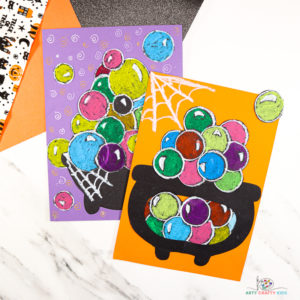
Witch Cauldron Template
-
Blow Painting Mix and Match Monster Templates
-
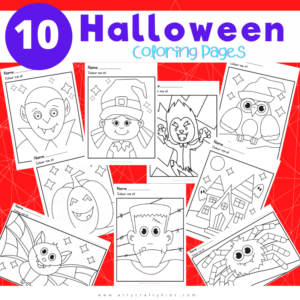
10 Halloween Coloring Pages
-
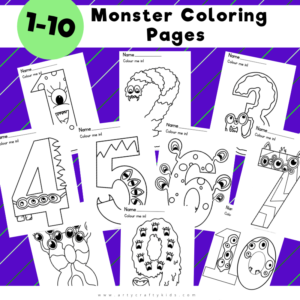
1-10 Monster Coloring Pages
-
Yarn Wrapped Monsters
-
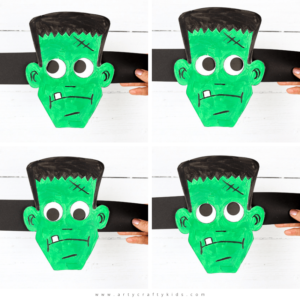
Moving Eyes Frankenstein Craft
-
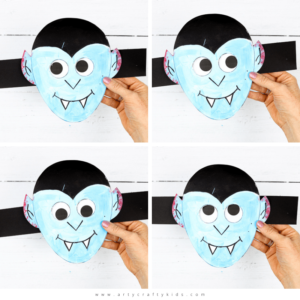
Moving Eyes Vampire Craft
-
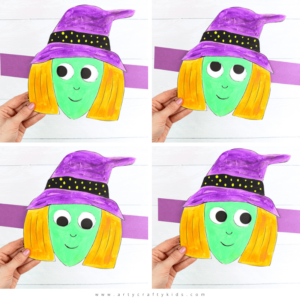
Moving Eyes Witch
-
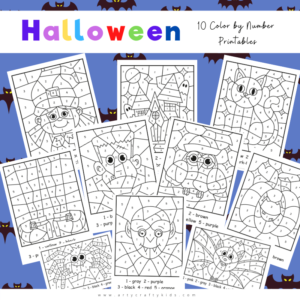
10 Halloween Color By Number Worksheets
-
3D Wolf Craft
-
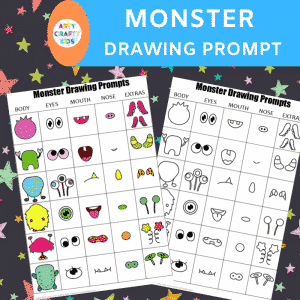
Monster Drawing Prompt
-
Long Leg Witch
-
Monster Features – Cut & Stick