

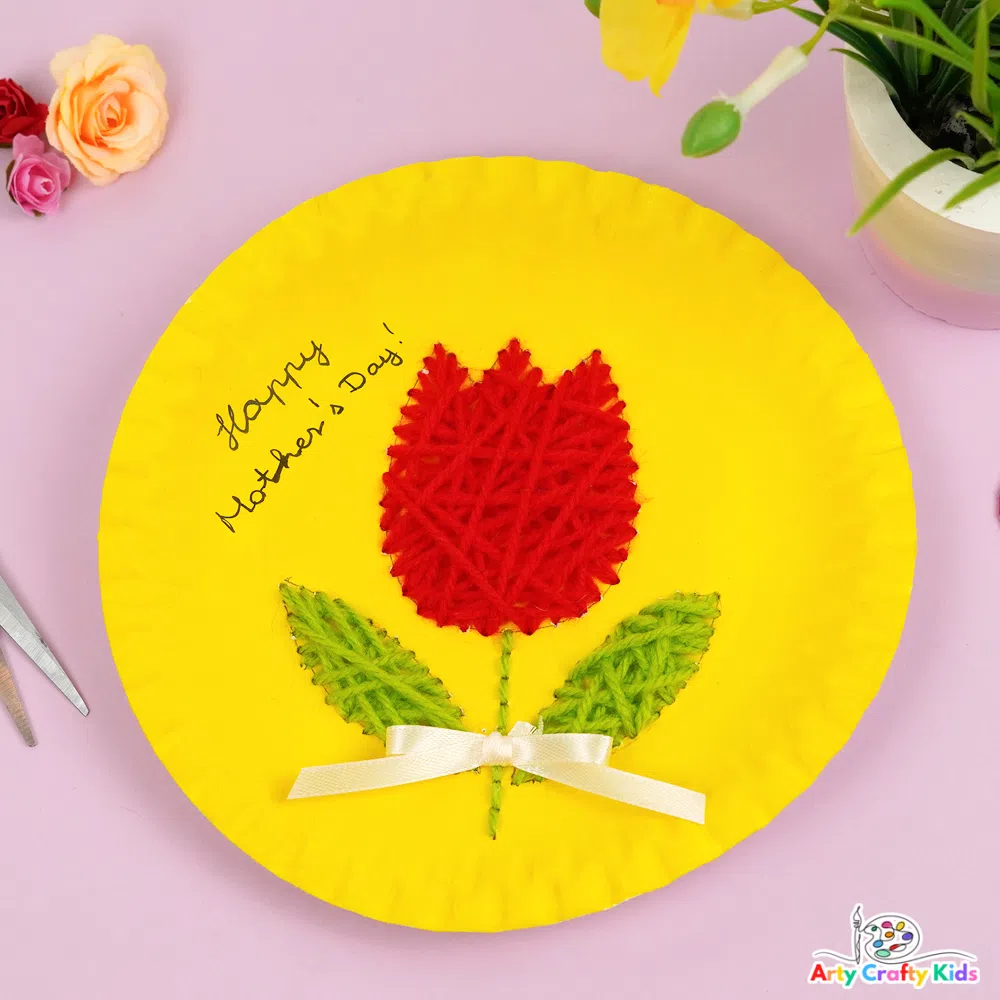
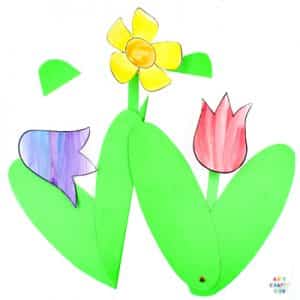
Wish mom a “Happy Mother’s Day” with this gorgeous Paper Plate Tulip Sewing Craft!
This delightful Spring flower craft is perfect for kids of all ages who love getting their hands busy with creative projects.
With a bright yellow paper plate as the canvas and a vibrant red tulip blooming on its front, this craft is sure to put a smile on mom’s face this Mother’s Day.
And the best part? It’s not just about the end result, but the process itself, as paper plate threading is an easy way to introduce sewing to kids and it encourages fine motor development!

For more Spring-time fun with the kids, why not try making our 3D Paper Tulips or even have a go at drawing a full Tulip Bouquet!
How to Make the Paper Plate Tulip Sewing Craft
Materials

- Paper Plate
- Red & Green Yarn for Sewing
- Large Blunt Needle with a Large Eye
- Paper for Printing
- Paint
- Pencil
- Scissors
- Black Marker Pen
How to Download the Tulip Sewing Template
The Tulip Sewing Template is available to members of the
Arty Crafty Kids club.
Members will need to log in to access the templates:
https://www.artycraftykids.com/product/paper-plate-tulip-sewing-template/
Not a Member?

Watch the how-to Sew a Tulip tutorial:
Let’s Make a Tulip!

Step 1: Paint the Paper Plate
Choose a bright vibrant color and paint the paper plate!
Bear in mind, the paper plate is a canvas for the tulip so be sure to choose a contrasting color!

Step 2: Cut out the Tulip Sewing Elements

Step 3: Trace the Tulip Head and Leaf Shape onto the Paper Plate
Position the tulip head and leaves centrally onto the paper plate and trace around the shapes with a pencil.

Step 4: Use a Needle to Pierce Little Evenly Spaced Holes Along the Traced Tulip and Leaf Outlines
The holes can be close together a far part (providing the shape of the tulip is clearly visible).
The distance of the holes are wholly dependent on the age of your Arty Crafty Kids as younger children may benefit from larger holes with greater space in-between.

Step 5: Use the Needle to Pierce a Series of Holes to Create a Stem

Step 6: Thread the Needle and Begin Sewing in a Cross-Crossing Motion Across the Tulip
Thread the yarn needle with a long piece of yarn and tie a large knot at the end.
Pull the needle through one of the holes around your tulip until the knot is reached.
Once the end of the yarn meets the paper plate, thread the yarn in a hole opposite(ish).

Step 7: Continue Threading the Yarn Across the Tulip to Fill the Middle Space
The aim is cover the middle area of the tulip with yarn.


Step 8: Once the Tulip is Complete, Turn the Paper Plate Over and Secure the Yarn

Step 9: Sew Across the Leaf Shapes and Sew a Running Stitch for the Stem


Step 10: Once Both Leaves and Stem are Sown, Secure the Thread

Step 11: Optional – Write a Mother’s Day Message and Add a Cute Bow to the Tulip’s Stem

Once the Paper Plate Tulip is complete (with or without a message), it can be displayed proudly on the wall either stuck directly to a surface or hung with string.
If this craft is made within the classroom, perhaps an entire field of tulips of all different colors could be created, just like the world famous tulips fields in the Netherlands, to form a vibrant and happy Spring display.
More Spring Flower Art and Crafts for Kids to Make
The Arty Crafty Kids members area is a treasure trove of fun and interesting Art and Craft Ideas for Kids, covering every season!
-
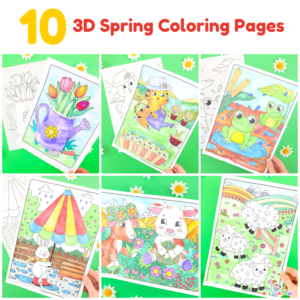 3D Spring Coloring Pages
 -
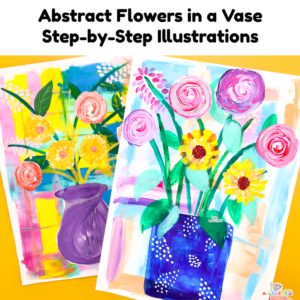 Abstract Flower in a Vase Step-by-Step Illustrations
 -
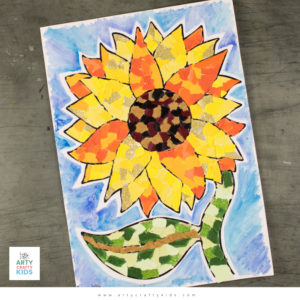
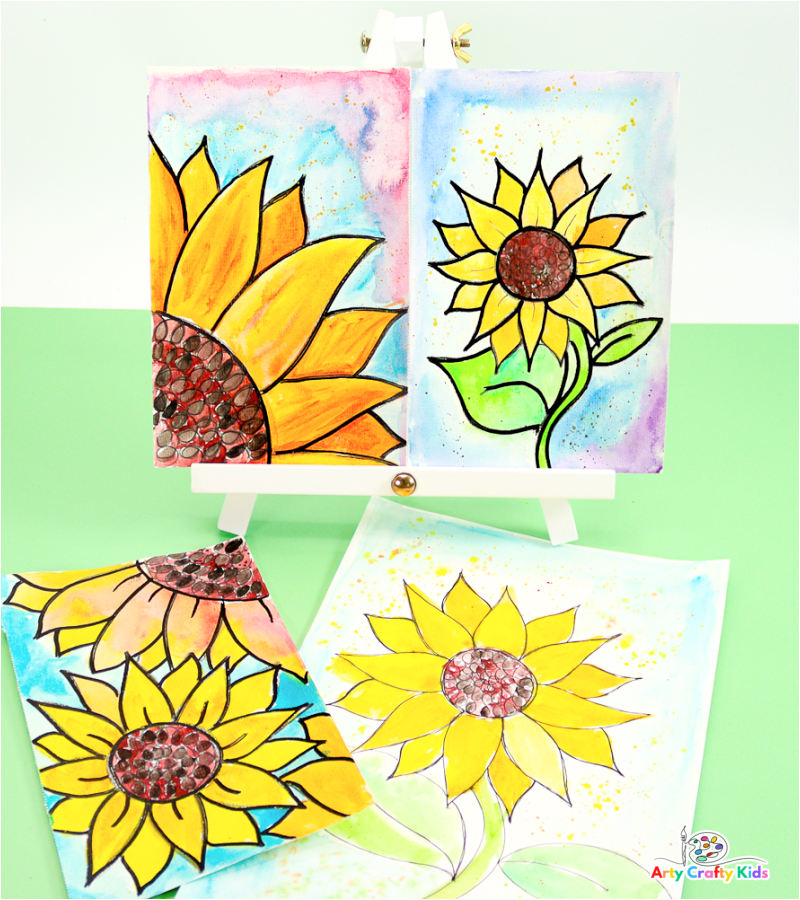 How to Draw a Sunflower Templates
 -
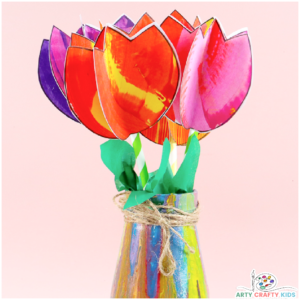 3D Tulip Flower Craft Template
 -
 Paper Sunflower Collage Art
 -
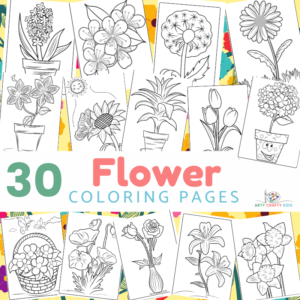 30 Page Flower Coloring Book
 -
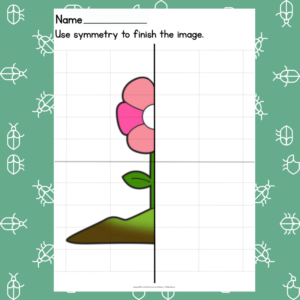 Flower Symmetry Drawing Prompt
 -
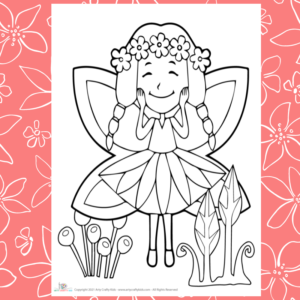 Flower Fairy
 -
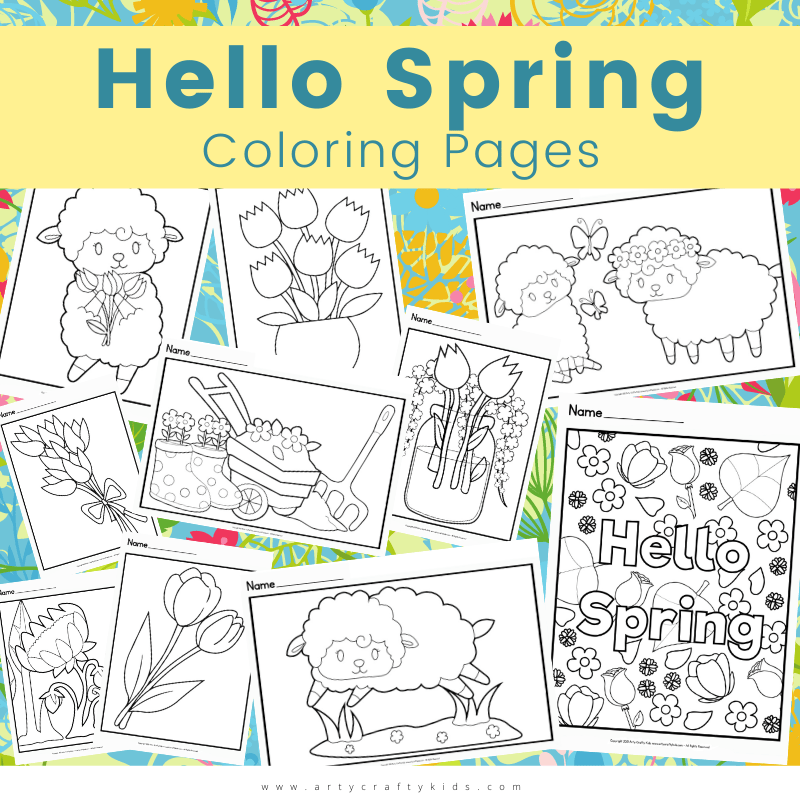 10 Hello Spring Coloring Pages
 -
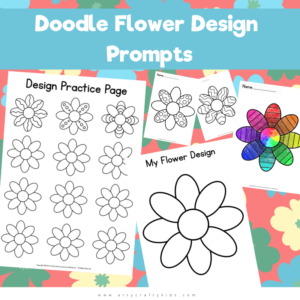 Doodle Flower Design Prompts
 -
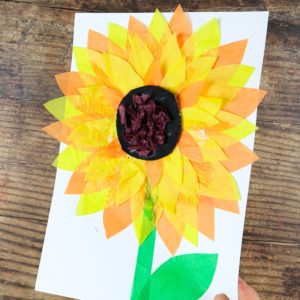 Tissue Paper Sunflower Craft
 -
 Sunflower Life Cycle Coloring Page
 -
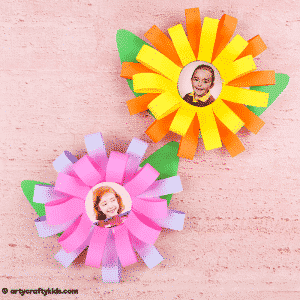 Photo Flower Card
 -
 3D Spring Flowers


