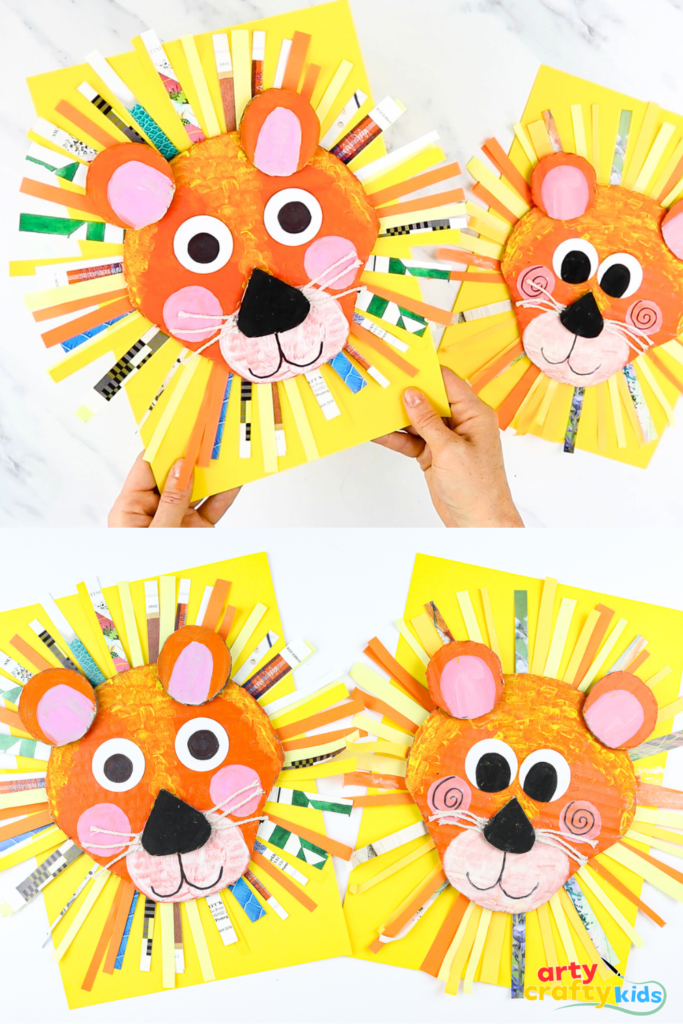
Let’s turn old scraps into something truly roarsome! This Cardboard Lion Craft is all about using what you already have at home – think cereal boxes, leftover magazines, and paper scraps – to make a bright and happy lion.
With just a few simple shapes and a splash of paint, kids can create their own jungle king while learning how everyday materials can be reused in creative ways.
This is one of those projects where the process is just as much fun as the finished piece. Children can paint, cut, and arrange strips of colourful paper for the lion’s mane, layering different shades and patterns for extra texture.
The face is built from easy-to-cut round shapes, making it perfect for little hands and a great way to practise early scissor skills. It’s playful, low-cost, and full of creative possibilities – ideal for a rainy afternoon or a wildlife-themed activity.
These joyful cardboard lions first appeared on the Best Makes Ever TV series on SKY TV, running from 2020 to 2025 – a strange and unforgettable time when crafts became a big part of keeping us connected during COVID lockdowns.
Created in collaboration with Maggy from Red Ted Art, the series focused on simple, fun projects using everyday bits and pieces, encouraging families to make and create together. Our lion quickly became a favourite, bringing bright manes and big smiles to homes across the UK.
How to Make a Cardboard Lion Craft
Materials:
- Scrap Cardboard and Paper
- White Paper
- Acrylic Paint
- Pencil
- Round Shapes to Trace ( bowls, cups etc)
- Black Marker Pen
- Glue Stick
- String
Lion Cardboard Craft Step-by-Step
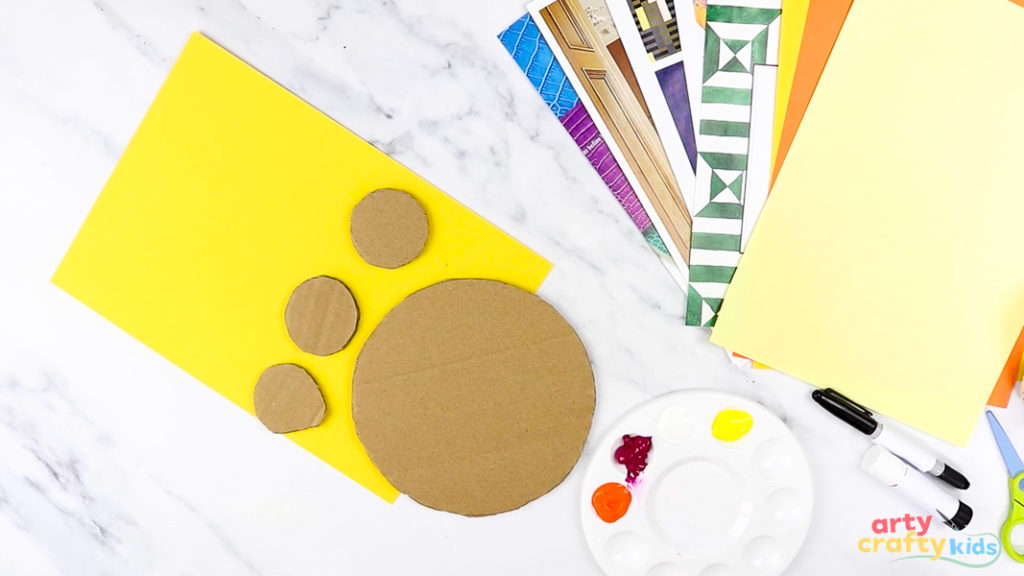
Step 1: Prepare the Lion Shapes
Cut four circles from the cardboard – one large for the lion’s face, two medium for the ears, and one small for the nose.
They don’t have to be perfect; the hand-cut look adds charm and character.
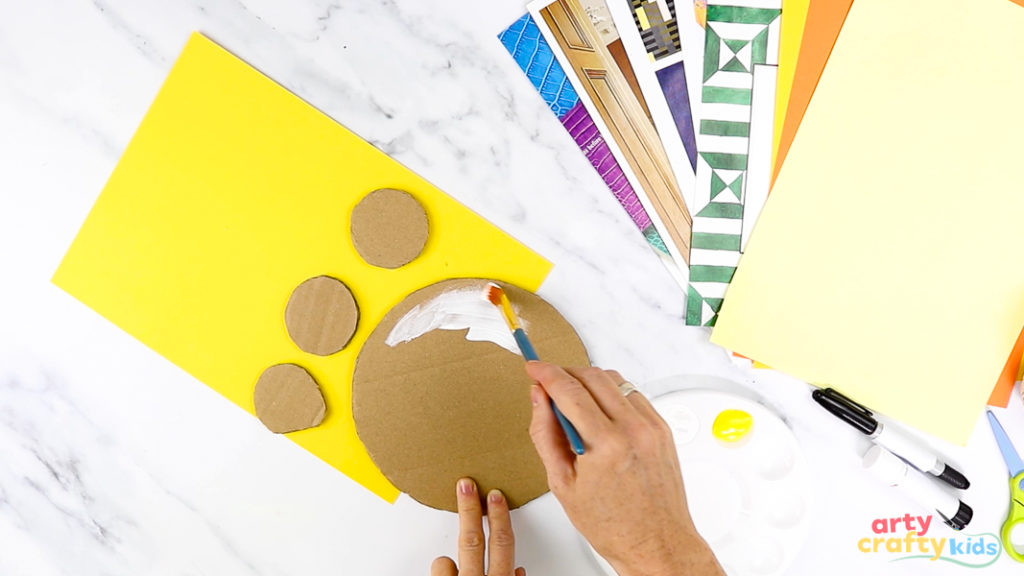
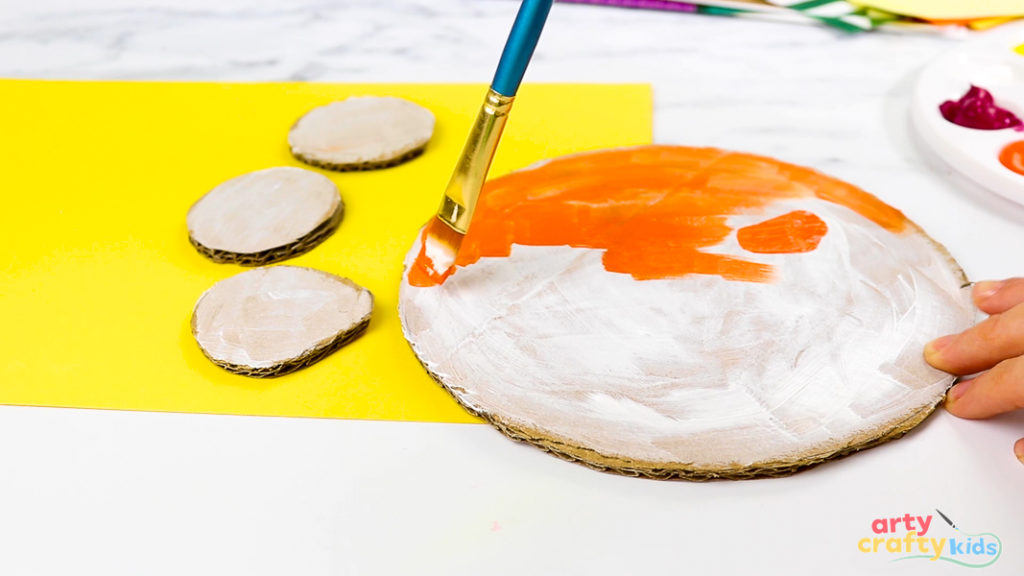
Step 2: Paint the Cardboard White
Before adding any colour, give the cardboard circles a coat of white paint. This helps cover the brown surface, making the bright oranges, yellows, and pinks pop later on.
Use a sponge or brush to apply the paint, keeping the strokes light and even.
Don’t worry if some of the texture of the cardboard shows through – it adds a lovely, natural feel to the lion’s face.
Allow the pieces to dry completely before proceeding to the next step.
Step 3: Add Color to the Lion Pieces
Paint the large cardboard circle a rich, bright orange for the lion’s face. For the two ear shapes, paint the outer part orange and the inner part a soft pink to give them a warm, friendly look.
Finally, paint the nose black.
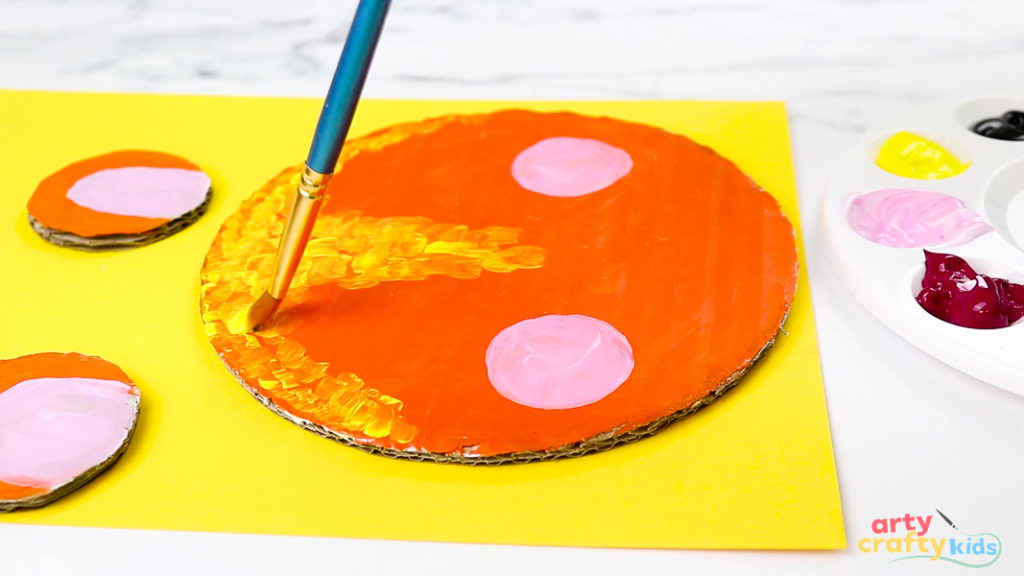
Step 4: Add Texture and Detail
With the base colours in place, it’s time to bring the lion to life with texture and charm!
Using a smaller brush, add short, light strokes of yellow paint around the edges of the face to create a warm, golden glow.

For a touch of child-like cuteness, paint two large, rosy pink cheeks – perfect for giving the lion a friendly, playful look.
And finally, paint the muzzle area white.
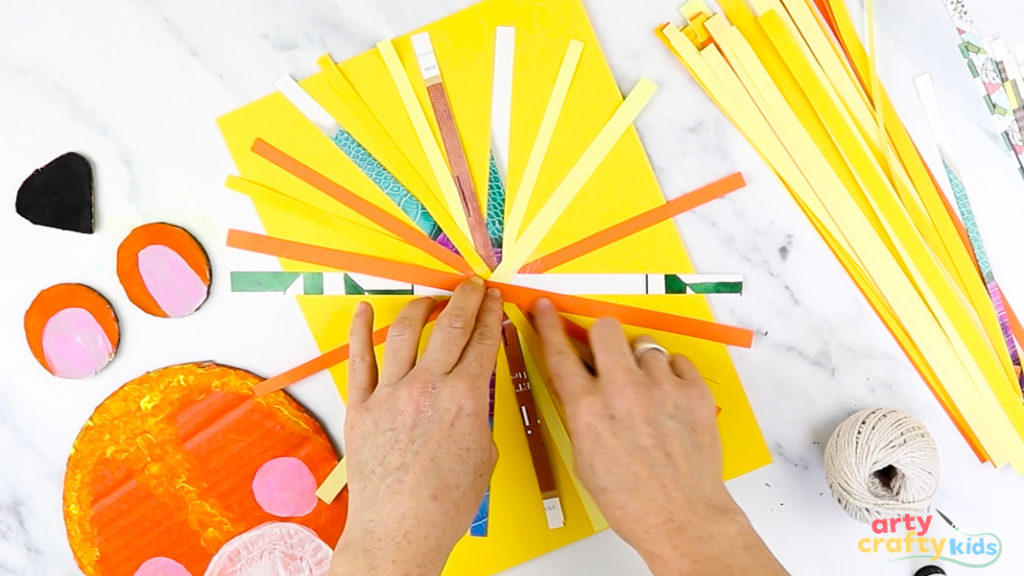
Step 5: Create the Lion’s Mane
Cut strips of paper in a variety of yellows, oranges, and even a few patterned pieces from old magazines to give the mane extra texture and interest.
Arrange the strips in a circular pattern, starting from the centre and fanning them outwards like sun rays. Overlap colours and patterns to make the mane look full and vibrant.
For added movement, try curling the paper strips as we have for a paper plate lion craft.
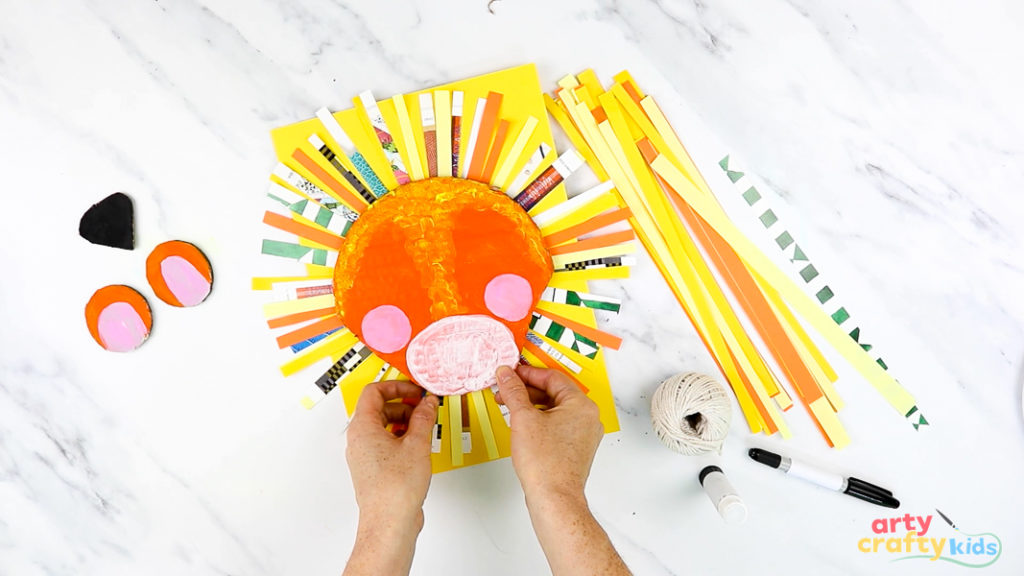
Step 6: Assemble the Lion
Now it’s time to bring the lion to life!
Start by gluing the painted lion’s face on top of the colourful paper mane, making sure it’s centred.
Next, add two white circular paper eyes, a nose, and ears.
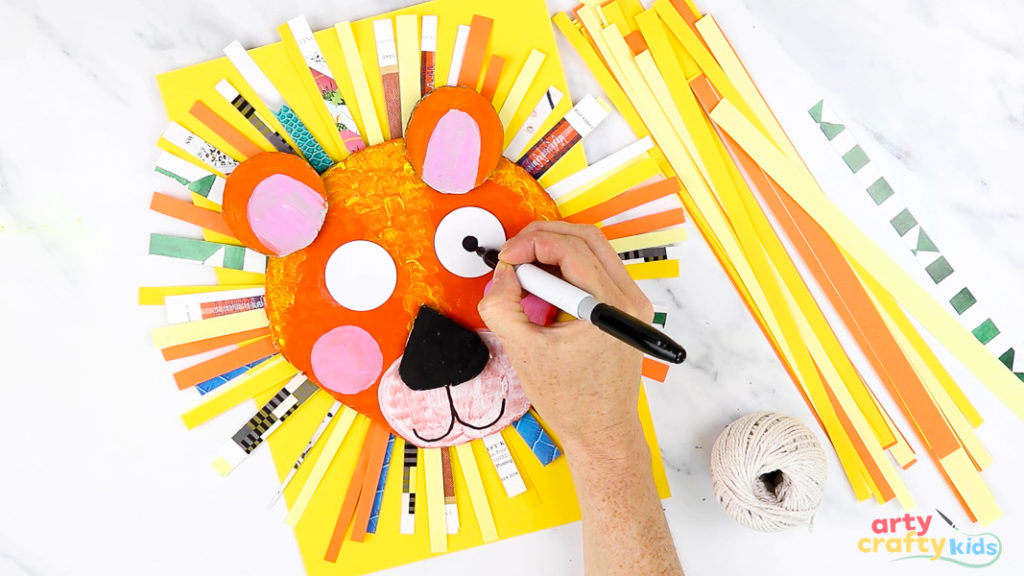
Step 7: Add the Finishing Touches
Use a black marker to draw two pupils inside the eyes and a big, friendly smile beneath the nose.
Finally, cut six short lengths of string and glue three on each side of the muzzle to create the whiskers.
These little touches will give your lion heaps of personality and charm!
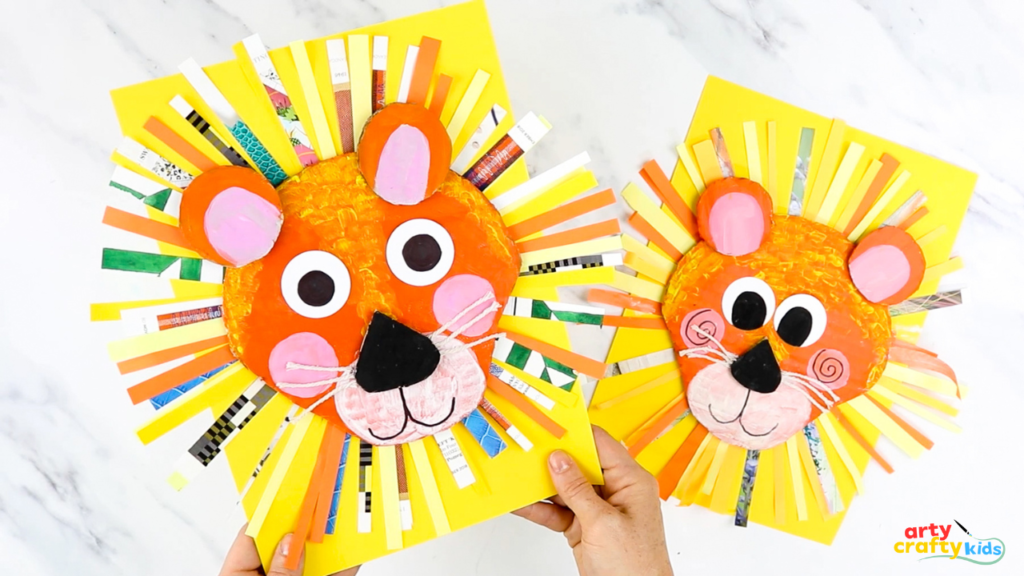
The Cardboard Lion Craft Tutorial is Complete
And there you have it — the vibrant Recycled Cardboard Lion is complete and ready to roar! This little king of the craft realm is full of personality, from its glowing golden mane to its playful, rosy cheeks and string whiskers.
If you loved making this lion, you might also enjoy these other lion‑themed crafts:
- Sleepy Lion Craft with Dried Flowers – a nature‑inspired twist using beautiful dried blooms.
- Flow Drawing for Kids: Sunshine Lion Art – a joyful blend of doodling and vibrant color.
- 3D Printable Lion Craft – perfect for layering and adding fun dimension.
- 3D Paper Lion Craft – bold, bright, and full of buildable shapes.
Each of these makes a wonderful follow‑up or companion project to your cardboard lion — happy crafting!