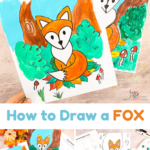
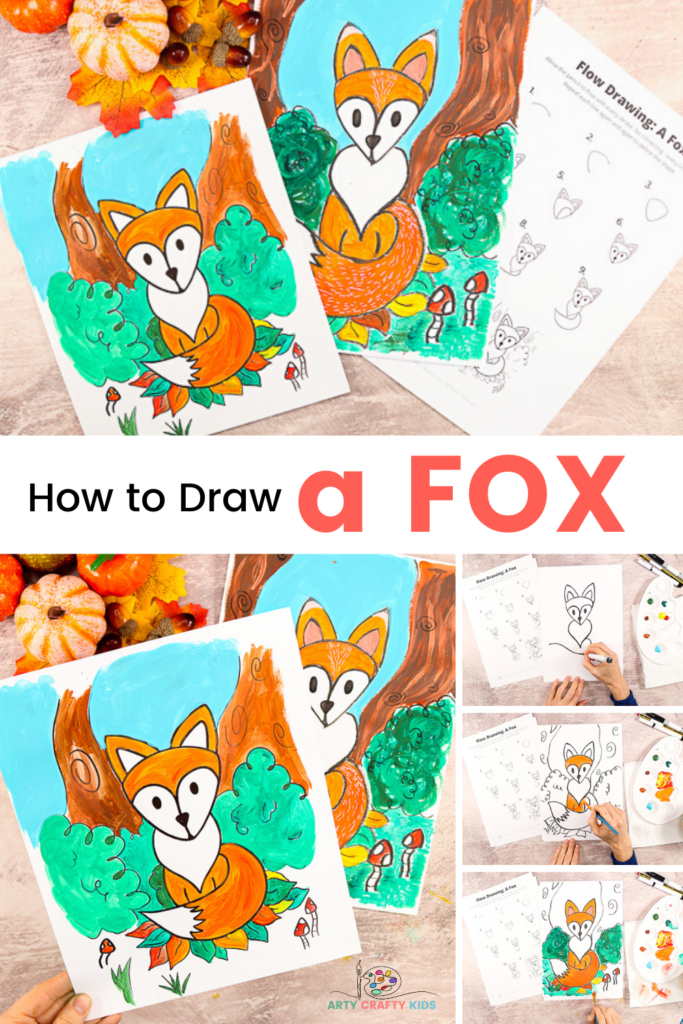
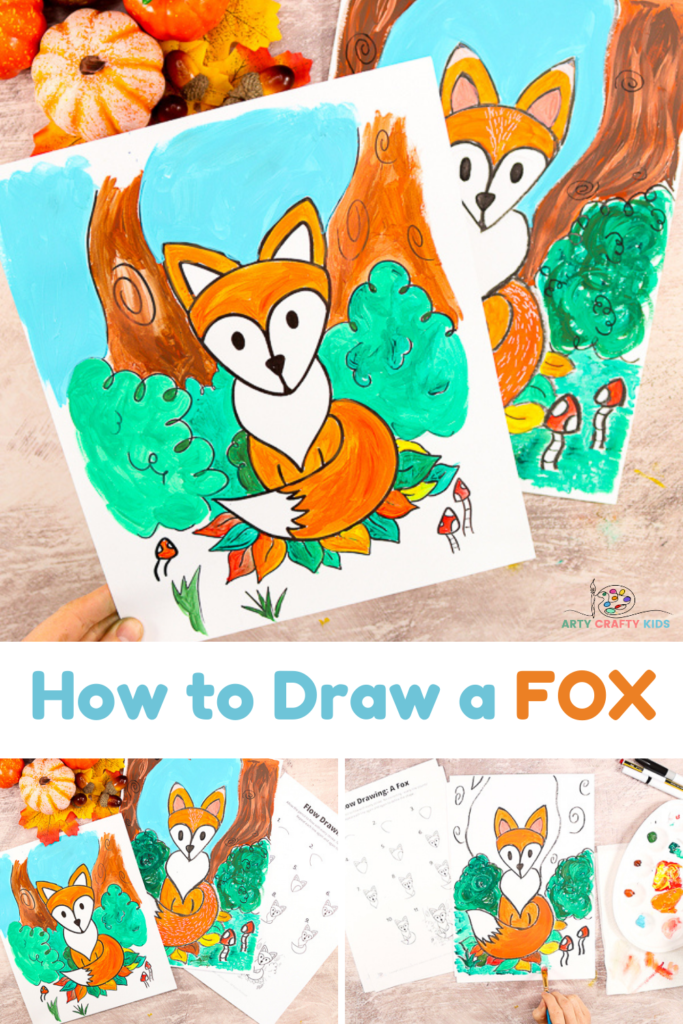
Learn how to draw a fox with our Easy to Draw Step by Step Tutorial – this drawing guide is perfect for beginners and kids, who will learn how to draw a simple fox with just a few flowing lines.
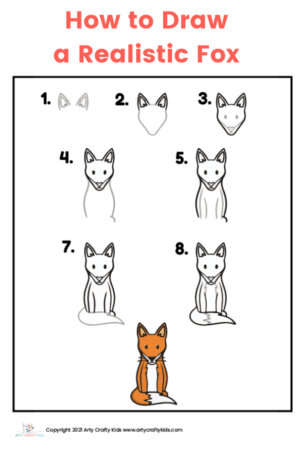
Fall is the time for woodland walks and learning all about forest animals. Our easy foxy art project is perfect for supporting woodland and forest topic at school or homeschool. Children may watch the video tutorial or/and use our handy printable ‘how to draw’ guide. Once the simple fox is mastered, we also have a realistic how to draw a fox tutorial available.
How to Draw a Fox – Easy Step by Step Drawing Tutorial
Materials:
White Card Stock
A Black Crayon, Oil Pastel or Pen
Black and White Marker Pens
Acrylic Paint OR a Favorite Medium for Coloring
Download the Fox How to Draw Printable:
We have a choice of two templates for Arty Crafty Kids to choose from; a “Simple Fox” printable and “Realistic Fox” printable.
The templates are available to members of the Arty Crafty Kids club.
Members will need to log in to access the templates: https://www.artycraftykids.com/product/how-to-draw-a-fox/
Not A Member?

Watch the Fox How to Draw Video:
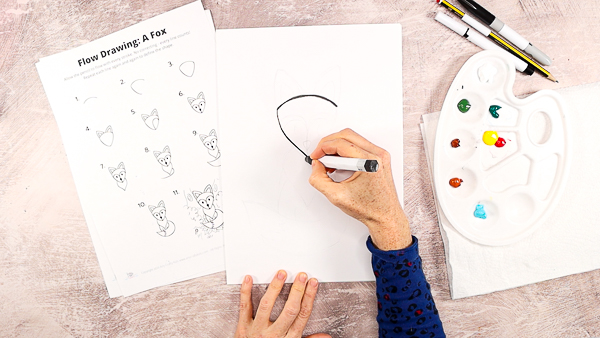
Let’s Draw a Fox!
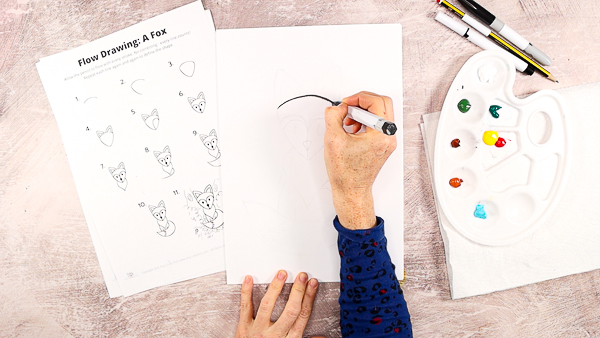
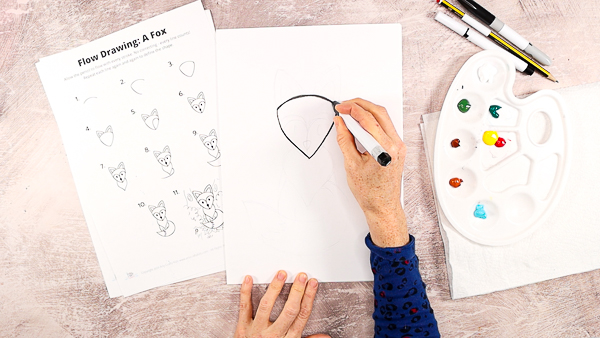
Draw the top of the Fox’s Head
Our fox tutorial begins with one arched line in the center of the canvas (white card stock or mixed-media paper).
Draw one side of the Fox’s Face
From the arched line, draw another arched line in a downwards motion just a few inches from the top line.
We’re aiming to create a triangular shape, so in the motion of drawing, try to align the end of the line to the middle of the top arch.
Draw the Other Side of the Fox’s Face
From the bottom point, draw another arched line in an upwards motion to join the end of the head line.
We should now have a softened angular shape that will form form the fox’s head.
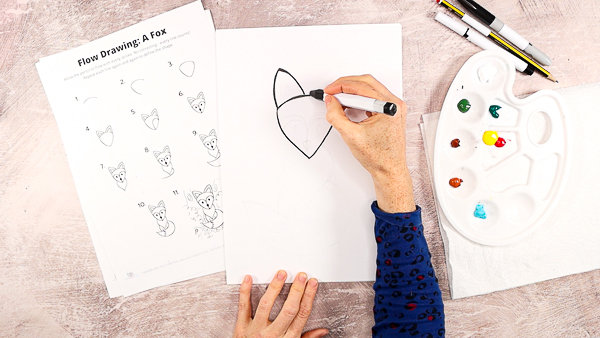
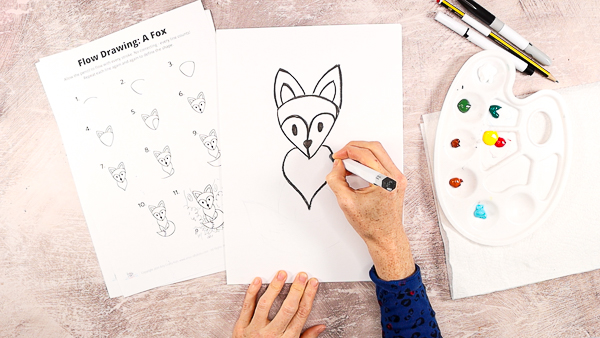
Draw the Fox’s Ears
Continuing the theme of triangular shapes, draw the fox two ears and repeat the shape with both to create inner ears.
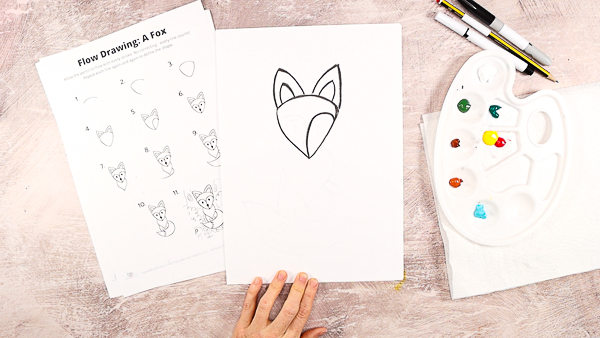
Divide the Fox’s Face with Distinctive White Patches
Foxes have beautiful white patches on their faces. We have simplified this distinctive feature by drawing a heart shape within the face.
Start from the bottom of the fox’s face and draw an upwards line that’s rounded off to one side.
Repeat along the same line, but this time round off in the other direction.
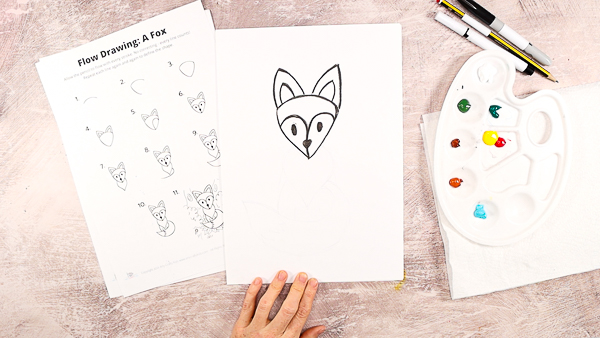
Draw Simple Features onto the Fox’s Face
Next, draw a round nose shape along the central line and two oval eyes within the heart shaped areas.
Draw the Fox’s White Fluffy Chest
Start from one side of the fox’s face and draw another heart shape to form the fluffy chest.
This is a lovely flowing shape and while the tip may align with the bottom of the fox’s face, it doesn’t need to be even. One side might be bulkier than the other, with the tip of the heart sitting more to the left or right – it’s important to encourage children to go with the flow and draw lines that feel natural.
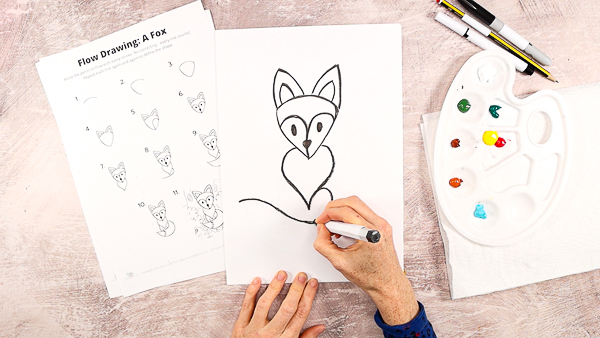
Draw the First Line of the Fox’s Tail
Now we’re ready for the big bushy tail! Again, we’re using lovely flowing lines that sweep across the fox.
Draw a line from one side of the fox’s chest to the other side of canvas.
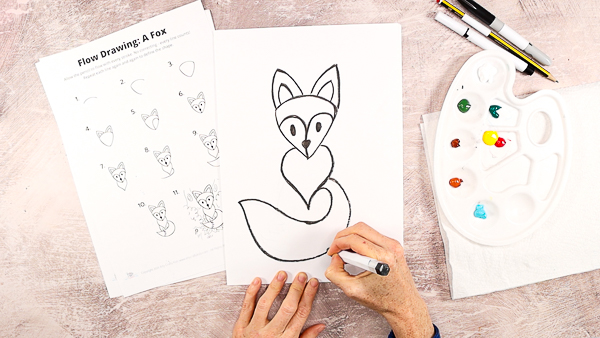
Draw the Second Line to Complete the Fox’s Tail
From the tip of the first line, draw another long flowing line in a downward motion and then back round to connect with the chest.
Complete the Fox’s Body and Draw Markings on the Tail
To complete the drawing of the fox, draw one line that joins the tail to the chest. Next, draw two smaller lines within the body space to suggest two front legs.
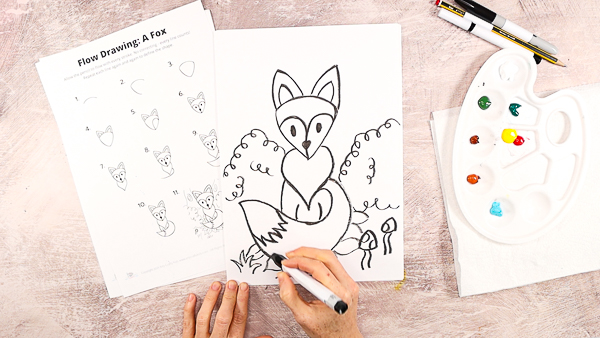
Use the White Space to Draw a Design and Frame the Fox
With the fox drawing complete, let’s turn our attention to the surrounding white space.
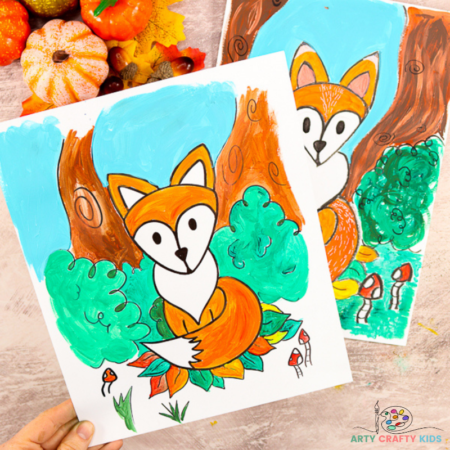
We’ve surrounded our fox with swirly lines for bushes, trees and little toadstools, while sitting on a bed of fallen Autumn leaves.
Children may follow the same theme or surround their fox with a contrasting block color. They could remove the fox from a woodland scene and instead draw a bright starry night with a big moon.
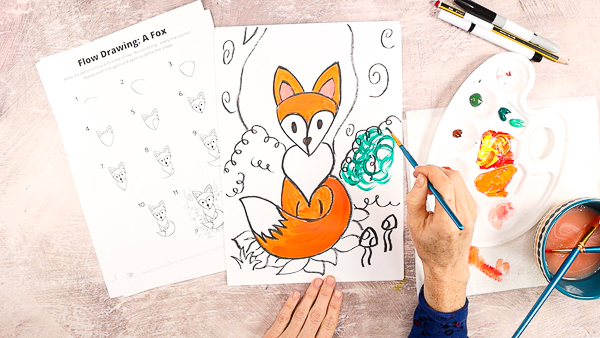
Color in the Completed Fox Design
Once the children have completed the How to Draw a Fox tutorial and have drawn a background, it’s time to color!
We’ve painted our design with bold acrylic paint (watch the video for painting techniques and ideas to explore), layering dark and light shades to create contrast for the bushes and trees.
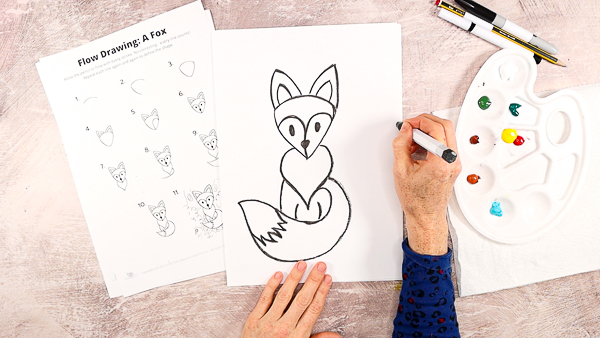
Add additional markings to the fox with white or/and black marker pens. Simple draw a series of dash lines along the tail, around the ears and forehead area.
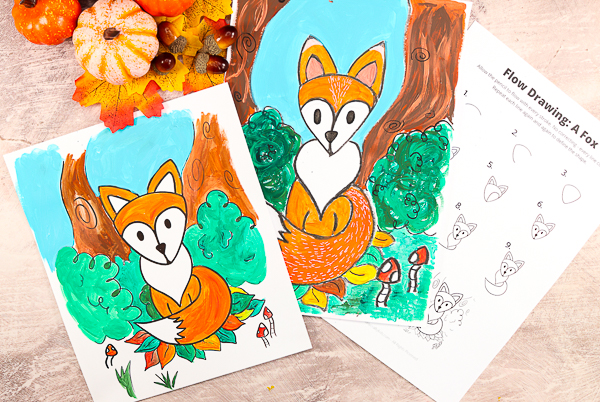
The How to Draw a Fox Tutorial is Complete
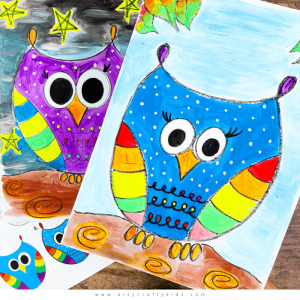
I hope your Arty Crafty Kids enjoy this How to Draw a Fox Step by Step Tutorial. For more Autumn themed drawing tutorials, take a look at How to Draw an Owl and How to Draw Autumn Trees.
As always, we love to see your children’s completed works of art, so please do tag us on social media with your Arty Crafty Kids masterpieces!
Learn More about the Flow Drawing Technique:
What is Flow Drawing?
Flow Drawing is an art technique developed by us to encourage children to understand shapes and create illustrations, in a much ‘freer’ way.
By removing restrictions, flow drawing encourages children to fully engage in the moment and discover their natural flow, making every line count and bringing mindfulness to their creative process.
You can think of the flow drawing technique as a ‘how to draw’ guide with a difference – children won’t just draw a picture, they’ll create a unique work of art, right from their soul.
Flow Drawing Benefits:
Although the process of flowing more naturally in art might seem a little alien to children at first, it’s really worth encouraging them to have a go. Flow drawing has so many benefits and helps little hands and minds to:
- Explore simple shapes and how they work together to create larger forms
- Discover their natural flow and rhythm through repetitive movements
- Learn how to combine mediums, with a fun and easy approach
- Build confidence in their own creative ability
- Combat ‘perfection-seeking’ in art, providing a much needed alternative to rigid ‘how to draw’ guides
- Bring mindfulness to the creative process and boost mental health
- Foster a love of art and self-expression.