

If your kids love collecting sticks on nature walks, this Photo Frame Stick Craft is the perfect way to put their treasures to good use!
It’s a low-cost, eco-friendly activity that’s simple enough for preschoolers and adaptable for older children too. With just a black-and-white photo, some paint, scrap cardboard, and a pile of twigs, children can create their very own rustic frames.
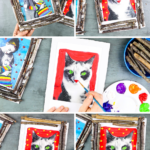
Adding paint to the photo turns this craft into a mini art project, encouraging kids to reimagine the subject with a playful pop art effect. From colorful clothing to bold, patterned backdrops, every frame will look unique.

The process of layering and arranging sticks is almost puzzle-like, building fine motor skills and problem-solving along the way.
Whether you’re crafting in the classroom, at home, or as part of a nature-inspired project, this activity blends creativity with a touch of the outdoors – making it a meaningful and memorable keepsake.
How to Make a Photo Frame Stick Craft
Materials:
- Scrap Cardboard
- Black and White Photo
- Paint or a Preferred Coloring Medium
- Sticks and/or Other Nature Materials
- PVA Glue
- Scissors
Step-by-Step Nature Stick Craft Tutorial
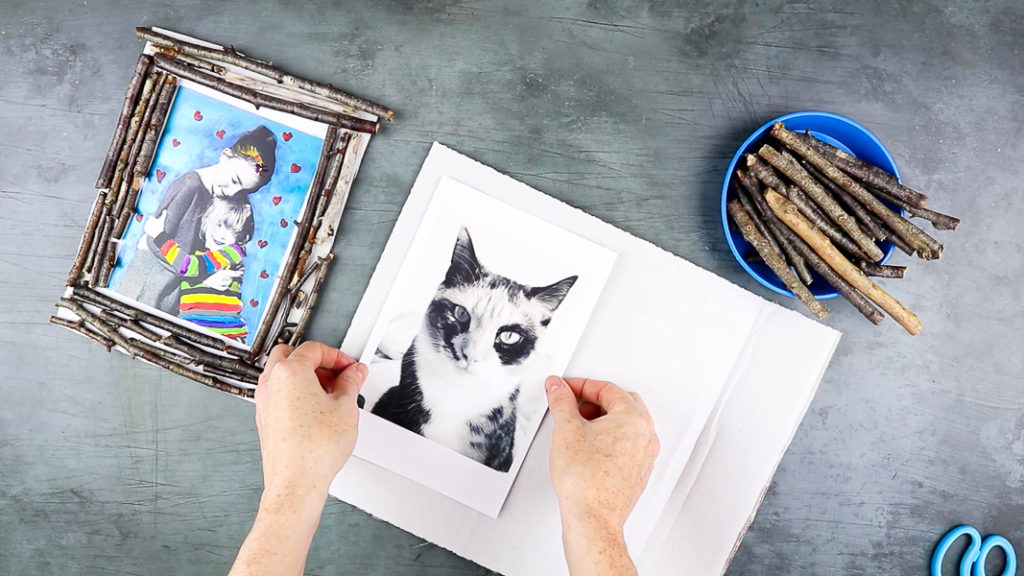
Step 1: Mount the photo.
Print a black-and-white photo, or choose another black-and-white image (a photocopy, magazine, or even a newspaper clipping works well).
Secure it to the center of a piece of sturdy scrap card, leaving a border all the way around.
This space will form the frame and give plenty of room for arranging the twigs.
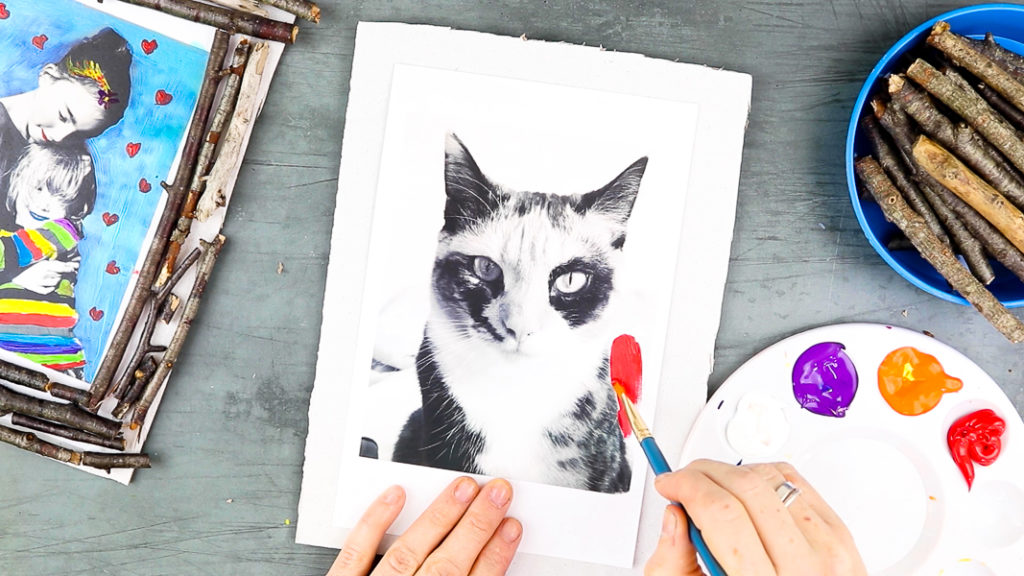
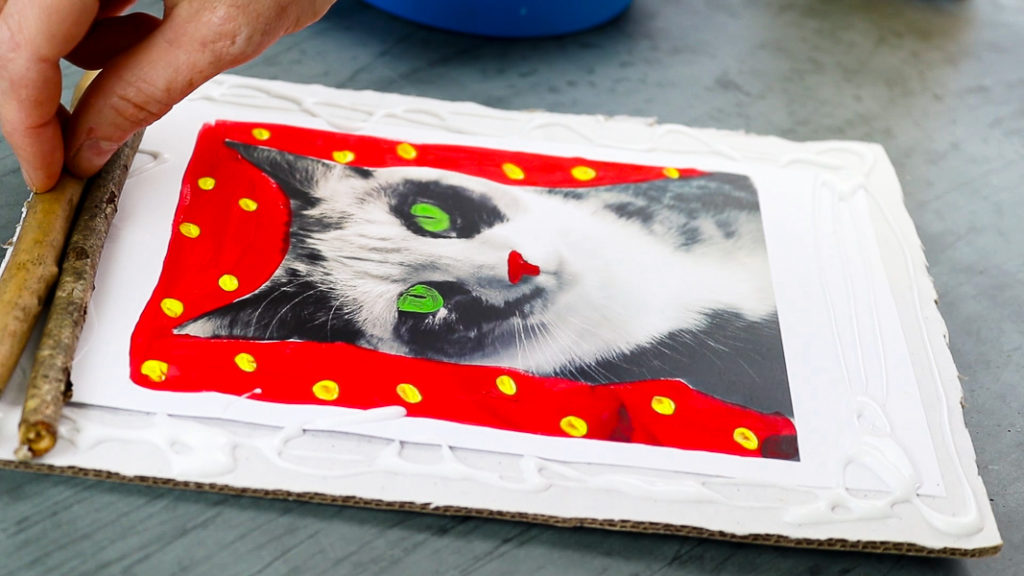
Step 2: Paint the photo.
Begin by painting the background to make the subject stand out.
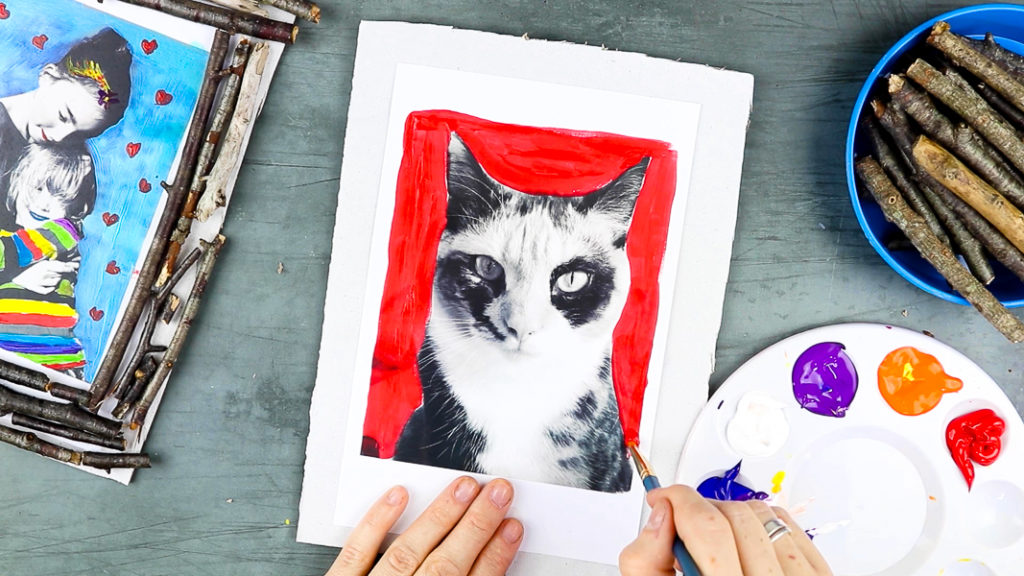
Choose a bold color!
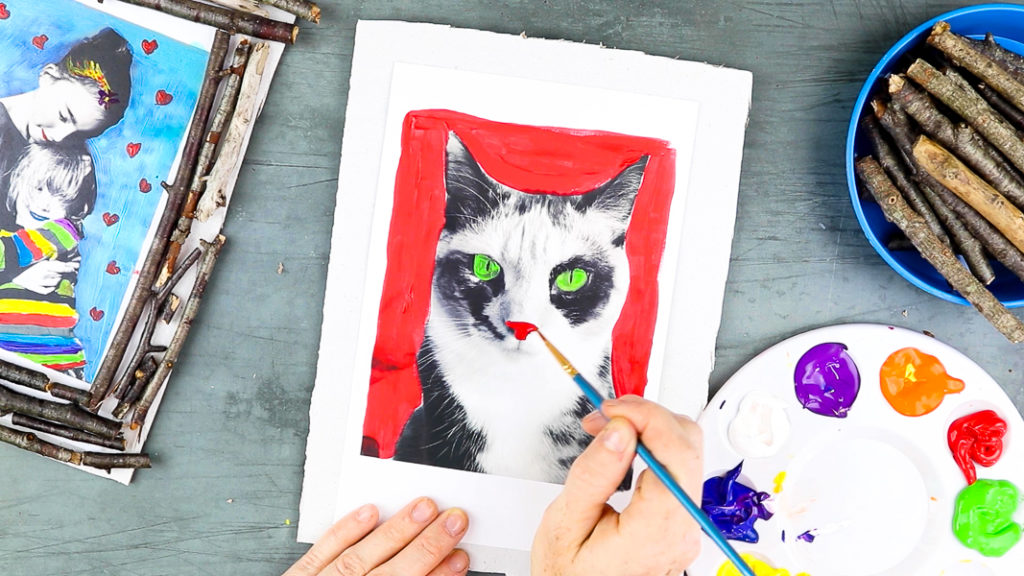
Then, add pops of color directly onto the photo – this could be bright clothing, fun patterns, or bold details.
Encourage children to reimagine the picture in their own way, giving it a playful pop-art effect.
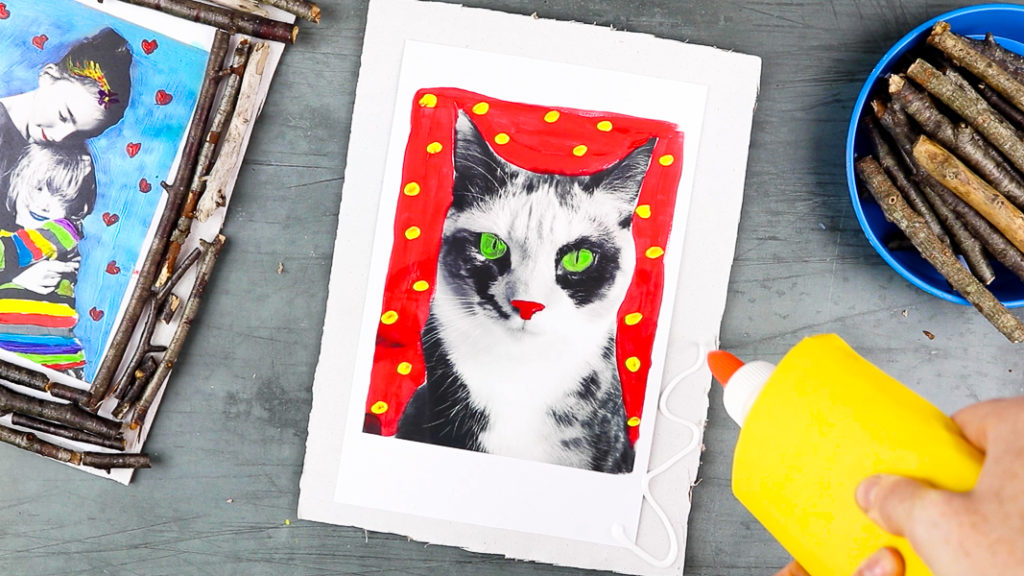
Step 3: Apply a thick layer of glue around the photo.
Using PVA glue, spread a thick border of glue all the way around the photo.
This will create a sticky surface for the first layer of sticks, helping them hold firmly in place.
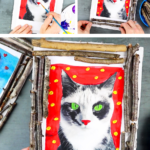
Step 4: Begin layering the sticks.
Start placing the twigs and sticks around the photo, pressing them gently into the glue.
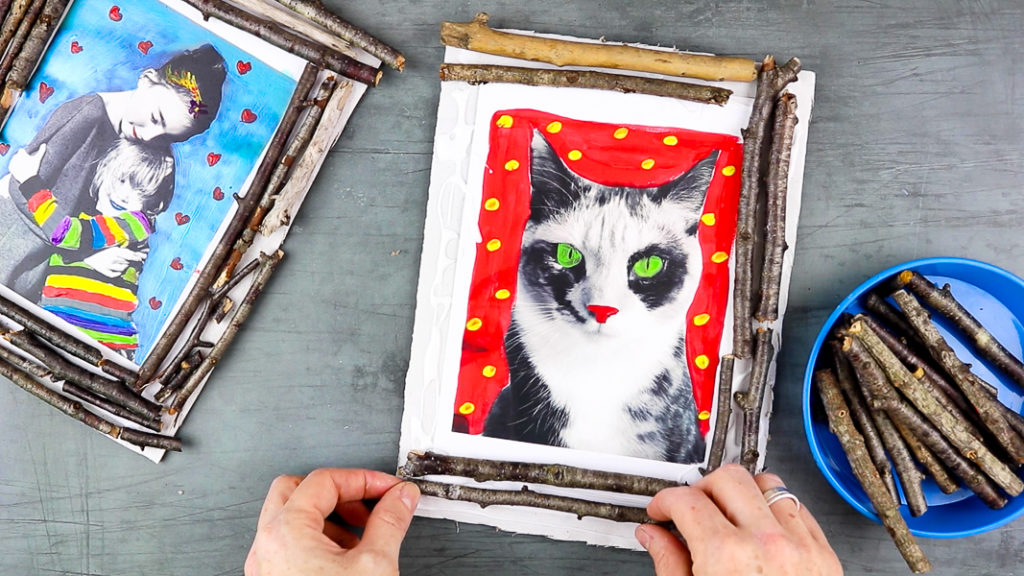
Fit the pieces together like a puzzle, mixing short and long lengths to create a rustic nature craft frame.
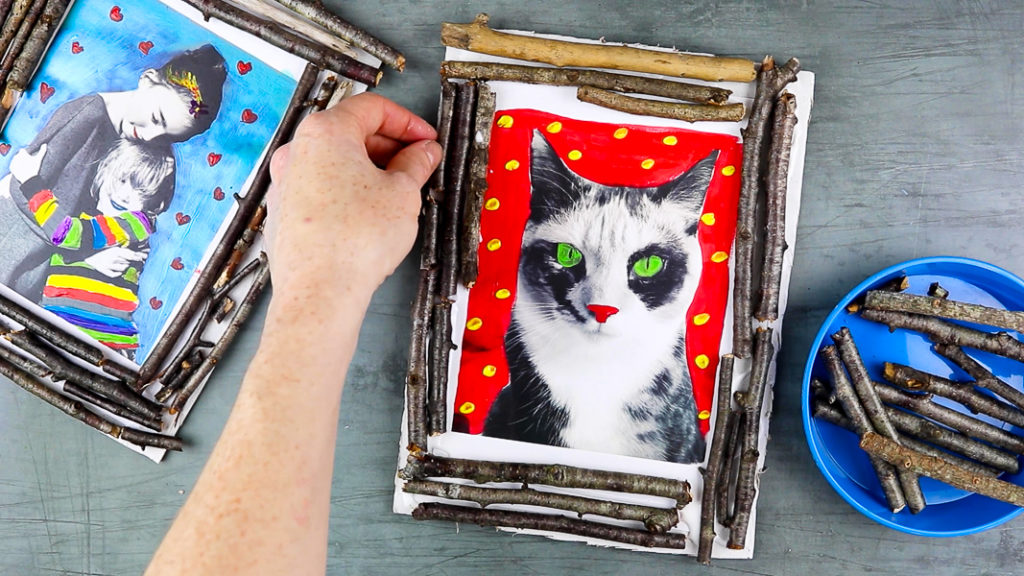
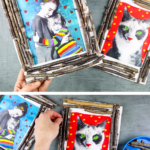
Continue layering until you’ve built up a sturdy twig picture frame with plenty of texture and depth.
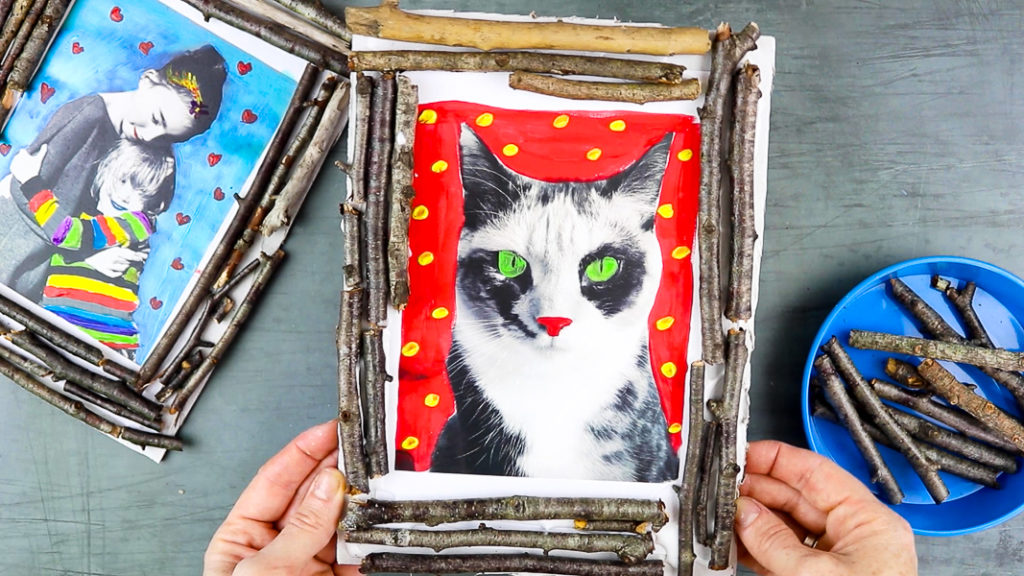
The Photo Frame Stick Craft tutorial is complete!
With just a few simple materials and a handful of sticks, children can create a unique and personal frame that celebrates both art and nature.
Whether made in the classroom, preschool, or at home, this project encourages creativity, problem-solving, and a connection to the outdoors.
Best Makes Ever – Sky Kids Series
Check out these brilliant craft posts featured in the Sky Kids Best Makes Ever series:
- Fish Handprint Art and Craft – A 3D, ocean-themed handprint fish that pops off the page with bright tissue seaweed and painted pasta shells, perfect for preschoolers and classroom fun.
- Cardboard Lion Craft – Turn everyday scraps into a roaringly charming lion with layered paper mane and a friendly face—low cost, high impact!
Both of these delightful tutorials were created in collaboration with Maggy of Red Ted Art, as part of the exclusive Sky Kids Best Makes Ever series – a crafty partnership between Arty Crafty Kids and Red Ted Art that brought fun, accessible projects into homes during challenging times.


