This fish handprint art and craft idea is a fun and simple way for preschoolers and young children to get creative. First shown on Sky Kids during the pandemic, this handprint fish craft became a favorite with families looking for easy activities to do together at home.
It’s a great choice for preschool crafts, ocean-themed projects, and simple art activities for kids. Children will love turning their painted handprints into bright, playful fish, and adding extra details like seaweed and shells to complete the underwater scene.
Just like our cardboard lion craft that appeared on Sky TV’s Best Makes Ever, these fish carry a little piece of craft history from a time when making and creating brought families closer together.
They remain just as popular today for home, school, or group craft sessions.
Created in collaboration with Maggy from Red Ted Art, the series focused on simple, fun projects using everyday bits and pieces, encouraging families to make and create together.
For more easy ocean-themed arts and crafts to try with your Arty Crafty Kids, take a look at our Whale Shark Silhouette Painting, Rocking Crab Craft and Mixed-Media Shark Craft.
How to Make the Fish Handprint Art and Craft
Materials:
- Blue and White Card Stock
- Blue, Yellow and White Paper
- Green Tissue Paper
- Paint
- Shell Shaped Pasta
- Black Marker Pen
- Scissors
Follow our Step-by-Step Tutorial to Make Handprint Fish Art!
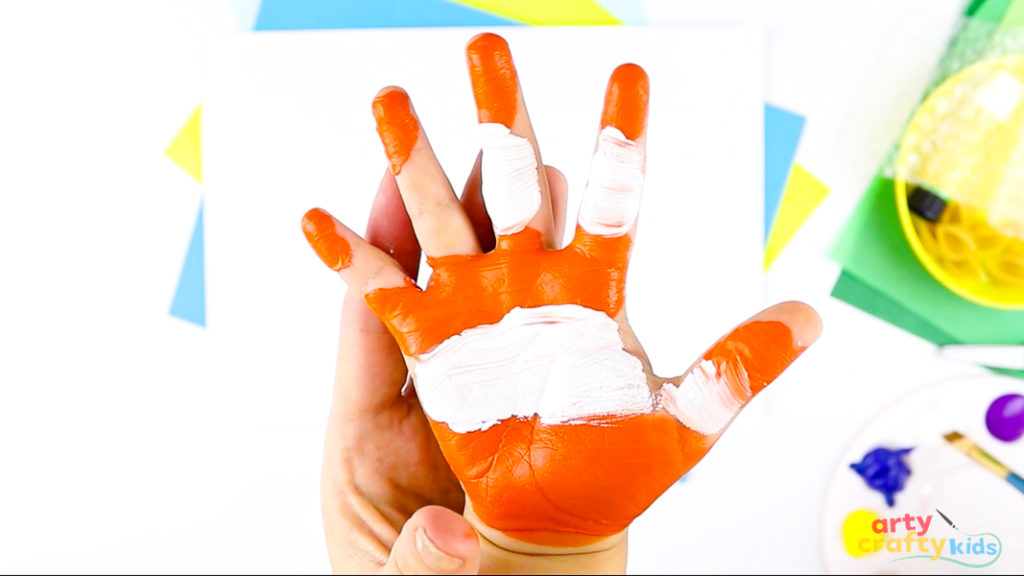
Step 1: Created painted fish handprints.
Begin by asking your child to paint their hand with bright, bold colors. The palm will become the body of the fish, while the fingers will make the fins.
Try stripes of orange and white for a clownfish, or let your child mix and match their favorite colors for a more imaginative design.

Once the hand is painted, press it firmly onto a sheet of white cardstock to make a clear handprint.
Repeat if you’d like to create more than one fish, and then set the prints aside to dry before moving on.
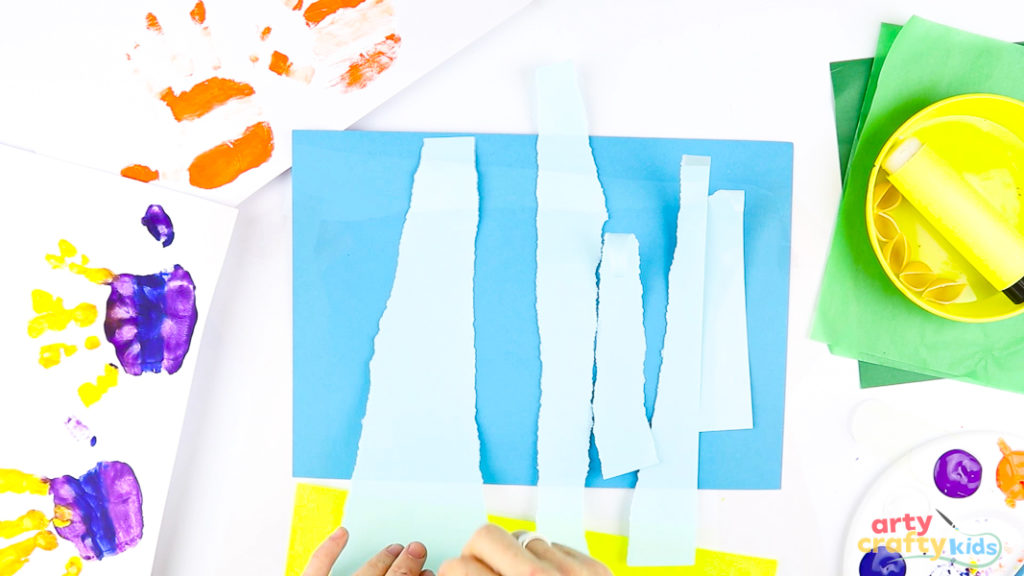
Step 2: Create multiple torn paper strips.
Ask your child to tear strips of light blue paper to create the look of waves or moving water. The torn edges give a lovely textured effect that works really well for an underwater scene.
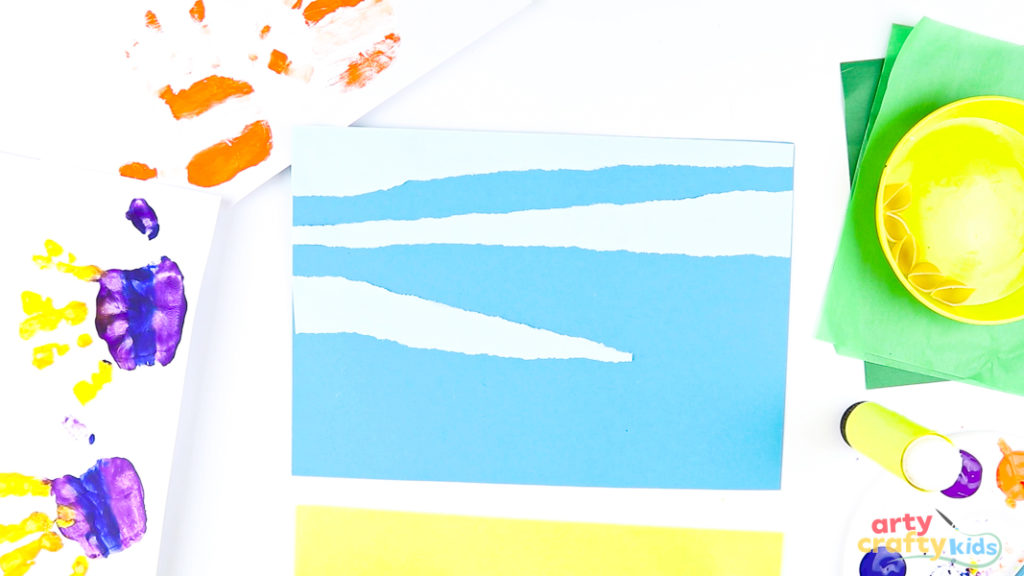
Once a few strips have been made, glue them onto a sheet of blue cardstock, leaving small gaps between each piece to let the darker blue show through. This layered background will set the scene for the colorful handprint fish.
Add a wavy strip of yellow paper to the bottom of the blue sheet to create a sandy seabed.
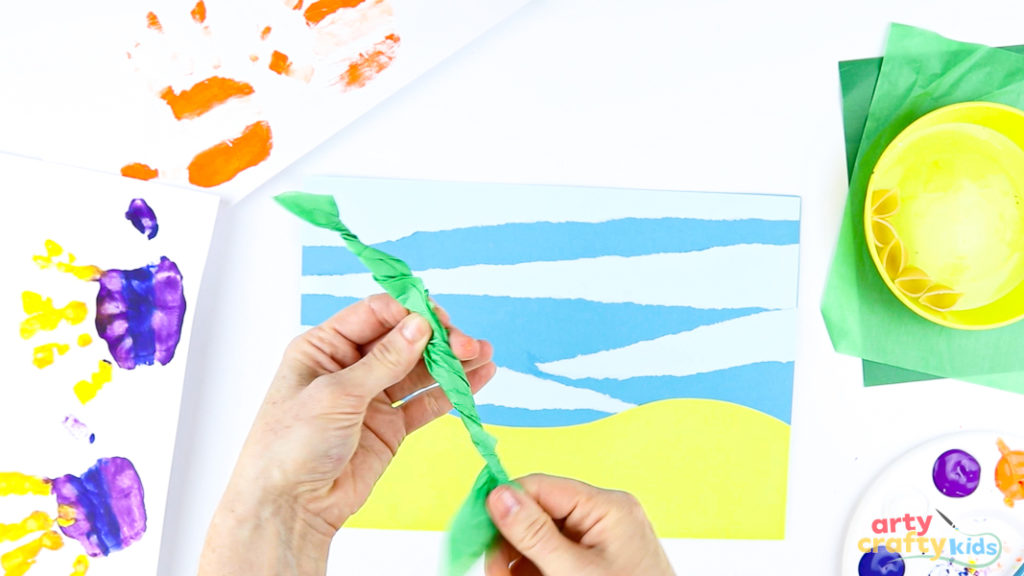
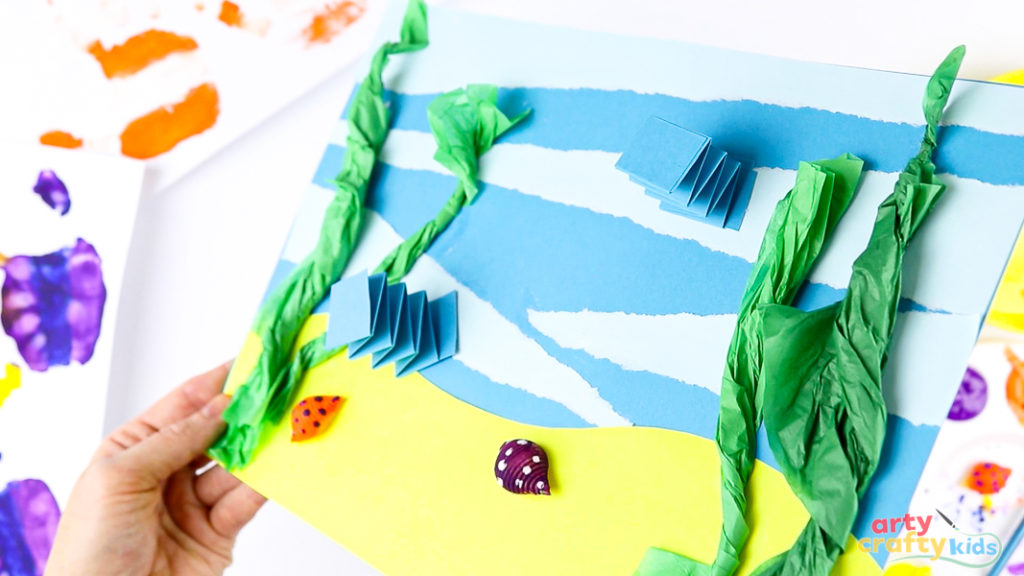
Step 3: Add 3D seaweed.
Next, use green tissue paper to make some seaweed for the underwater scene. Tear or cut strips of tissue paper and twist them gently to give a textured, wavy look.
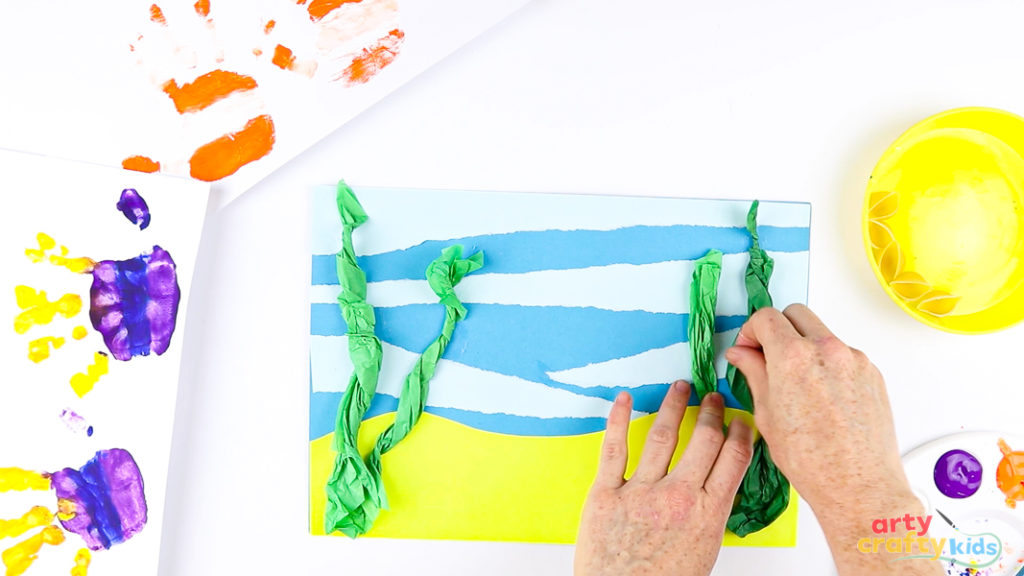
Glue the twisted pieces onto the background so they rise up from the sandy bottom. The crinkled tissue adds a fun 3D effect, helping the handprint fish look like they’re swimming through tall seaweed.
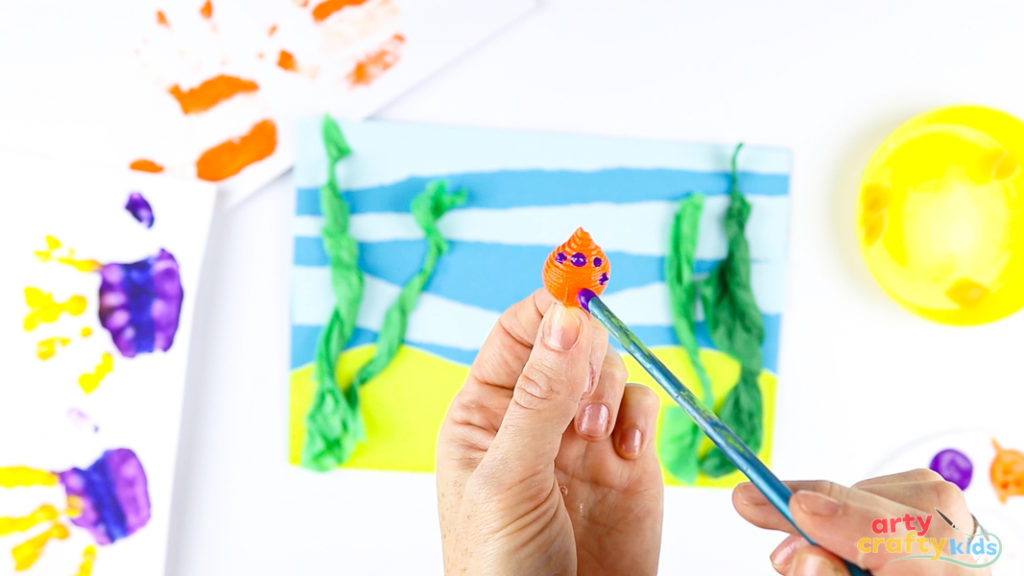
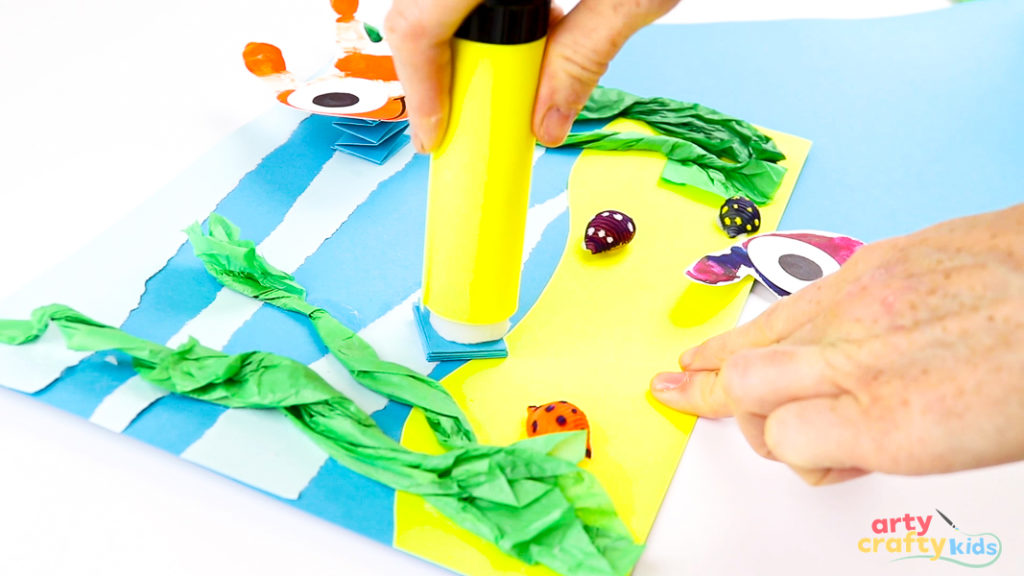
Step 4: Paint the pasta shells.
Take a few pasta shells and give them a coat of paint. Encourage your child to add little patterns or dots to decorate each one – these will become colorful shells resting on the ocean floor.
Once dry, glue the painted shells onto the sandy section of the background. This adds another 3D, mixed-media elementto the artwork and gives the scene even more texture and detail.
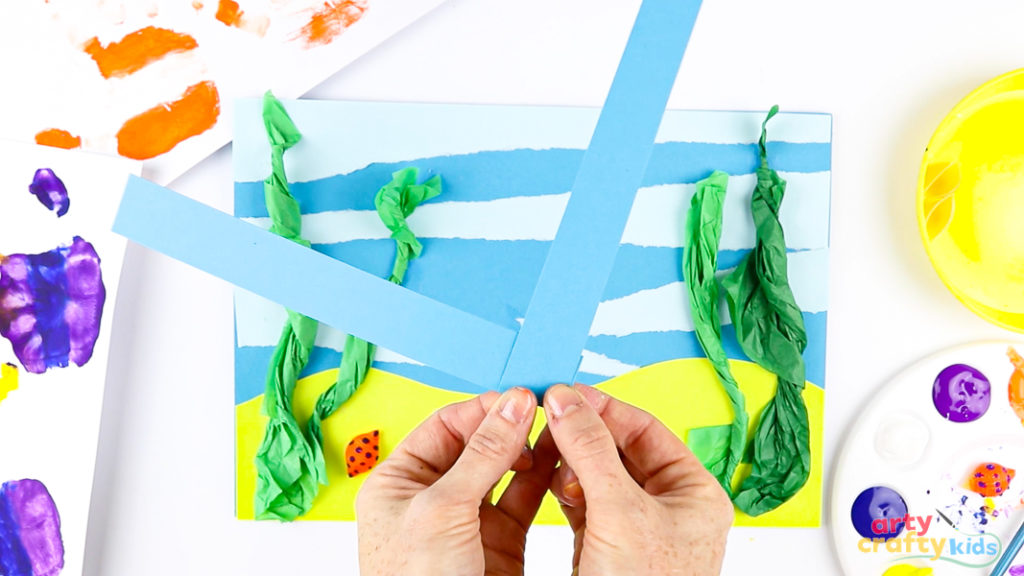
Step 5: Create two springs.
To help the fish “pop out” from the background, create two paper springs. Cut two thin strips of cardstock. Take one strip and fold a small square at the end.
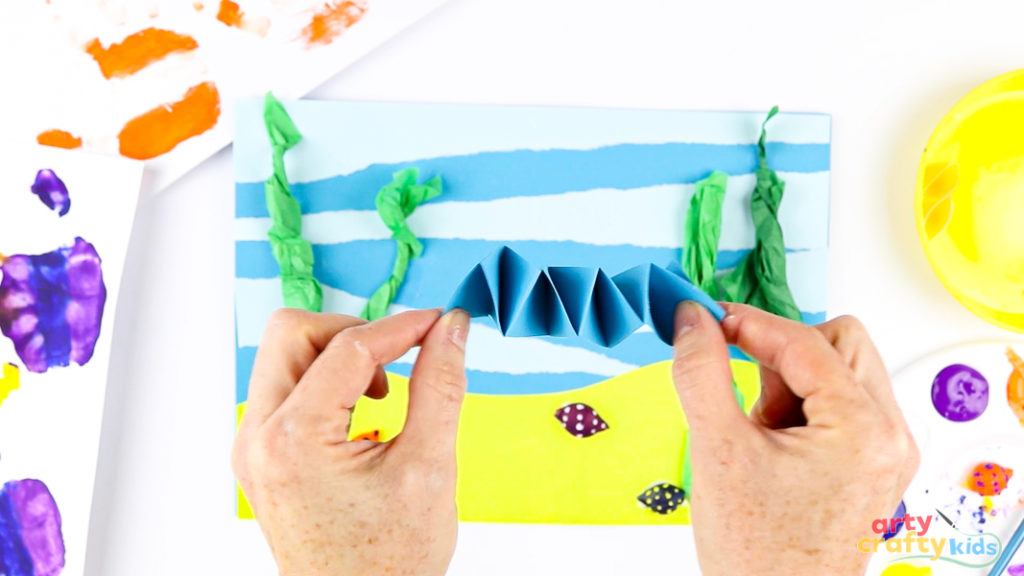
Then, fold the strip back the other way to form another square. Keep folding the paper back and forth in this accordion style until you reach the end.
Repeat with the second strip so you have two springs. These folded papers will act like little stands to lift the fish off the page, giving the artwork more movement and dimension.
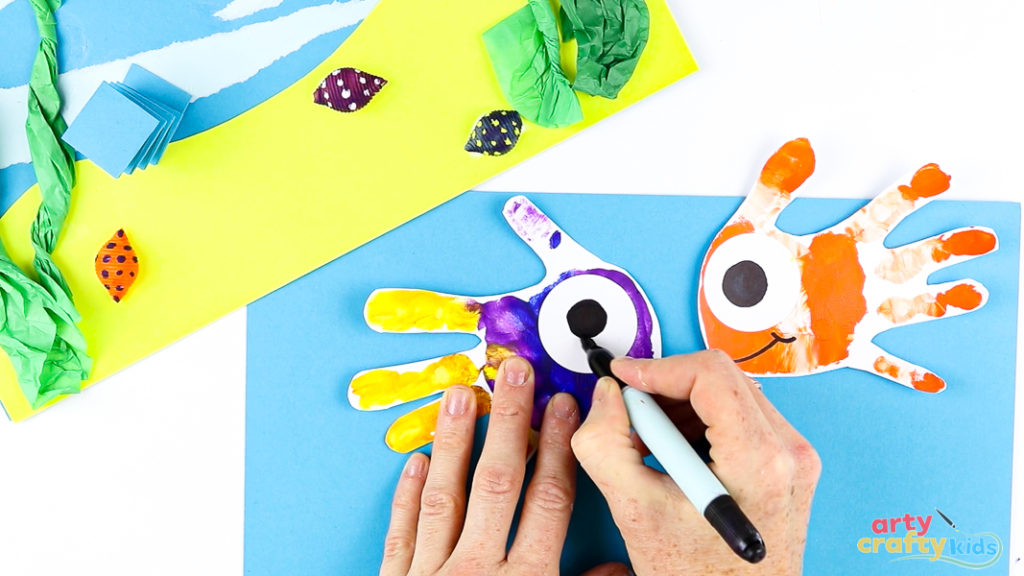
Step 6: Turn the handprints into fish!
Once the painted handprints are dry, carefully cut them out. To bring the fish to life, glue on a large paper circle for the eye, adding a smaller black circle in the center. Use a black marker to outline the eye and draw on a simple smile.
Step 7: Glue the fish handprint art to the springs.
Take the folded paper springs you made earlier and glue one side of each spring onto the background. Then, glue a handprint fish to the top of each spring.
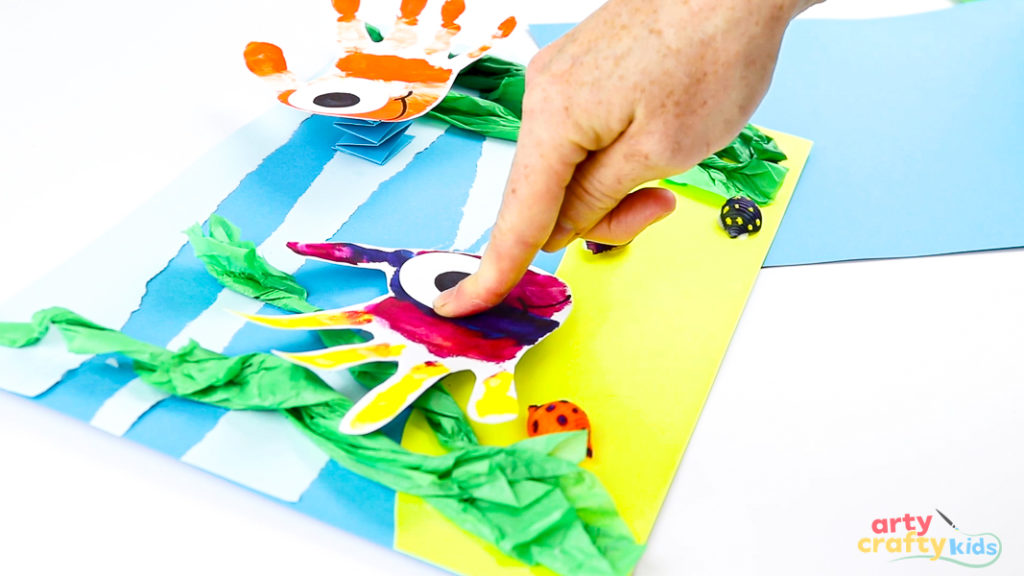
This will lift the fish off the page, making them look like they’re swimming through the sea. The gentle bounce of the springs adds a playful, interactive element that children will love.
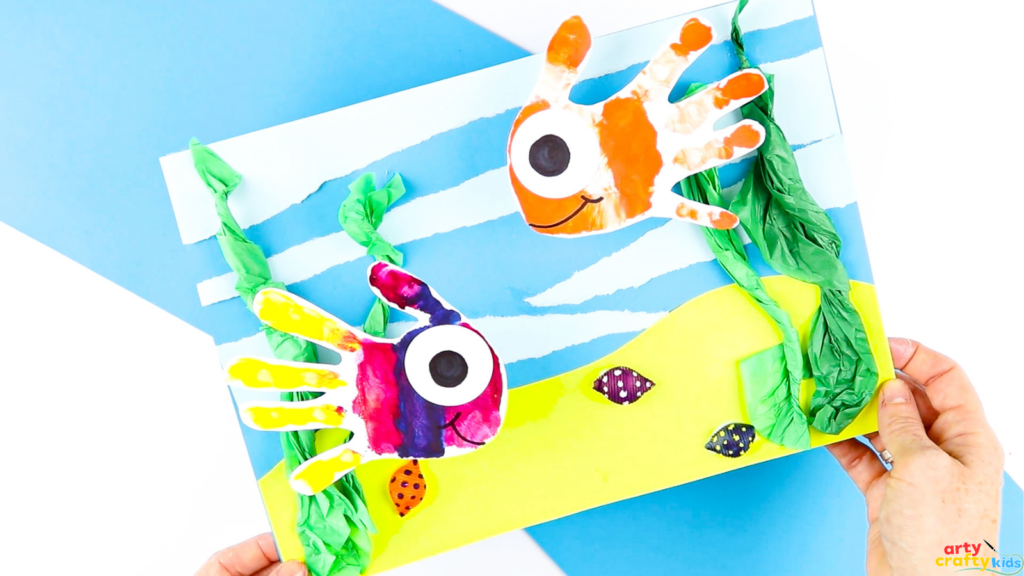
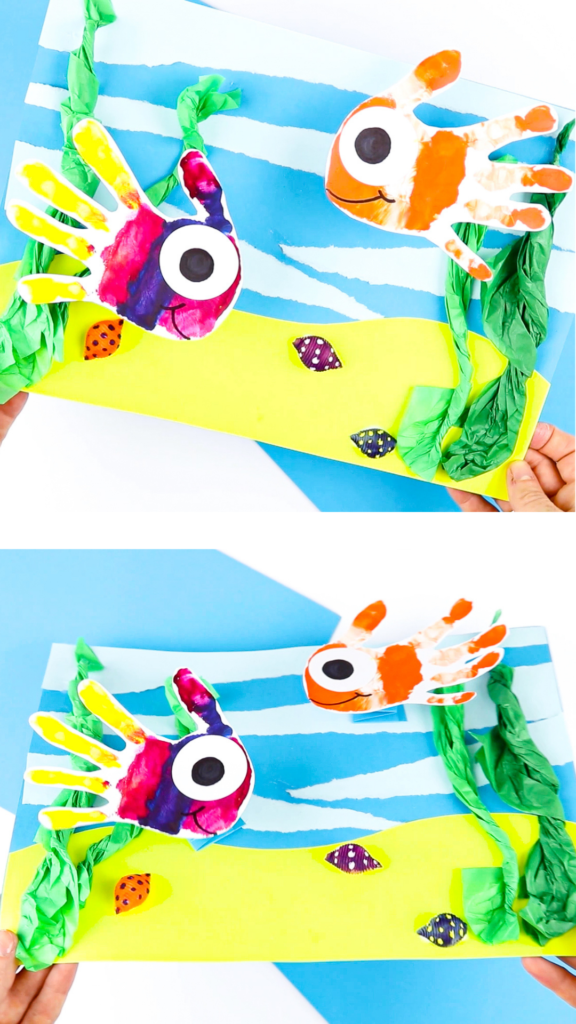
The Fish Handprint Art and Craft Tutorial is complete!
This fish handprint craft is a wonderful mix of art and play. Children get to explore paint, paper, and even pasta shells, combining different textures and techniques in one project.
The 3D elements – from the tissue paper seaweed to the springy fish – make the scene fun and interactive, while the simple steps help develop fine motor skills, creativity, and imagination.
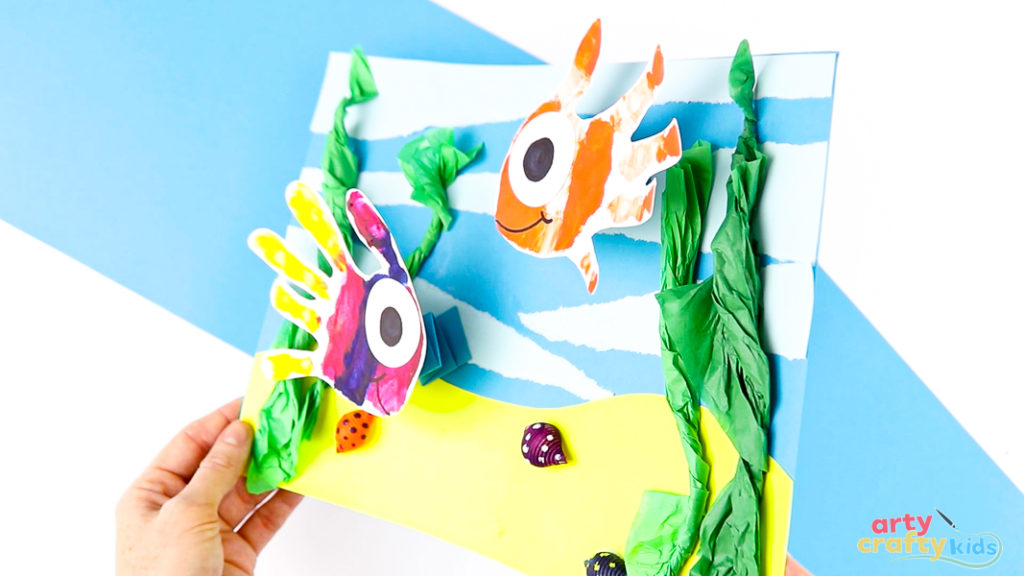
It’s a super fun craft that works beautifully at home or in the classroom, and one that children will be proud to show off.