

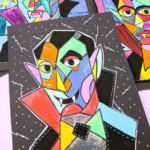
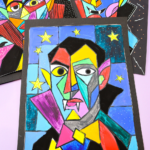
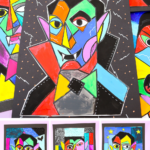

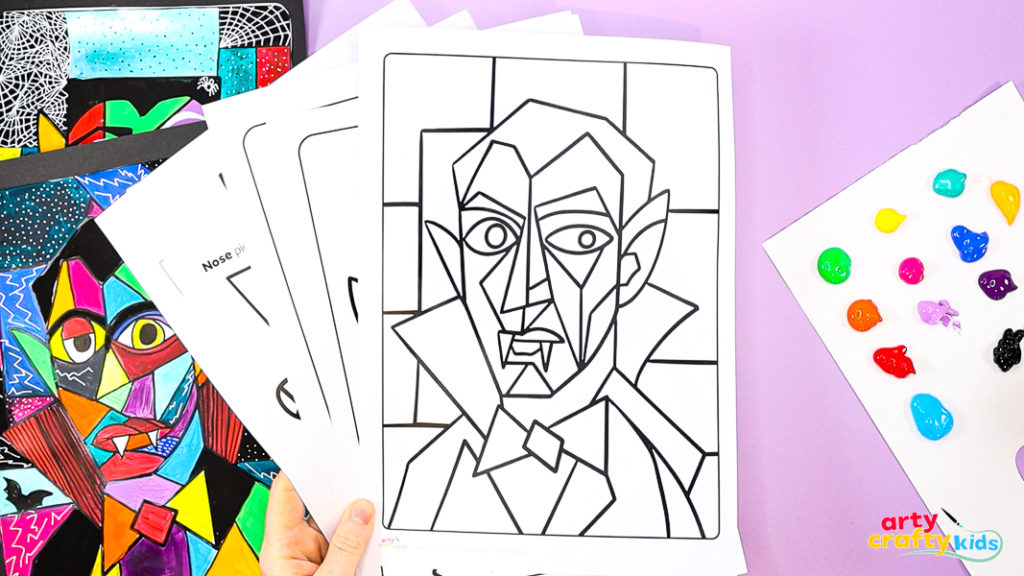
Our Picasso Dracula Collage Art is the latest addition to our Halloween art collection, joining the much-loved Picasso Witch and Picasso Frankenstein projects!
Inspired by the bold shapes, fractured forms, and expressive colors of Cubism, this project invites children to explore abstract portraiture through a Halloween lens. Combining drawing, cutting, and collage, children will layer geometric shapes to build their own fang-tastic Dracula, experimenting with color contrasts, symmetry, and creative composition along the way.
This art activity is perfect for classroom or home use, encouraging creative thinking and artistic confidence while introducing young artists to the playful, rule-breaking style of Pablo Picasso.
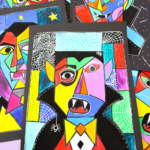
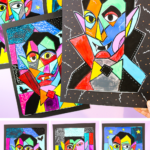
Together, our Picasso Witch, Frankenstein, and Dracula art projects form a Picasso Halloween Art Series — a playful introduction to Cubism for kids.
Each character offers a unique opportunity to explore abstract features, bold color blocking, and expressive line work.
Whether completed individually or as a collection, these projects encourage children to experiment freely, think creatively, and celebrate the wonderfully weird world of Picasso through a fun Halloween theme.
How to Make Picasso Dracula Collage Art for Halloween
Materials:
- White Card Stock for Printing
- Colored Cardstock
- Colored Paper (optional)
- Coloring Medium ( paint, crayons, marker pens etc)
- Scissors
- Glue Stick
- Pencil
- Black Marker Pen
- White Acrylic Marker Pen
- Picasso Dracula Templates (members will need to login to access the templates).
Not a Member?
Join the Arty Crafty Kids club to access the Dracula Collage and Coloring Templates and 100s more Art and Craft templates, How to Draw Guides, and Coloring Pages.

Let’s Create Picasso Dracula Face Collages!
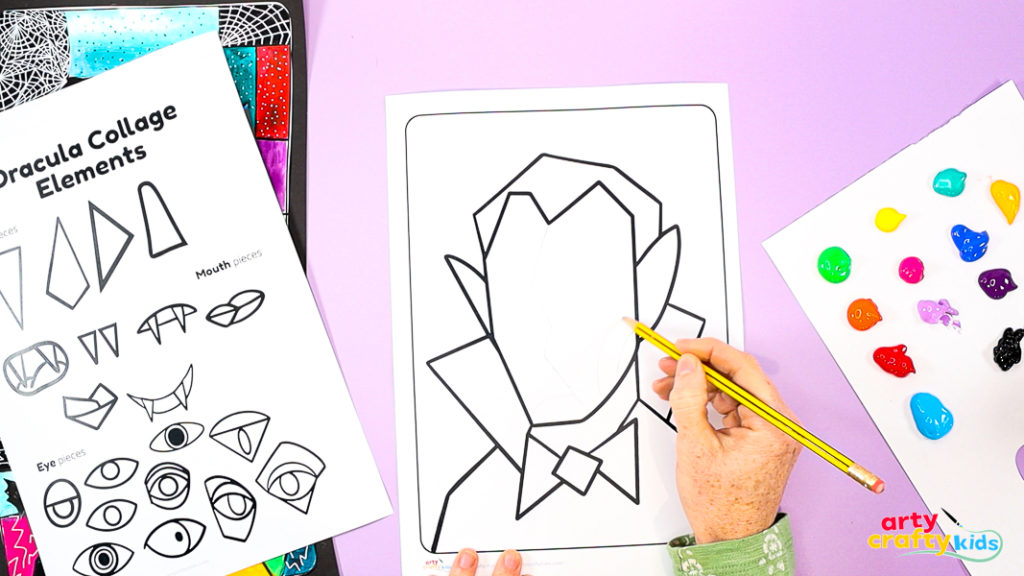
Step 1: Divide and segment the face.
Before adding color, take a moment to lightly sketch geometric shapes across Dracula’s face — think triangles, rectangles, and angled lines that break the face into bold, abstract sections.
This step encourages children to experiment with line, symmetry, and shape, while helping them understand how Cubist artists, such as Picasso, reimagined the human form from different perspectives.
Encourage your young artists to be playful with their designs — there’s no right or wrong way to create a Picasso face!
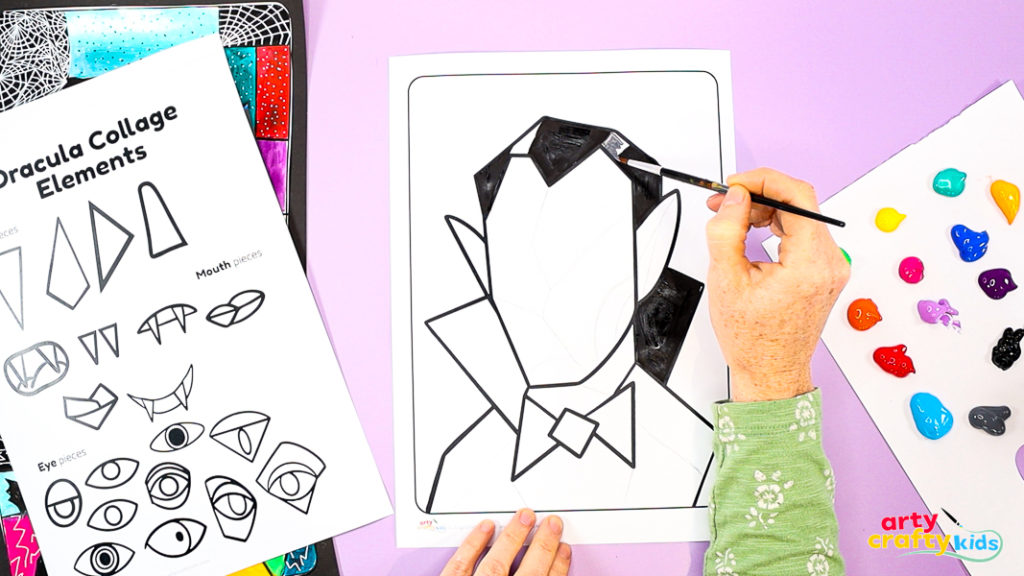
Step 2: Color in Picasso Dracula.
Children can use their favorite medium — paint, colored pencils, markers, or even oil pastels.
I personally love using paint for this step; it’s such a wonderful way for children to explore how a paintbrush moves, experiment with texture and coverage, and gain confidence in spreading and blending color.
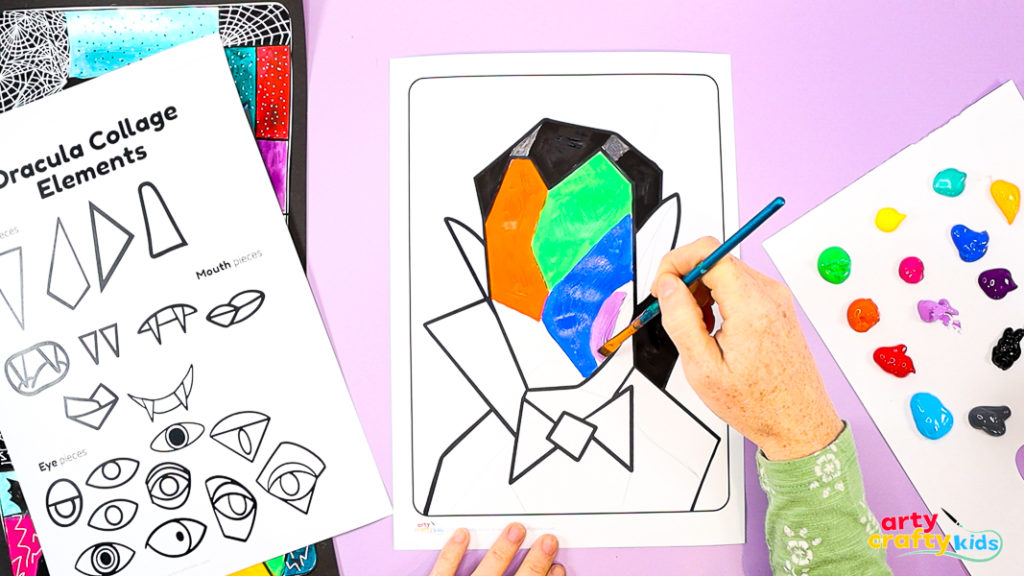
Encourage your young artists to think about contrast and color balance. Picasso’s art often featured unexpected color combinations — try pairing warm and cool tones side by side, such as orange next to blue or green beside red.
These bold contrasts make the portrait pop and help children understand how colors can interact and create energy on the page.
Remind them: there’s no need to stay realistic — Dracula doesn’t have to be pale or dark! The fun of Cubism is in breaking the rules and letting creativity take the lead.
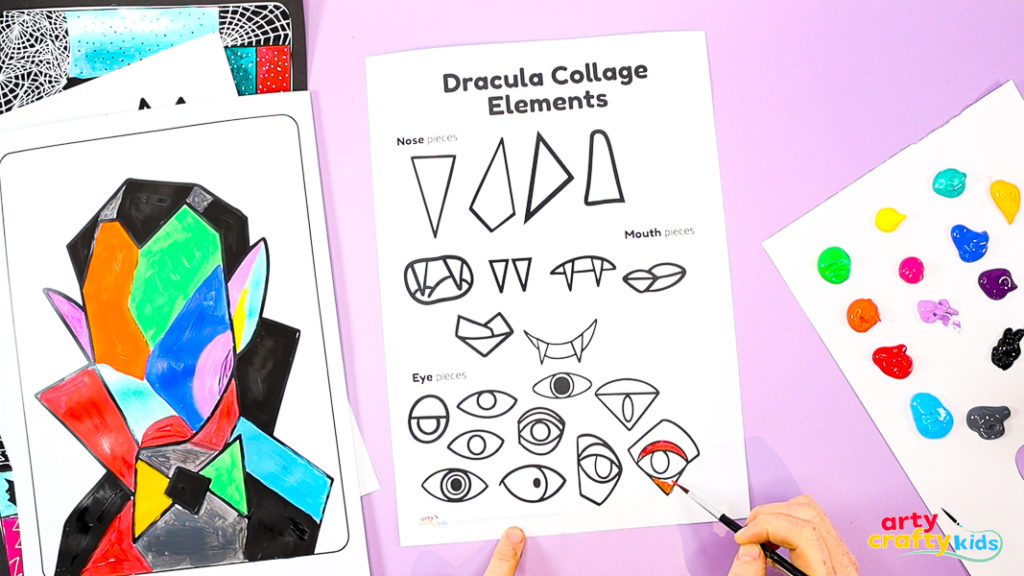
Step 3: Color in Dracula’s collage pieces.
Paint or color the Dracula Collage Elements — eyes, mouth, fangs, and nose. Encourage children to be playful with color choices and create bold contrasts. One eye could be green, the other red — anything goes!
Talk about how color can change Dracula’s expression — dark tones for mystery or bright colors for a fun, quirky look.
Once finished, set the pieces aside to dry completely before cutting and assembling.
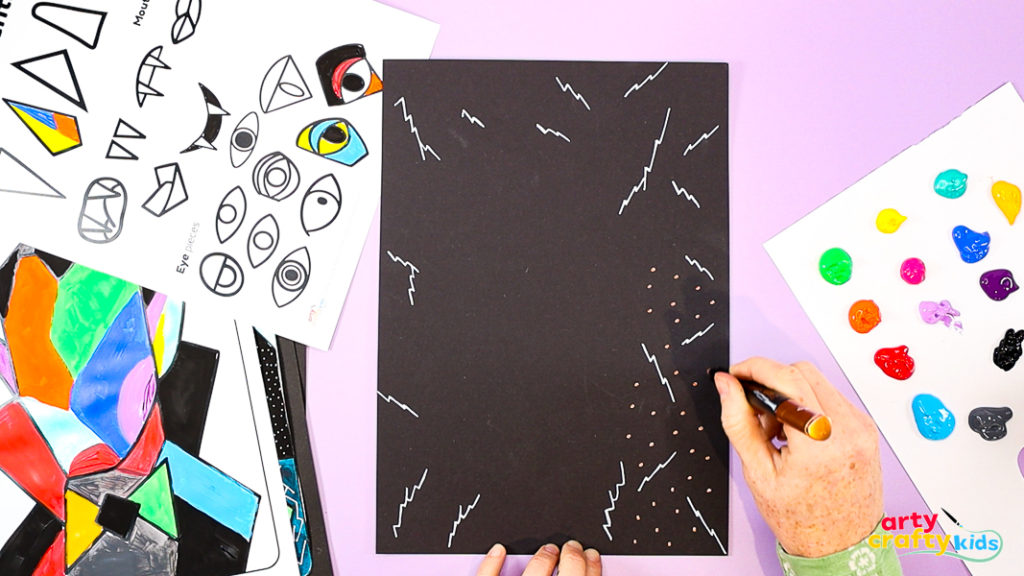
Step 4: Create a bold background.
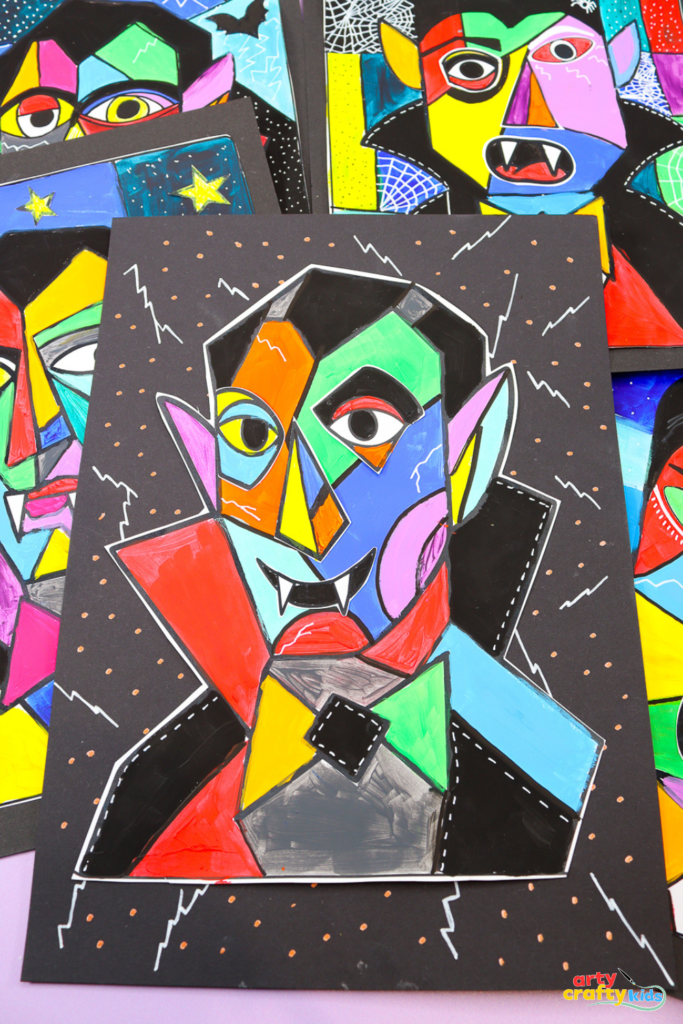
Every great Dracula needs a dramatic backdrop! Use black card or paper to make your colors pop. Add simple lightning bolts, dots, or starbursts using a white or metallic pen — this instantly gives your artwork that electrifying Halloween feel.
For a more detailed design, children can divide the background into geometric sections and fill them with different doodles, patterns, or colors. Lines, webs, and zigzags all work beautifully!
This step is a wonderful opportunity for children to add their own creative flair — no two Draculas will ever look the same. The background helps make each piece unique and full of character.
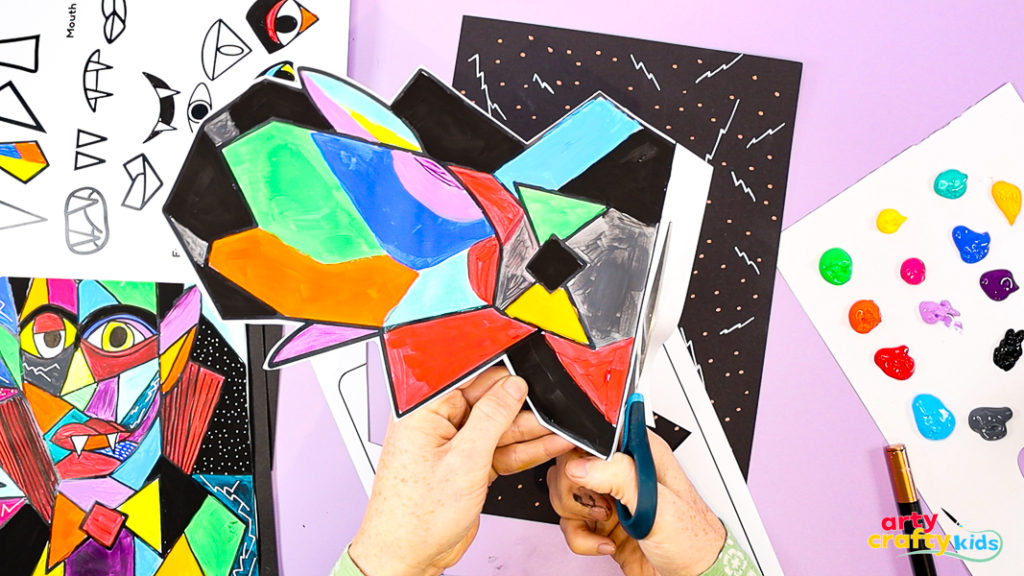
Step 5: Cut out the Dracula base.
Carefully cut out Dracula, leaving a slim white border around the ouline.
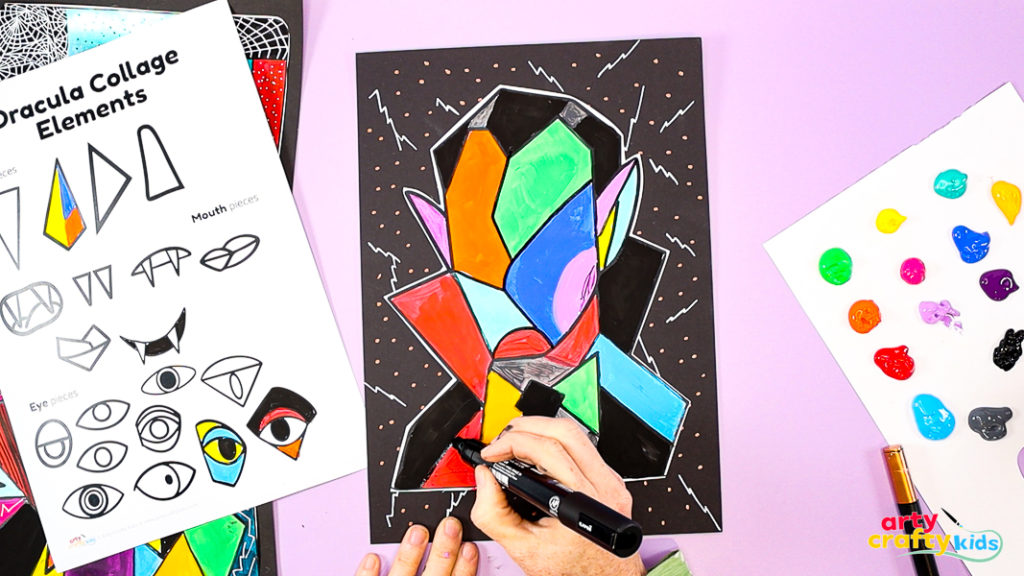
Step 6: Define the geometric segments within Dracula’s portrait.
Once Dracula is assembled and glued in place, it’s time to make those bold shapes pop! Use a black marker or paint pen to trace over the geometric lines, sharpening edges and defining each section.

Step 7: Assemble the Picasso Dracula!
Cut out the painted collage elements and arrange them on the portrait — experiment with different placements for the eyes, nose, and mouth before gluing them down.
Encourage children to mix and match their features to create a unique expression — maybe one eye higher than the other or an exaggerated grin!
This playful stage celebrates creativity and individuality, showing that there’s no single way to build a Picasso-style Dracula.
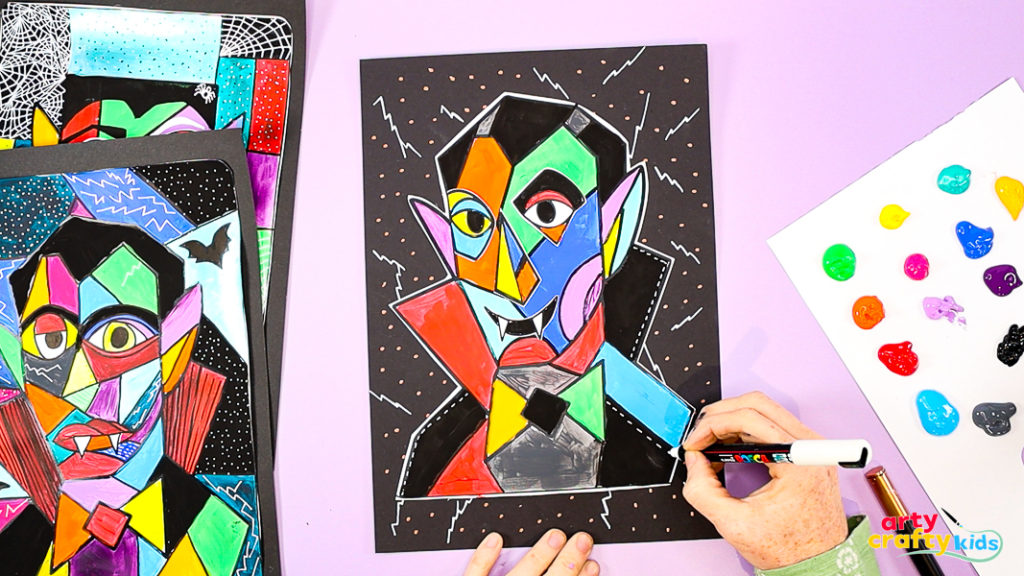
Step 8: Add some finishing touches.
To complete your Picasso Dracula, add a few final details to make your artwork shine!
Use a white or metallic paint pen to highlight edges, add dots, or outline sections to enhance contrast and bring extra depth to the design.
Children might enjoy adding small patterns, extra lines, or even tiny stars and bats in the background — these finishing touches make every Dracula completely unique.
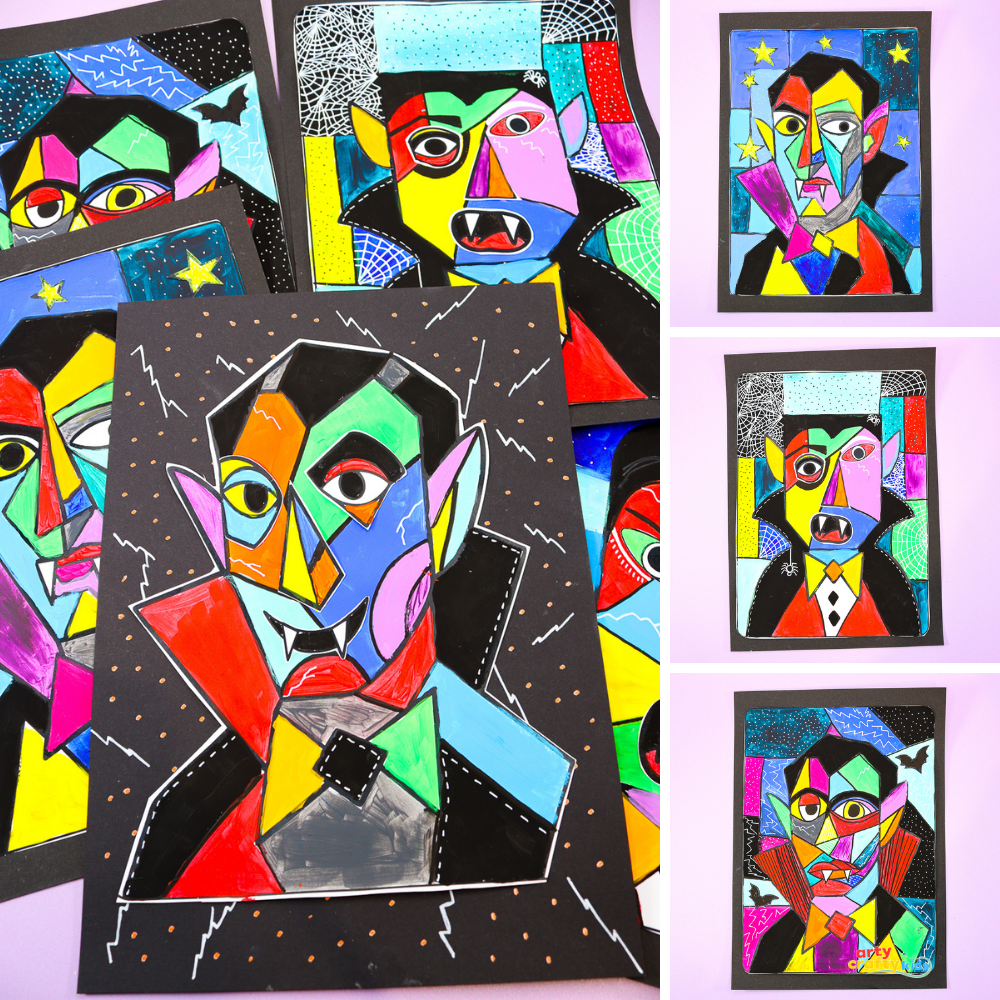
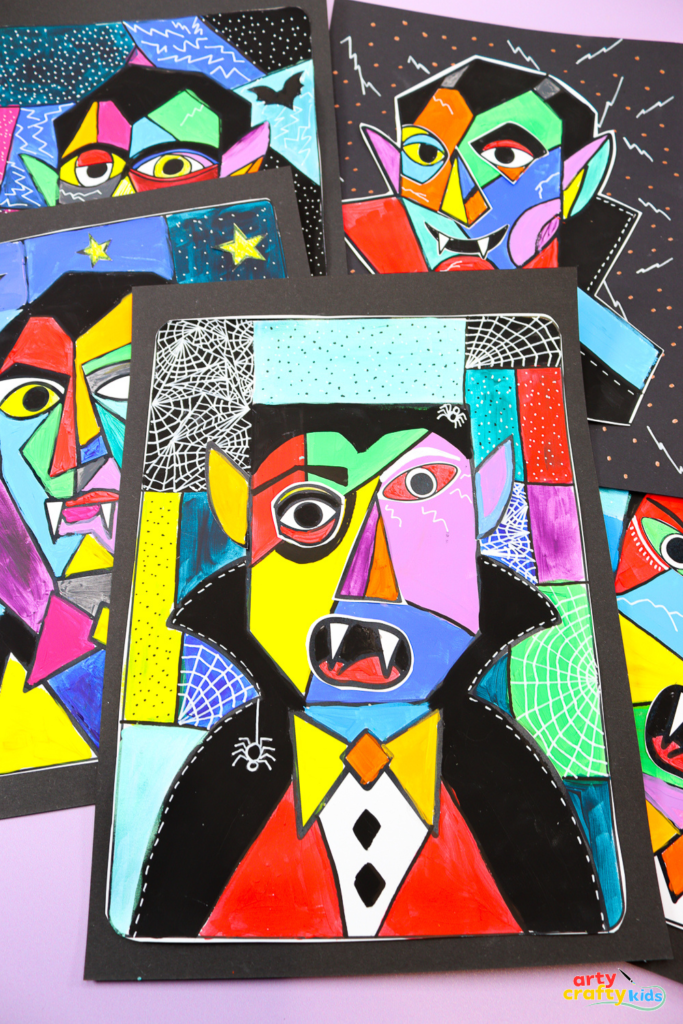
The Step-by-Step Picasso Dracula Collage Art Tutorial is Complete
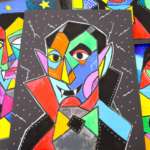
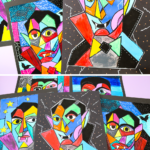
Our Picasso Dracula Collage Art is a wonderfully flexible project that grows with the artist. Younger children can enjoy exploring color, cutting, and composition using the ready-made templates, while older children can take the challenge further by sketching their own abstract portraits inspired by Picasso’s Cubist style.
Each creation will be completely unique — from bold and graphic to playful and expressive — showing how open-ended art projects encourage individuality and creative thinking. This adaptability makes it ideal for classrooms, art clubs, or home learning, allowing children of all ages to experiment, interpret, and truly make the project their own.


