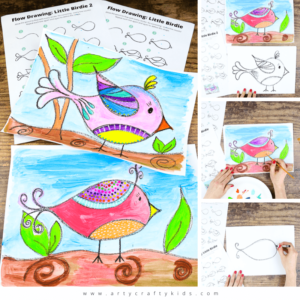
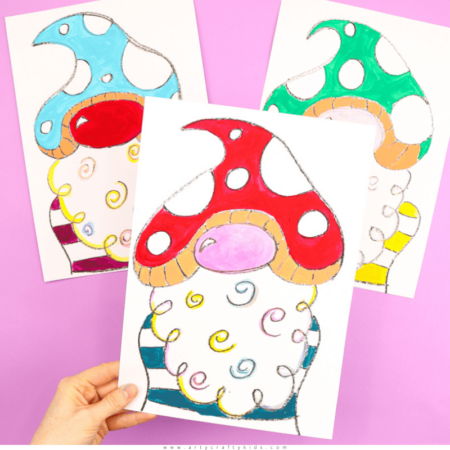
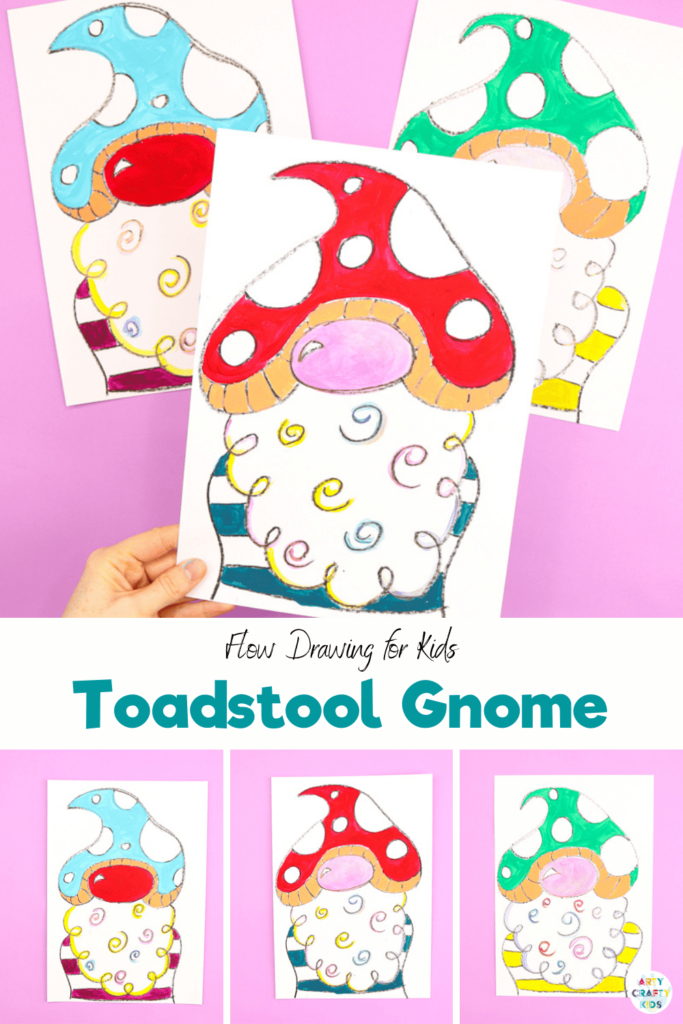
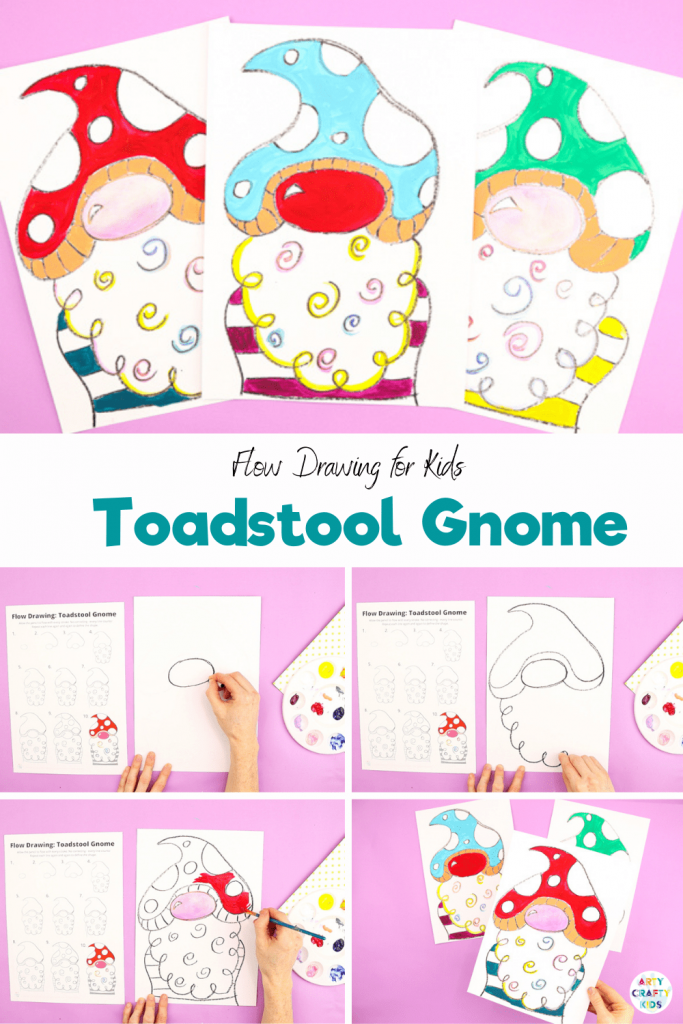
Learn how to draw a gnome with our flow drawing technique that encourages children to use free flowing lines and shapes to form their subject. This easy to follow step-by-step guide will have children drawing their own characterful Toadstool Gnome with ease.
Here at Arty Crafty Kids, we love fairy tales. Princes and princesses, knights and dragons, mythical creatures – they capture imaginations, young and old, and stir up a real sense of adventure. So we thoroughly enjoyed creating this toadstool gnome flow drawing guide to entertain your little ones!
If you’re looking for an activity to truly engage kids of all ages, in the classroom or the home, then this fun art project is for you.
Complemented by a downloadable guide and a video tutorial, there are so many ways to use our toadstool gnome flow draw art.
Pre-schoolers can pratice their fine motor skills as they explore shape and pattern; and older children are encouraged to really use their imaginations as they dive into the make believe world of the toadstool gnome. Where do they live? What do they eat? Children could even write a little story to accompany their art.
Whether they’re reading fairy tales at school, or are just fascinated by your garden gnome, our toadstool gnome flow drawing guide is sure to please!
How to Draw a Gnome:
Materials
White Card Stock or Mixed Media Paper
Black Crayon or Oil Pastel
Paint or Preferred Coloring Medium
How to Download the Flow Drawing Resources:
The ‘How to Draw a Gnome’ PDF guide is available to members of the Arty Crafty Kids club.
Members will need to log in to access the templates:
https://www.artycraftykids.com/product/flow-drawing-toadstool-gnome/
Not A Member?

Watch the How to Draw a Toadstool Gnome
Let’s Draw a Toadstool Gnome
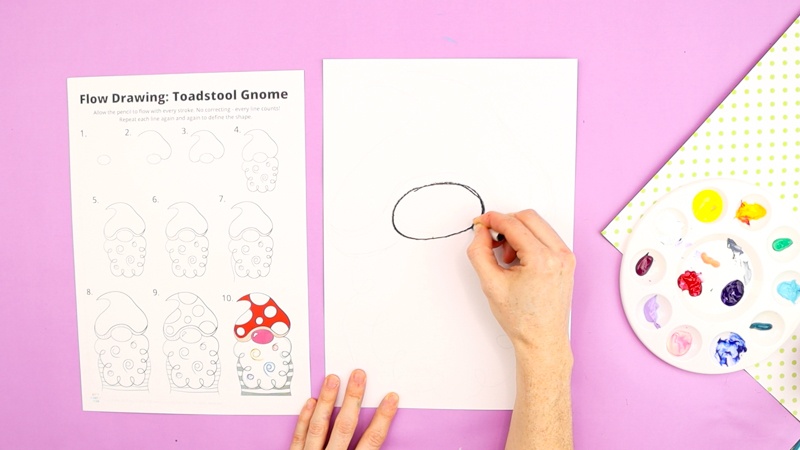
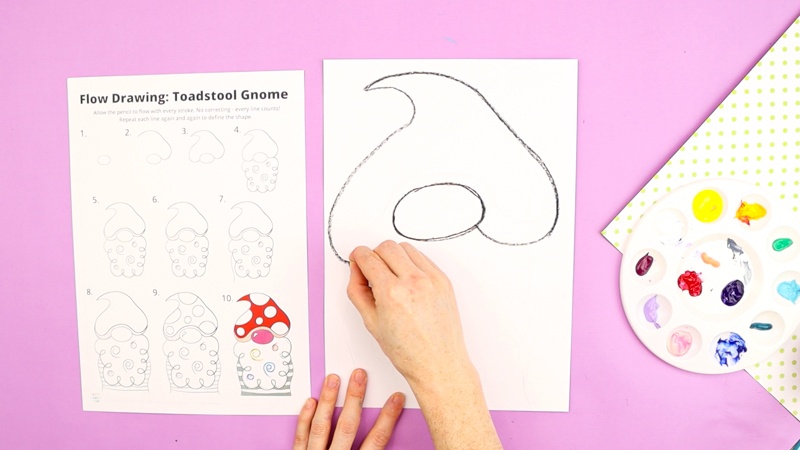
Let’s Draw a Big Round Nose
Start by drawing a large round oval, roughly in the center of your page. This will be your gnome’s nose.
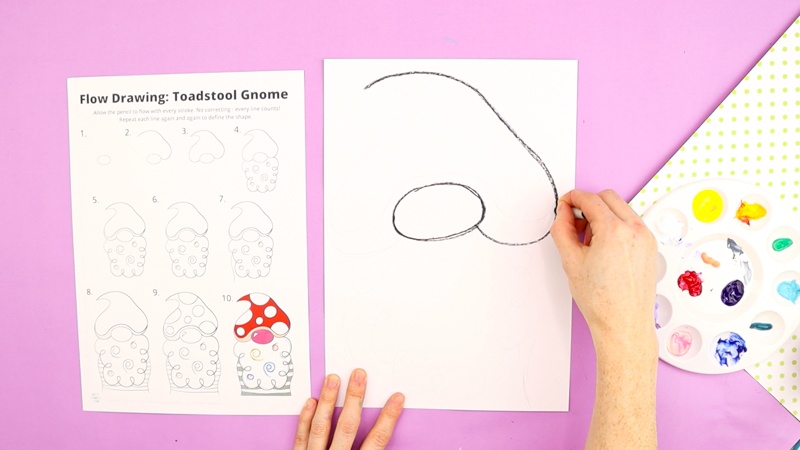
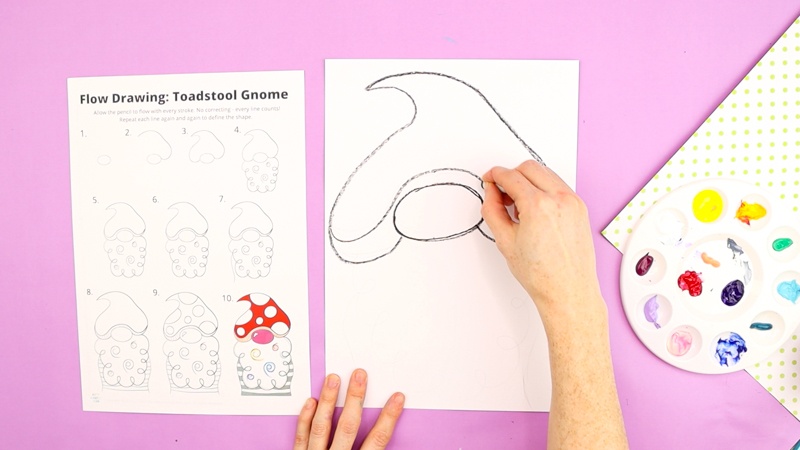
Add a Toadstool Hat
Starting from the bottom right of the nose, draw a big sweeping curve down, out, up and over until you’ve gone all the way to the top left of your page. Take a pause, and flow back over your big curve if you want to tweak the shape of the hat.
Then, re-starting at the point of the hat in the top left, curve back towards the right, down, out and all the way around to meet the bottom right of the nose.
Then, we want to give the slouchy hat a trim, that looks like the frilled underside of a toadstool. So, starting on the left, an inch or so up from the bottom of the hat, draw a sweeping line across, over the nose, and across to meet the other side.
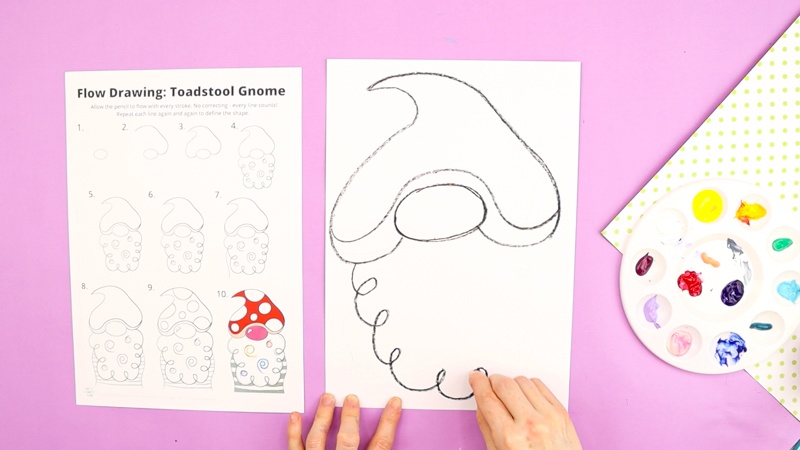
Draw a Swirly Twirly Beard
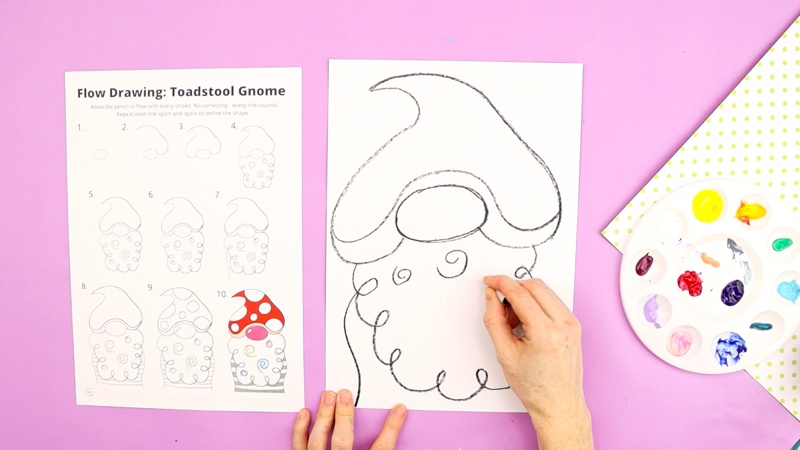
Now let’s give our gnome a beard – think big and curly, just like Santa! Starting underneath the hat on the left side, draw curls all the way down to the bottom of the page, round, and all the way back up to the hat again on the right side. Then fill the space in the middle with curls as well, to create the effect of a full, soft and curly beard.
Then, flowing down from towards the top of his beard, draw a line down each side to the bottom of the page to create the body of the toadstool. Add some extra detail by drawing some horizontal lines across (remember not to draw them over his beard!)
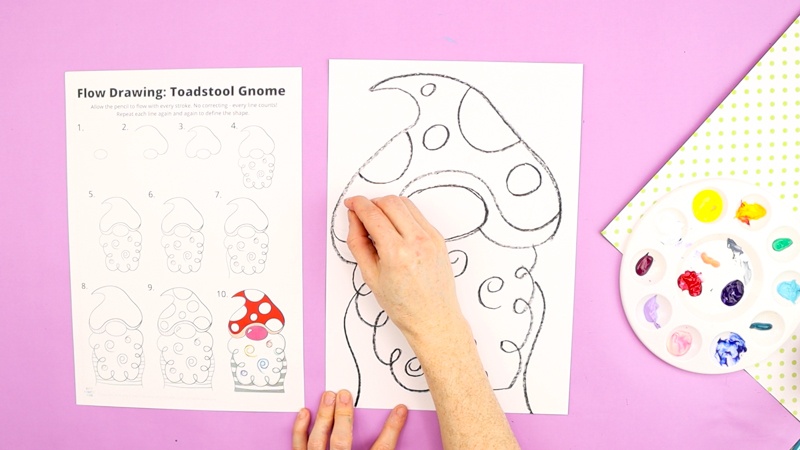
Finish off with Spots
Remember that our gnome isn’t just any old gnome – he’s a toadstool gnome! So we need to add spots onto his hat. To achieve the best effect, add a mix of large and small spots, with some whole and some semi-circles on the outer edges.
Finally, draw vertical lines all the way across the trim of the hat.
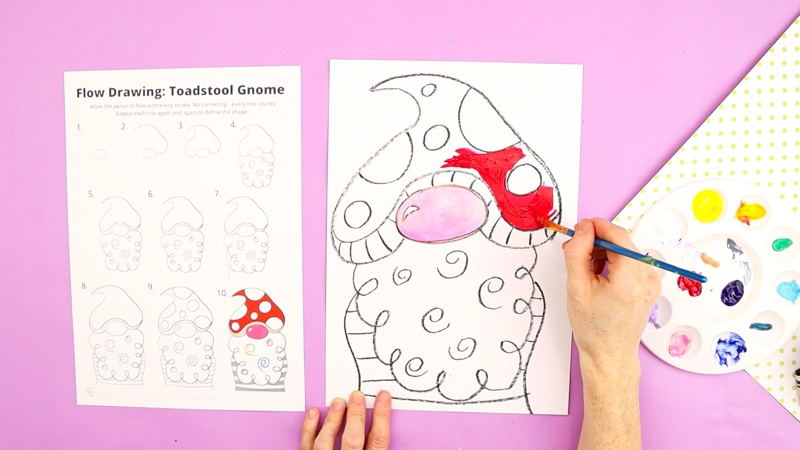
Add Some Bold Colors
Now it’s time to get bold with paint! You can use any type of paint you like, but we think this art works really well with a thick paint used without too much water. And don’t forget to be really bold and confident with your brush technique.
How will you decorate him? You could color the hat red and white like a traditional toadstool, or go wild and choose any color combination you like – this is a fairytale creature, after all! Will you give him a colorful beard, a bright nose? Will you give him a complimentary or contrasting body? Just have fun and use your imagination!
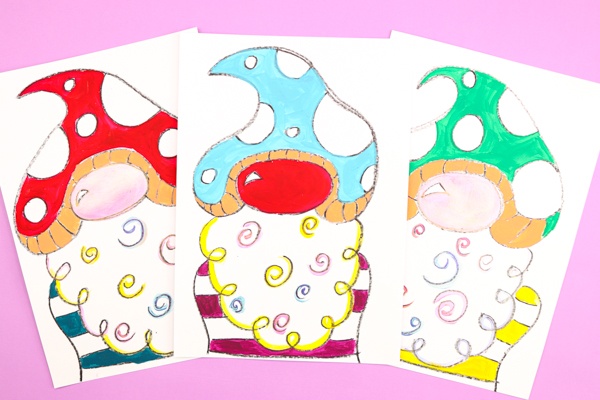
We’ve heard that toadstool gnomes are pretty shy, so when your painting is complete, don’t forget to share on social media and tag us – we want to see a whole community of friendly multi-colored toadstool gnomes!
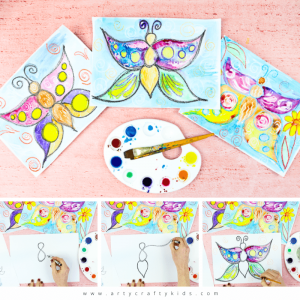
What is Flow Drawing?
Flow Drawing is an art technique developed by us to encourage children to understand shapes and create illustrations, in a much ‘freer’ way. By removing restrictions, flow drawing encourages children to fully engage in the moment and discover their natural flow, making every line count and bringing mindfulness to their creative process.
You can think of the flow drawing technique as a ‘how to draw’ guide with a difference – children won’t just draw a picture, they’ll create a Uunique work of art, right from their soul.
Flow Drawing Benefits:
Although the process of flowing more naturally in art might seem a little alien to children at first, it’s really worth encouraging them to have a go. Flow drawing has so many benefits and helps little hands and minds to:
- Explore simple shapes and how they work together to create larger forms
- Discover their natural flow and rhythm through repetitive movements
- Learn how to combine mediums, with a fun and easy approach
- Build confidence in their own creative ability
- Combat ‘perfection-seeking’ in art, providing a much needed alternative to rigid ‘how to draw’ guides
- Bring mindfulness to the creative process and boost mental health
- Foster a love of art and self-expression.
More ‘How to Draw Guides’ for Kids:
If your children have enjoyed the Step-by-Step gnome guide, why not take a look at these popular and easy How to Draw tutorials: