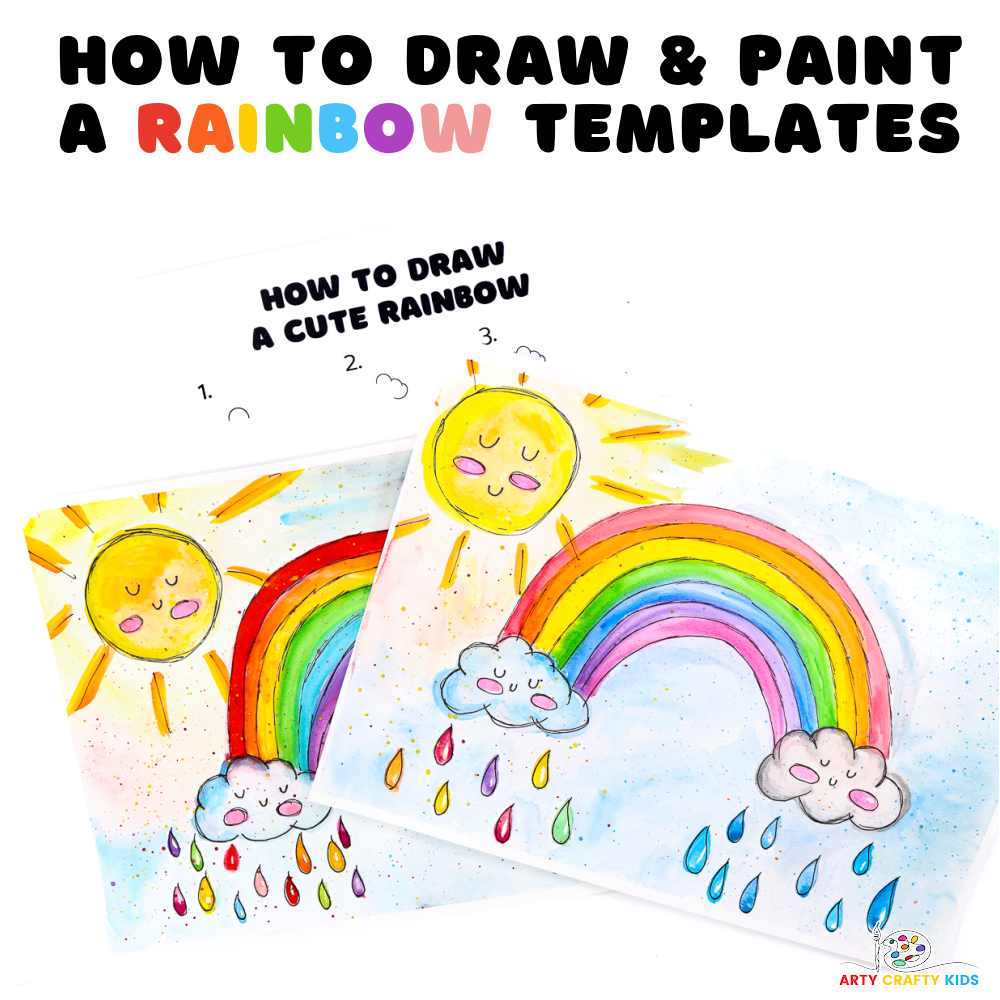


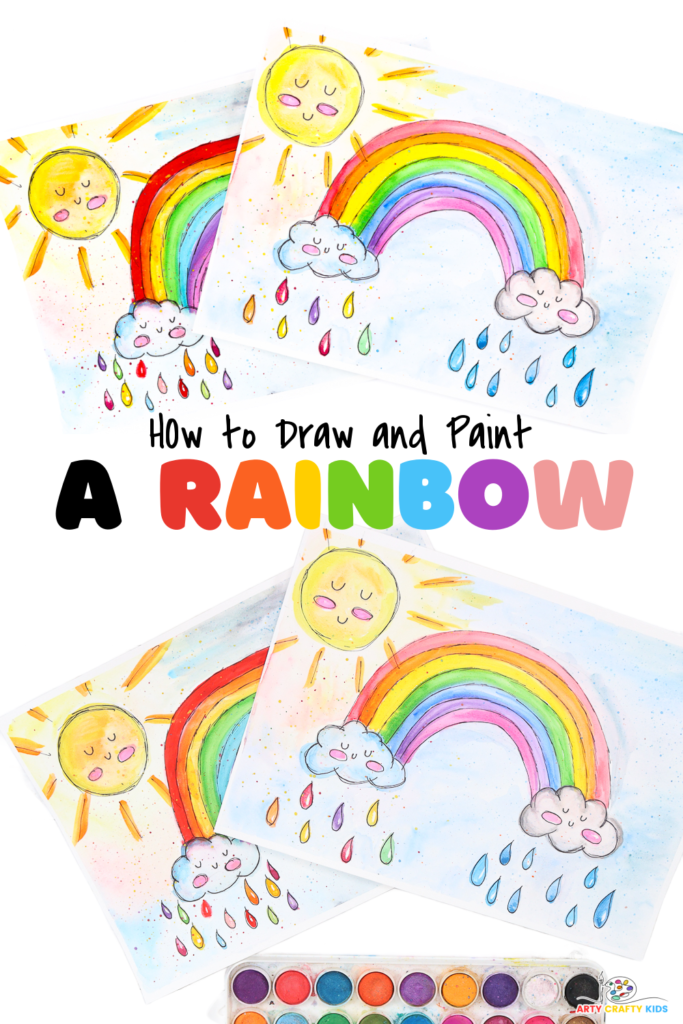
Welcome Spring vibes into your home or classroom with this adorable rainbow art idea! This simple step-by-step How to Draw and Paint a Rainbow with watercolors tutorial is perfect for kids and beginners alike.
We make drawing a rainbow stress-free by breaking down the sketch into easy, doable steps, designed to match your child’s natural flow.
Once the rainbow sketch is complete, painting it becomes a fun creative adventure with watercolors. Just like the sketch, we simplify the watercolor techniques into simple terms, making this medium playful and open to everyone!
And to make the rainbow art project accessible for kids of all ages and ability, we have two printable rainbow coloring pages available for download, which can be traced or colored in!
For more rainbow art inspiration with watercolors, take a look at this simple idea that utilizes tape to create a grid for multiple multi-colored rainbows!
- How to Draw and Paint a Rainbow with Watercolors
- Rainbow Watercolor Painting: A Quick Overview of the Watercolor Painting Techniques used within this Tutorial
- See the Process in Action with our Video Tutorial:
- Step-by-Step Draw and Paint a Rainbow with Watercolors:
- Step 1: Sketch the rainbow, rain clouds and sun.
- Step 2: Use the Wet-on-Wet Watercolor Technique to Paint the Background Sky.
- Step 3: Use the Wet Brush Technique to the paint the rainbow.
- Step 4: Outline the rain clouds.
- Step 5: Paint the rain-drops.
- Step 6: Paint the sun.
- Step 7: Paint the cheeks pink!
- Step 8: Splatter watercolor paint.
- Step 9: Outline the rainbow with a black pen.
- Download the Printable Rainbow Templates – Click the Image!
How to Draw and Paint a Rainbow with Watercolors
Materials you will Need:
- White Watercolor Paper, Mixed Media Paper or Card Stock
- Watercolor Paint
- Paintbrushes ( Round and Fine Tipped Brushes)
- Water Container
- Cloth
- Pencil
- Fine Tipped Black Pen
- Masking Tape
- How to Draw a Rainbow Step-by-Step Printable and Templates (members will need to login to access the template).
Not a Member?
Join the Arty Crafty Kids club to access the How to Draw a Rainbow Step-by-Step Printable and Templates and 1000’s more Art and Craft templates, How to Draw Guides and Coloring Pages.

Rainbow Watercolor Painting: A Quick Overview of the Watercolor Painting Techniques used within this Tutorial
Watercolors are wonderfully easy to use, making them perfect for kids and beginners alike, especially when creating vibrant rainbow paintings.
- Wet-on-Wet Technique: Apply wet paint on wet paper for smooth blending and soft edges. Great for backgrounds.
- Dry Brush Technique: Apply dry paint on dry paper for sharp details and defined shapes. Ideal for adding highlights or details.
- Wet Brush Technique: In watercolor painting involves wetting the brush with water before applying it to the paper. This technique allows the paint to spread more easily and creates softer edges and blends.
- Layering Colors: Build layers of transparent washes for depth. Let each layer dry before adding more.
- Negative Painting: Paint around the clouds to define their shape and make them stand out.
- Experiment and Enjoy: Don’t be afraid to try different techniques. Enjoy the process of creating your rainbow painting!
See the Process in Action with our Video Tutorial:
Step-by-Step Draw and Paint a Rainbow with Watercolors:
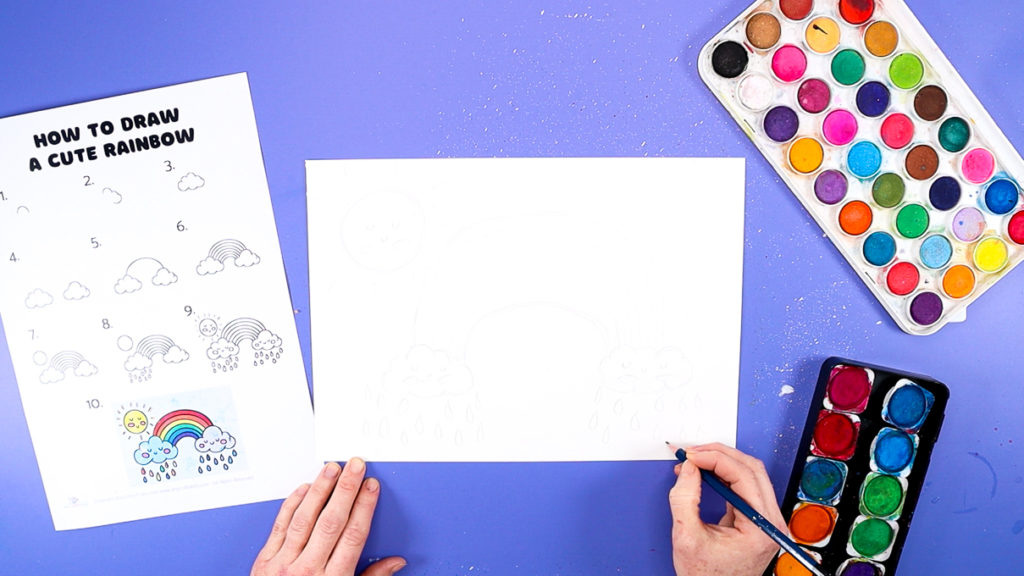
Step 1: Sketch the rainbow, rain clouds and sun.
Follow our printable step-by-step guide to lightly sketch the rainbow with a pencil.
Be sure to include the rain drops and cute faces within the clouds and sun!
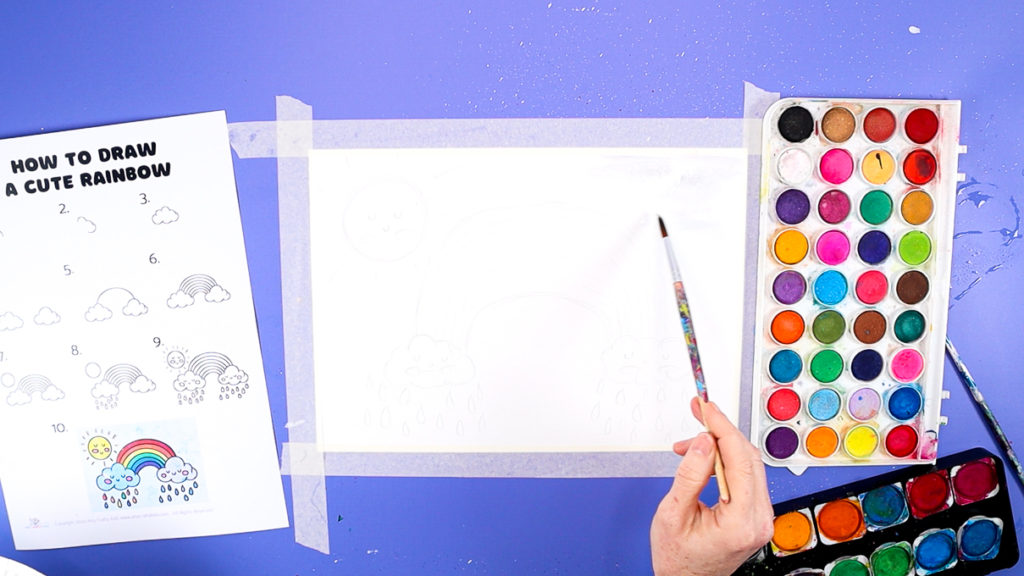
Step 2: Use the Wet-on-Wet Watercolor Technique to Paint the Background Sky.
Wet the paintbrush and use it to spread water around the outline of the rainbow sketched with a pencil.
Next, dip a watery paintbrush into some blue and gray colors and gently spread the color into the water.
The color should travel within the water, creating a lovely translucent whispery effect.
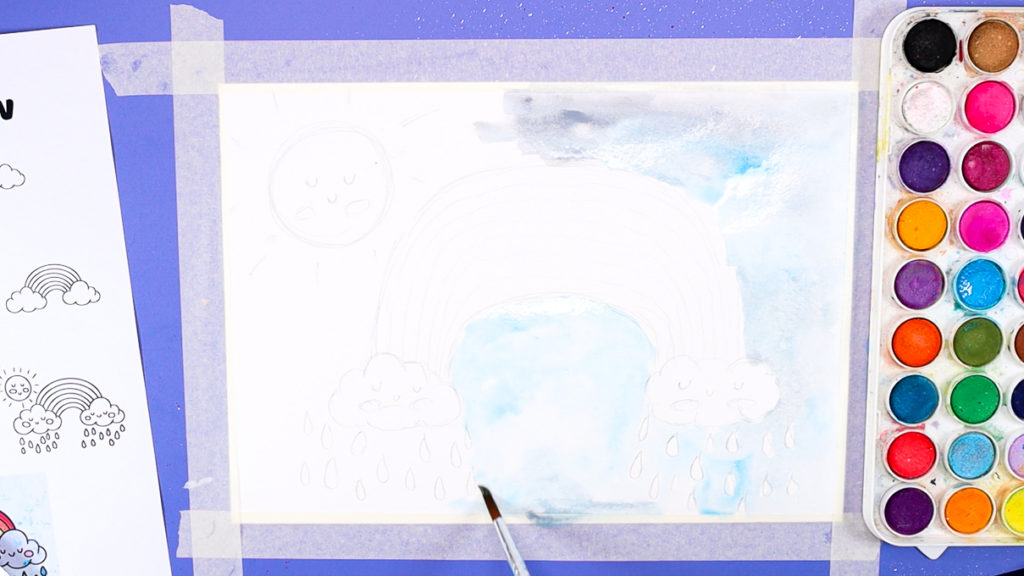
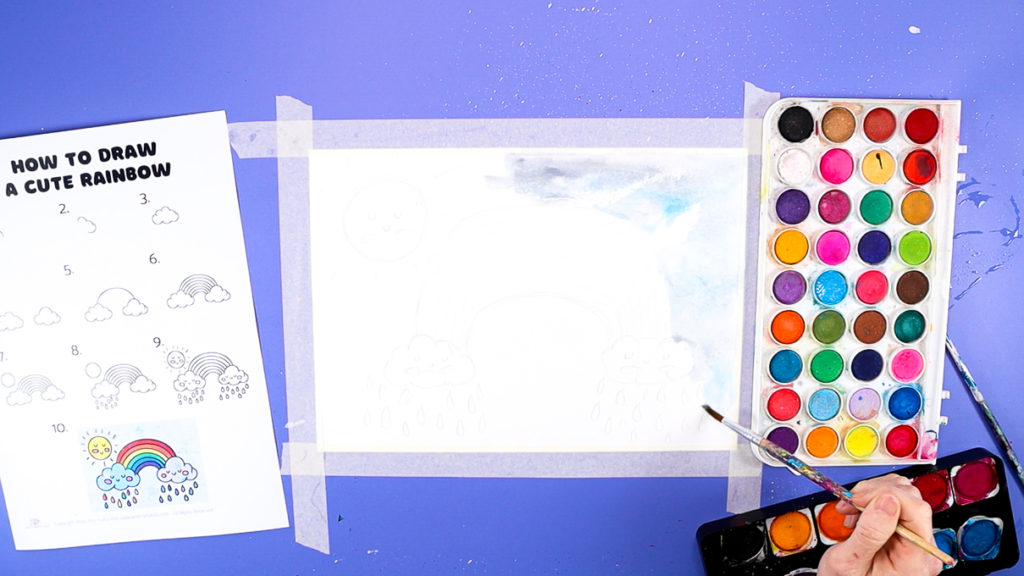
Continue adding water and shades of blue and gray paint around the rainbow, clouds and rain-drops.
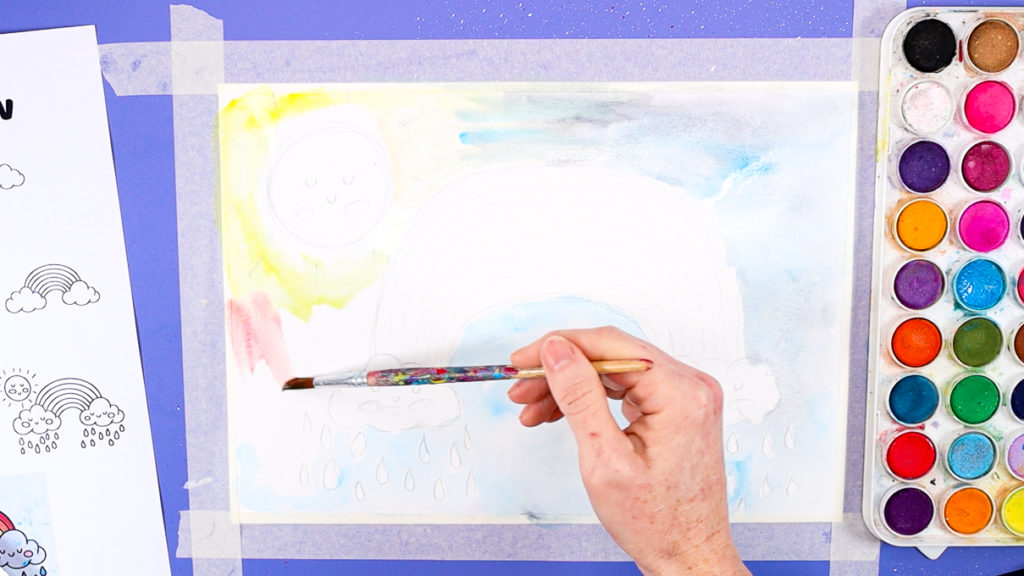
As you move closer to the sun, replace the blue and gray tones with warm reds, oranges, and yellows.
Slowly apply the paint, letting it mix and merge with the sky backdrop.
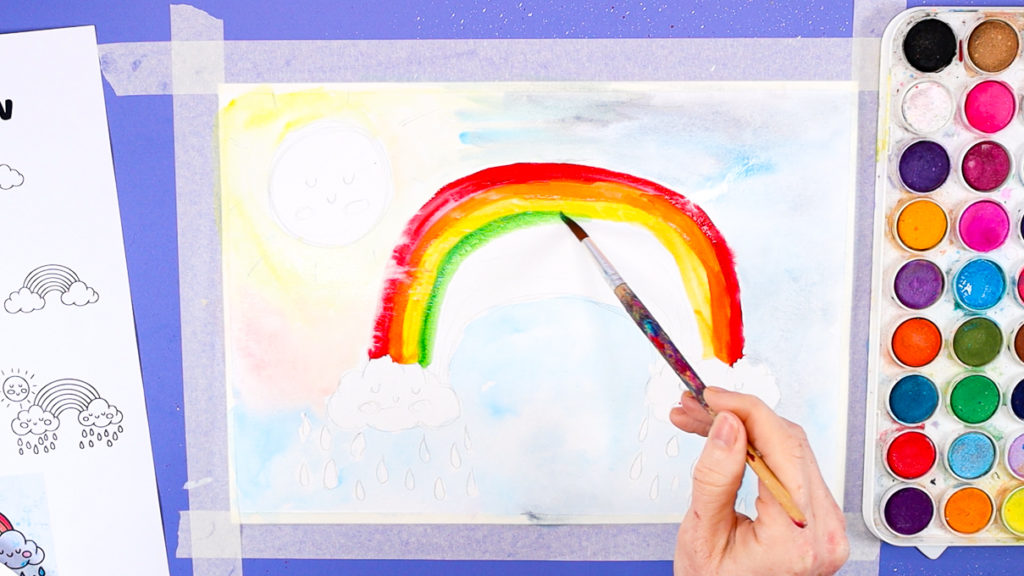
Step 3: Use the Wet Brush Technique to the paint the rainbow.
Dampen the paintbrush and start painting the rainbow arches in the following order: Red, Orange, Yellow, Green, Blue, Purple, and Pink.
Unlike the wet-on-wet technique, aim for bold and vibrant colors with distinct, well-defined arches.
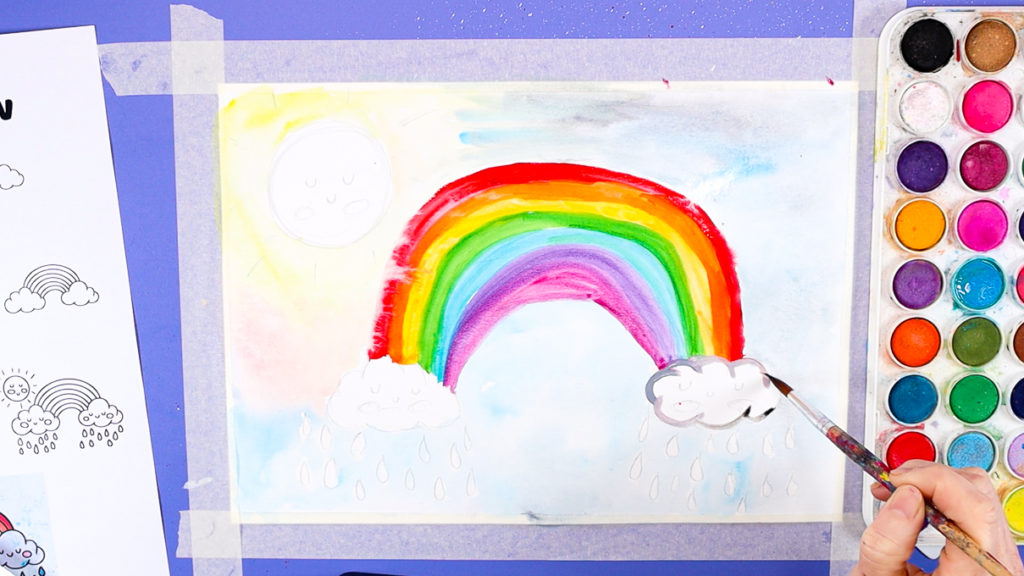
Step 4: Outline the rain clouds.
Pat dry the brush to remove excess water, then mix it with a dark gray color. Carefully outline the cloud farthest from the sun.
Next, moisten the brush with water and gently blend some of the outline into the cloud.
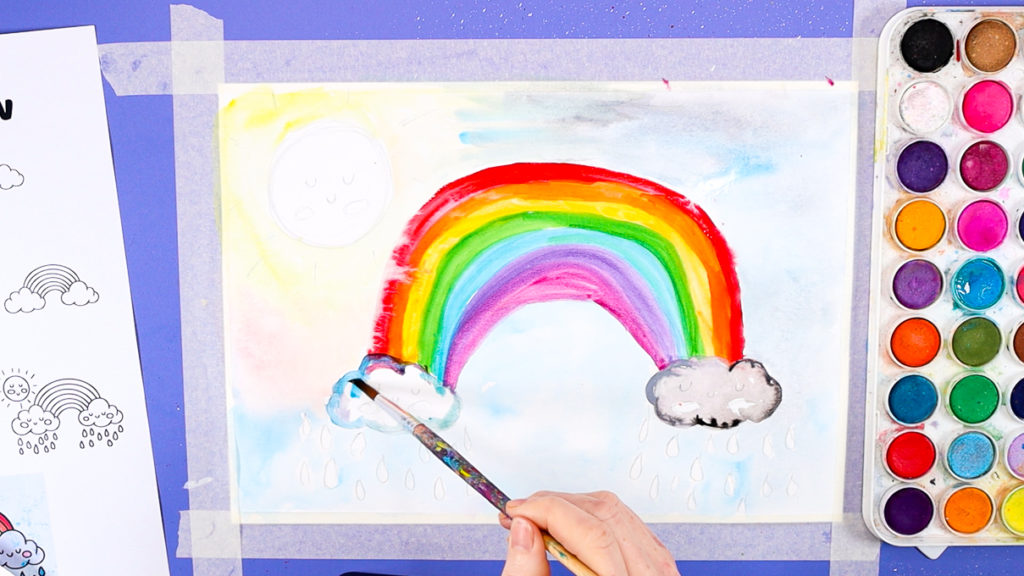
For the cloud nearest to the sun, replace the gray tones with hints of blue and even a touch of red to introduce subtle purple hues within the cloud.
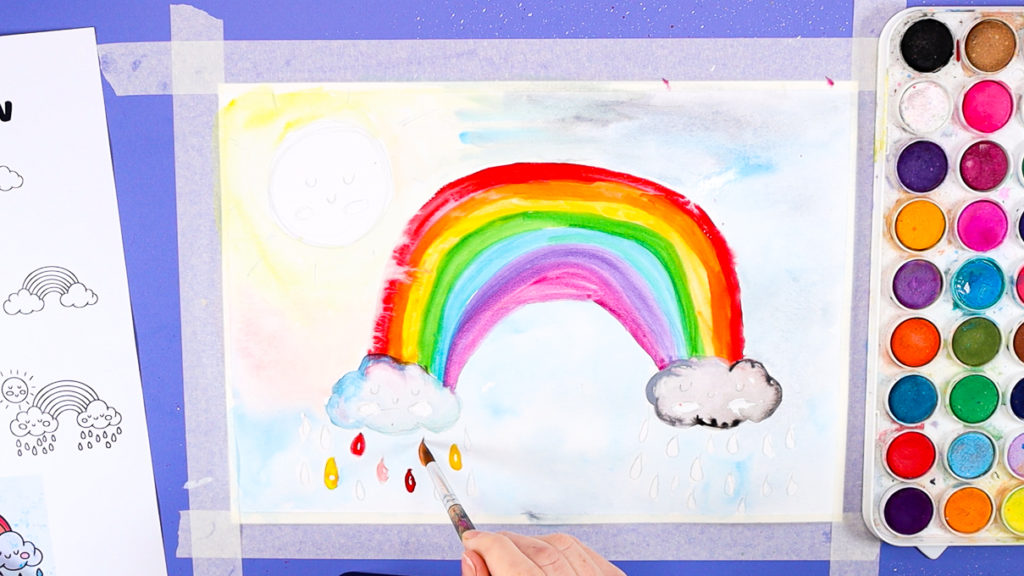
Step 5: Paint the rain-drops.
Paint the raindrops nearest to the sun using rainbow colors, while for the raindrops on the gray cloud, use various shades of blue.
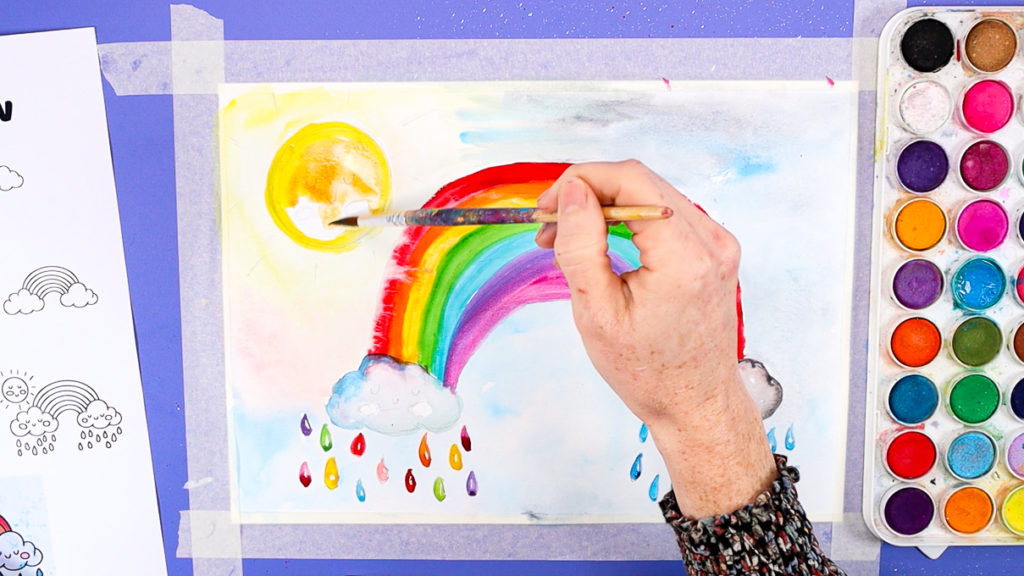
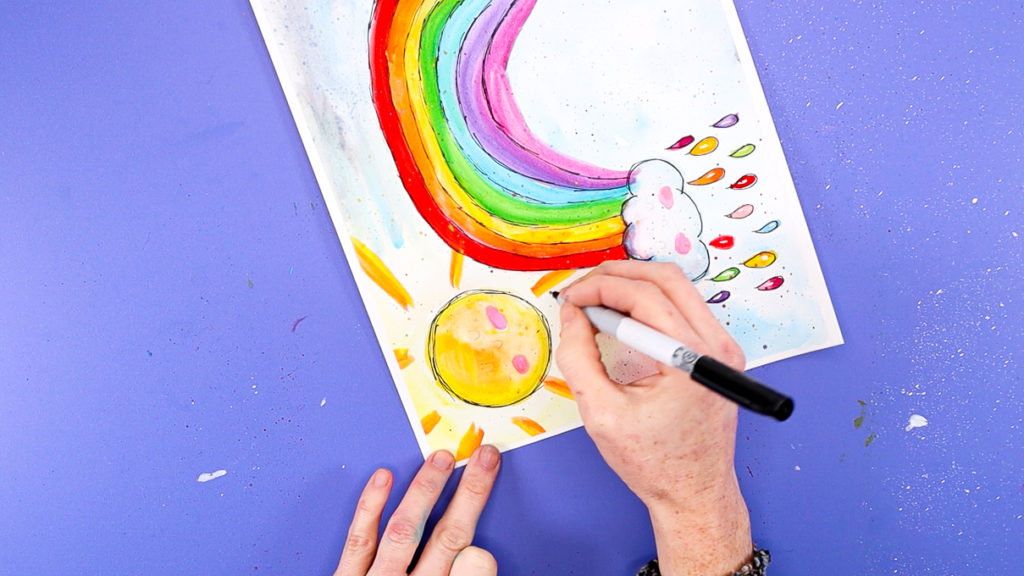
Step 6: Paint the sun.
Use a wet brush to outline the sun with a yellow color, gradually blending towards the center to incorporate orange tones.
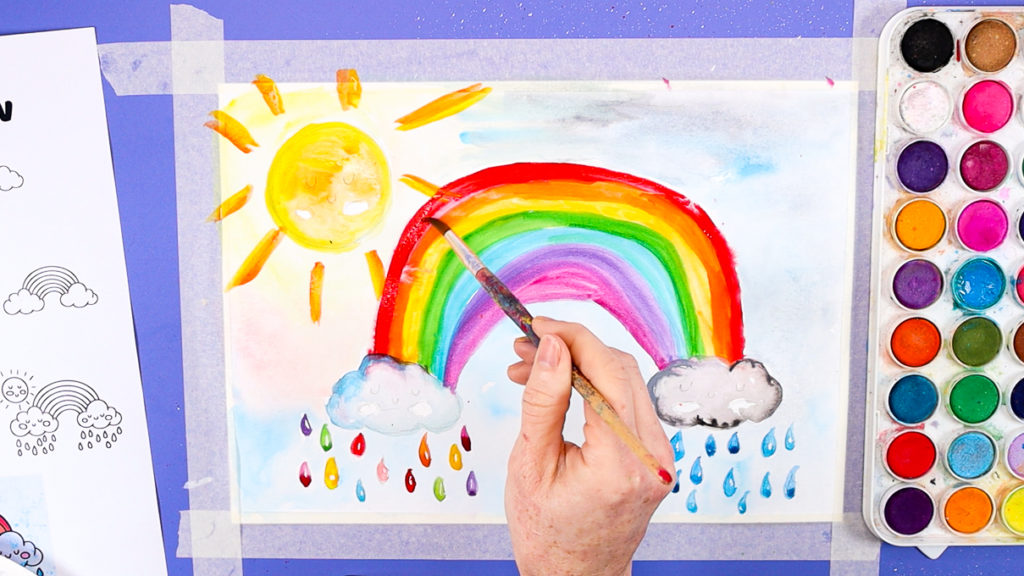
Paint the sun rays yellow and orange.
If excess water has seeped into the rainbow arches, just layer those areas with the corresponding colors.
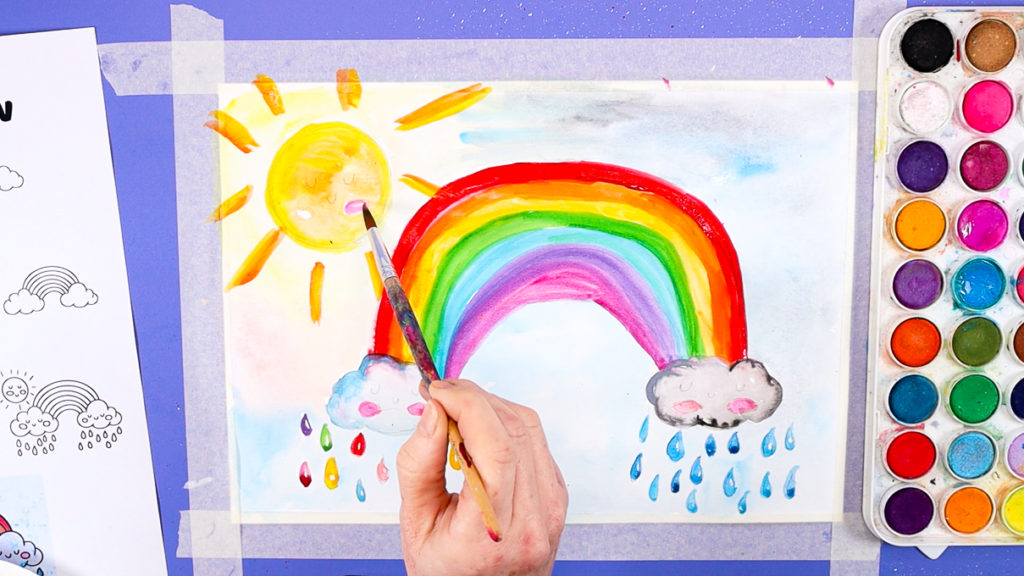
Step 7: Paint the cheeks pink!
Since we’re aiming for a cute looking rainbow, add pink paint to the cheeks of both clouds and the sun.
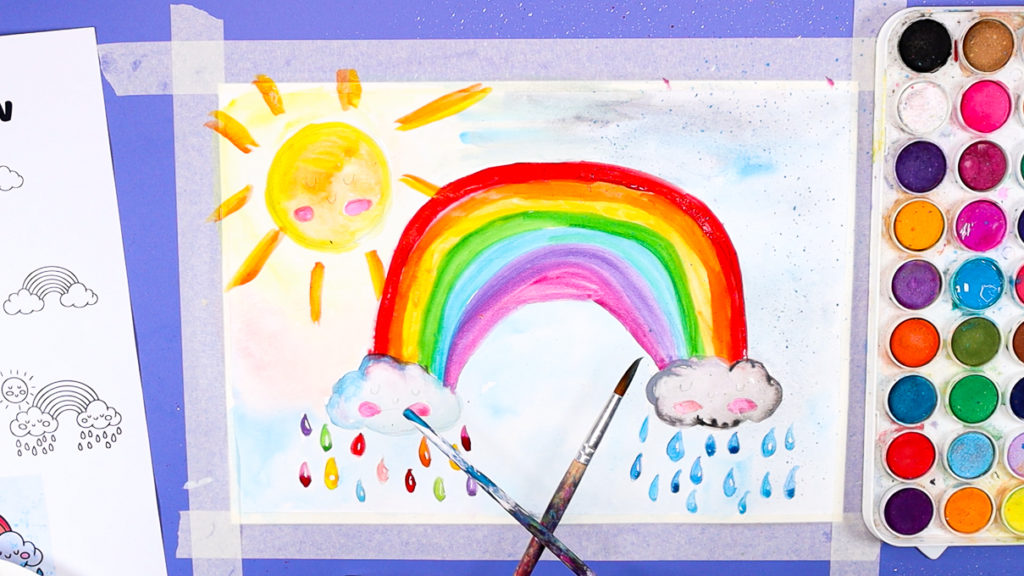
Step 8: Splatter watercolor paint.
Load a wet paintbrush with blue paint and delicately splatter it across the painting to depict raindrops. Transition to red and yellow splatters as you near the sun.
The painting element of the rainbow tutorial is finished! Before proceeding to the next step, allow the watercolor rainbow painting to dry completely.
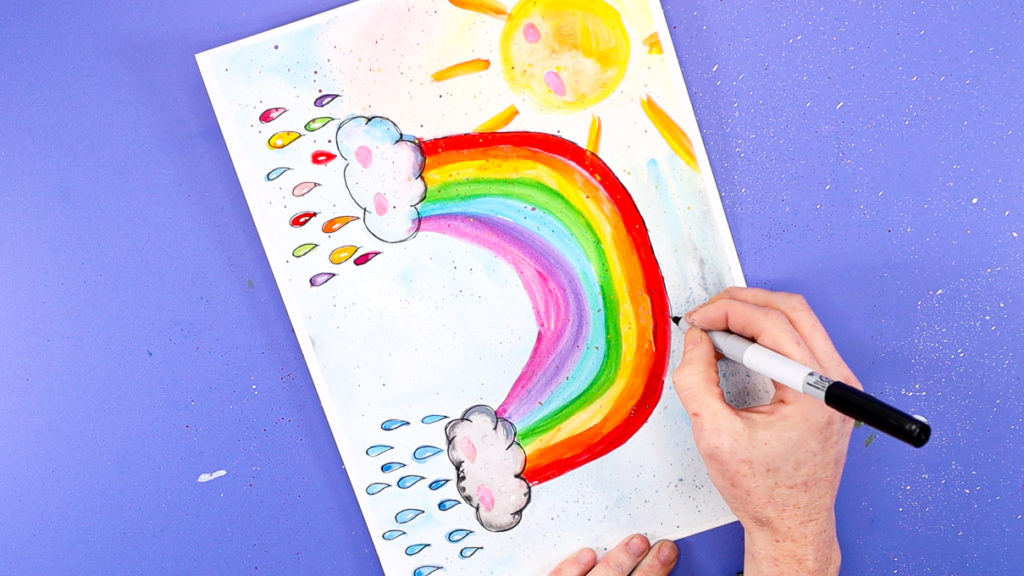
Step 9: Outline the rainbow with a black pen.
Use a fine tipped black pen to gently draw around all the elements of the painting.
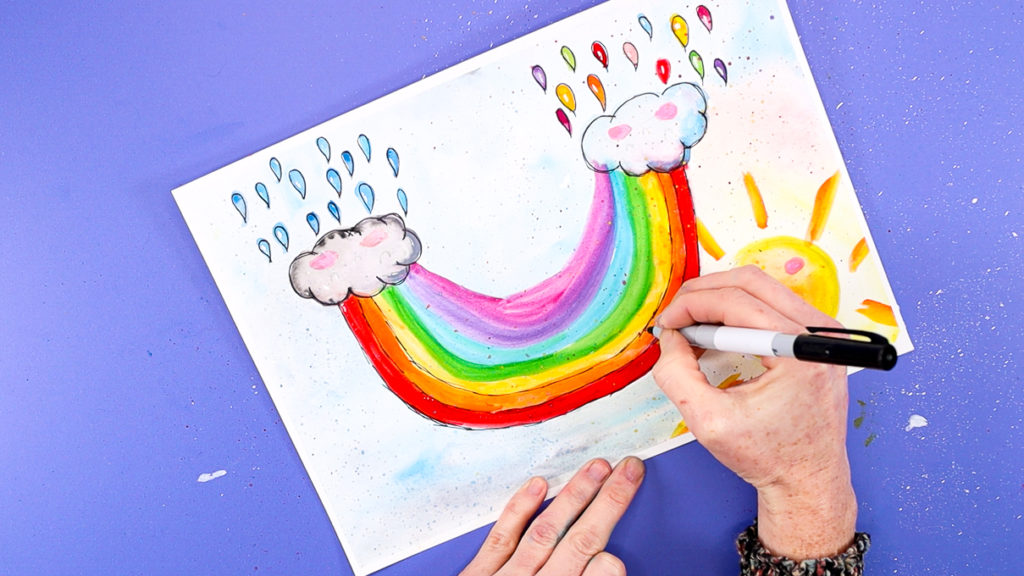
The rainbow arches are quite tricky to draw in one motion. To make it easy, outline the arches with adjoining shorter strokes – this adds a cute doodle-like quality to the completed rainbow drawing.
Like the arches, use shorter pen strokes to draw a circle around sun.
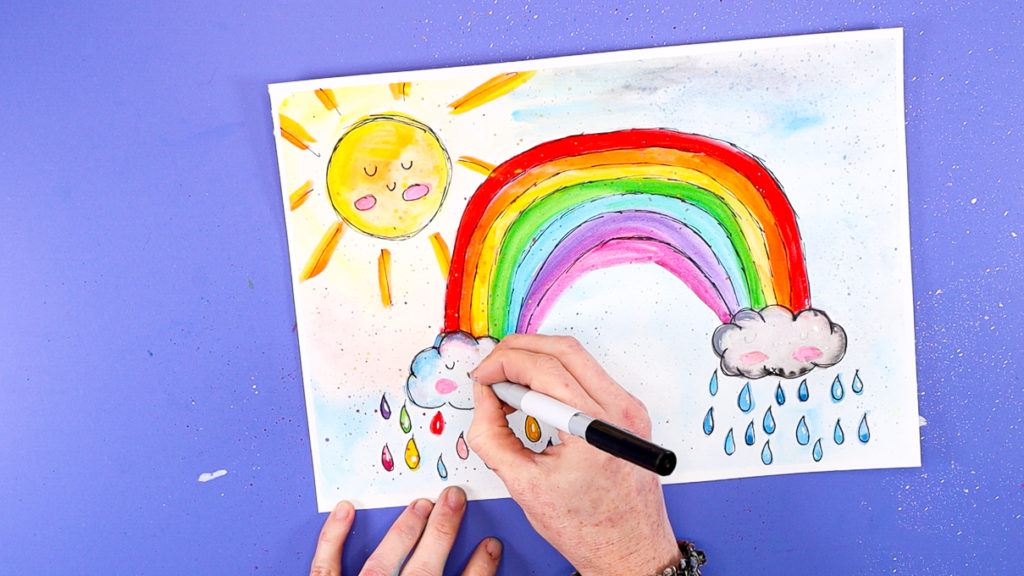
Once the arches, clouds and sun are outline, draw the cute little faces.

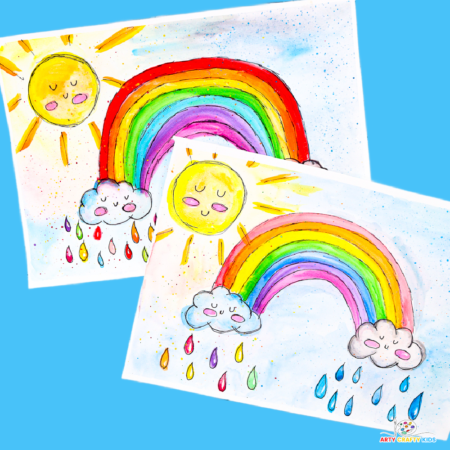
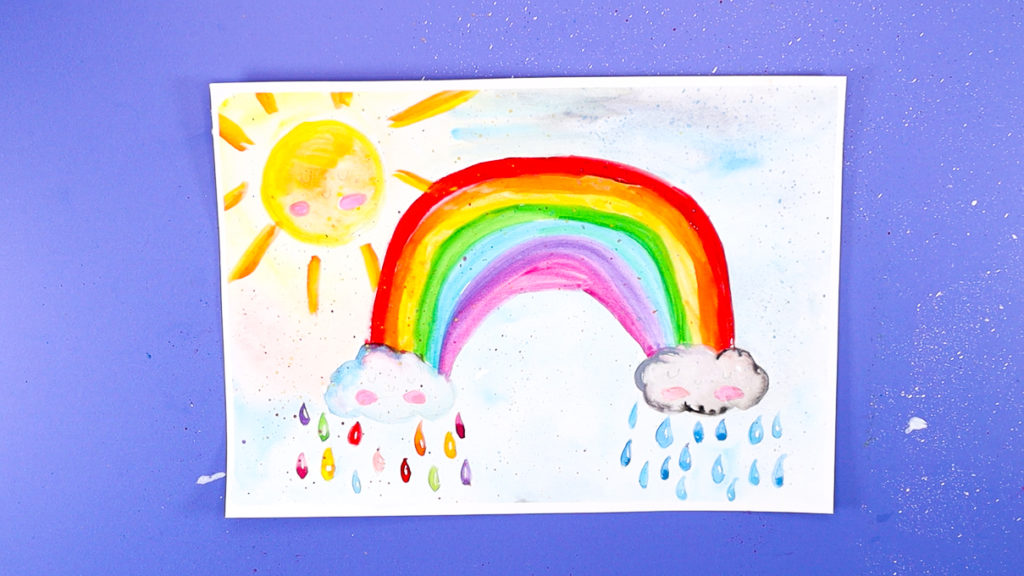
There you have it, a finished rainbow painting! Now, it’s time to step back and admire your colorful creation.
Download the Printable Rainbow Templates – Click the Image!
Whether you’re crafting at home or in the classroom, these printable step-by-step illustrations and outlines simplify the process of drawing and painting rainbows.
Just add your favorite colors to bring these templates to life. Designed for kids and beginners, these templates make creating stunning rainbow art effortless and fun!